ASIA · MALDIVES GUIDE
Maldives Sunset Photos: Light, Silhouettes and Sea
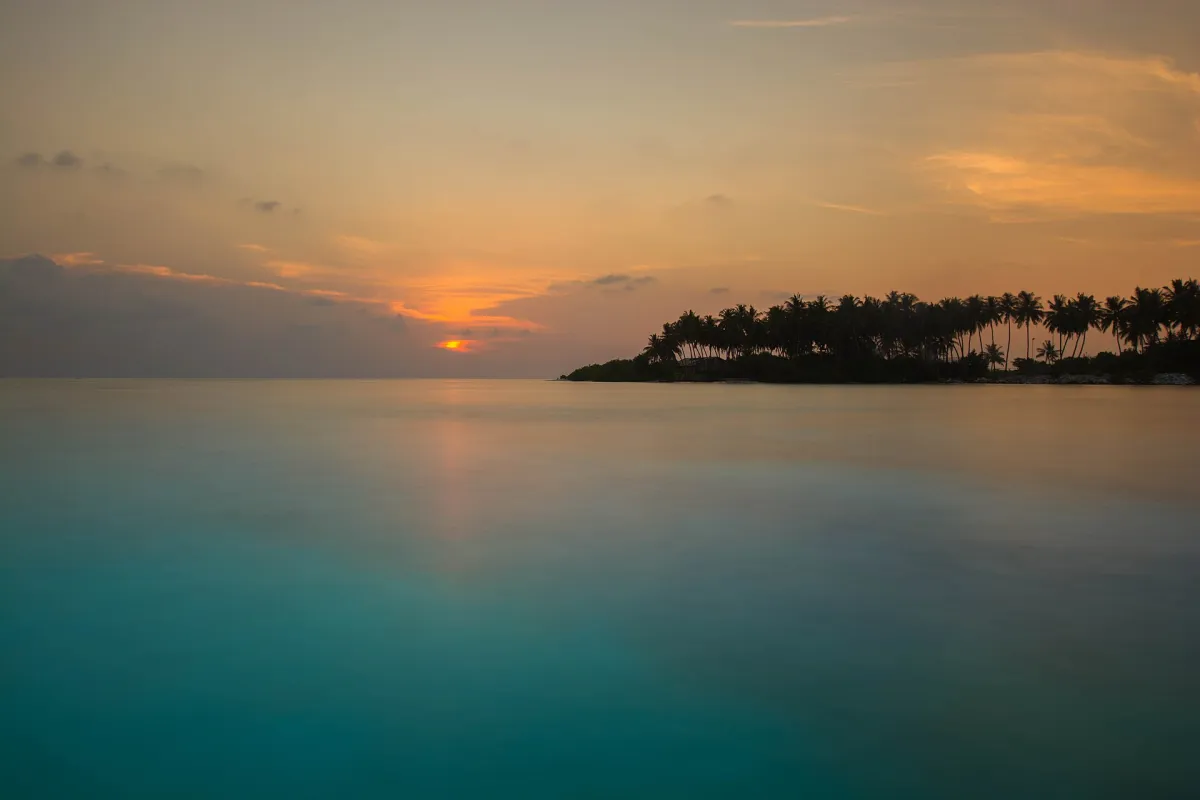
A Maldives sunset photograph can be built from very little: a level horizon, a strip of water, the outline of a jetty or palm and a changing band of colour. Its success often depends on what is left out. Too many dark objects can hide the sky, while an empty foreground may give the viewer no sense of the island setting.
This page explores how to read sunset scenes and make your own photographs without relying on a particular resort, season or guaranteed display of colour. The exact appearance depends on the weather and on the direction of the view. Use the best-time-to-visit guide for broader seasonal planning; a beautiful sunset image is not a reliable forecast for another date.
Identify the picture’s main relationship
Start by deciding whether the scene is about the sky, a silhouette or a reflection. A jetty leading toward the horizon can connect the viewer to the colour beyond it. A palm provides an immediately recognisable island shape, but it can also become a large dark obstruction if its trunk and fronds cover the most interesting part of the sky. Water may carry the strongest colour even when the sky itself looks subdued.
Make one simple frame before adding more elements. Check that the silhouette has a clear outline and does not merge confusingly with another object. A roof touching the horizon can be harder to read than the same roof set against a slightly brighter band of sky. Move within a safe permitted area to improve that separation. The aim is not necessarily an empty scene; it is a scene in which each included element contributes something understandable.
Observe before and after the sun disappears
The sunset moment and the best photographic light are not always the same. Bright colour can develop in clouds before the sun reaches the horizon, and a gentler glow may continue after it disappears. Begin watching while there is still enough daylight to choose a position and identify the return route. Keep a few frames as conditions change instead of arriving for a single hurried exposure.
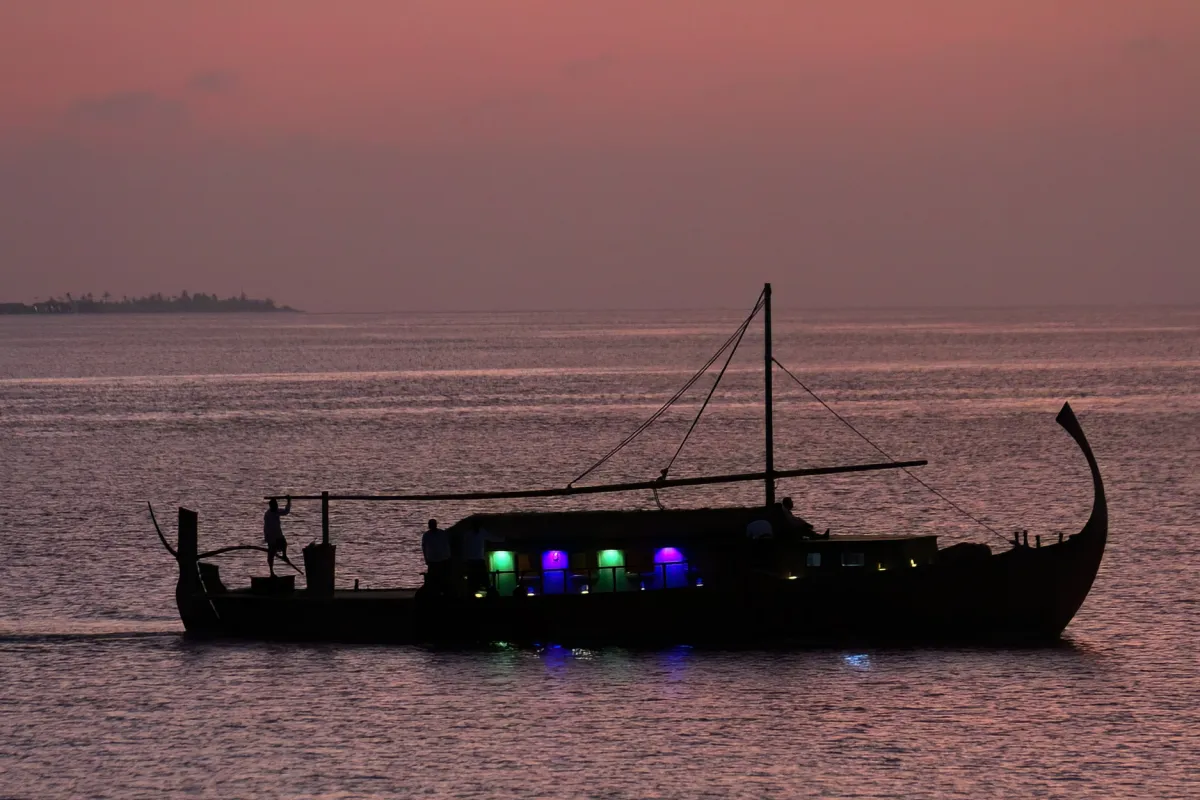
Cloud cover can transform the experience in several ways. A low band may hide the sun completely, while higher cloud catches colour above it. On another evening, haze can soften the whole scene. There is no need to describe the result as a failed sunset if a dramatic orange disc never appears. Look for a quieter subject: a pale gradient behind a roofline, a reflection in ripples or a boat crossing a soft horizon. Photograph what the evening offers rather than trying to force it to match a remembered postcard.
Expose for colour and intentional silhouettes
Pointing directly toward a bright sky can cause a phone to brighten the darker foreground until the sky becomes pale. Tap on a bright area that still contains colour, then reduce exposure a little if necessary. Check that the result remains plausible. A silhouette should be intentionally dark, rather than a patch of murky detail created by excessive shadow recovery.
With a camera, take an exposure that protects the brightest useful areas, then review the foreground separately. A bracketed sequence can provide options, but combining exposures is not essential to every sunset. Moving people, boats and palm leaves can create artifacts when frames are merged. If the sun is visible, avoid prolonged direct viewing through an optical viewfinder and follow the camera manufacturer’s guidance. Choose a composition that remains worthwhile without staring into the sun, and never prioritise a photograph over eye comfort or awareness of the path around you.
Choose how to show movement in the sea
A short exposure can preserve small ripples and make a reflection look like a broken path across the water. A longer exposure can soften the surface and simplify the same scene. Neither is inherently better. Decide whether the texture contributes to the photograph or competes with the silhouette you want the viewer to notice.
Phone night modes and computational long exposures can change motion in ways that are not obvious while you are taking the picture. Review boat edges, people and waves for doubled or smeared detail. For a camera on a tripod, choose a stable permitted surface and keep the setup away from narrow routes and wet edges. Do not place equipment on a reef or enter the water to obtain a smoother foreground. A modest handheld exposure from safe ground can produce a more convincing travel record than a technically elaborate picture made from an unsuitable position.
Check the actual view from your island
A room advertised with a sunset orientation may have a different horizon from the one you imagine. Buildings, neighbouring islands, vegetation and the direction of the shoreline all affect the view. Ask for a current resort map and room-category information if seeing the evening horizon is an important reason for your booking. Do not choose a room number from an old picture without checking that the layout and category are still the same.
On a populated island, use public areas and respect local arrangements. A harbour is a working space, not simply a convenient unobstructed viewpoint. Keep out of boat access routes, and follow instructions if an area is closed. The beach guide and local-island guide explain why access and clothing expectations differ between settings. A camera does not change those expectations, and a photograph taken elsewhere should not be relabelled as your chosen island.
Include people and evening settings thoughtfully
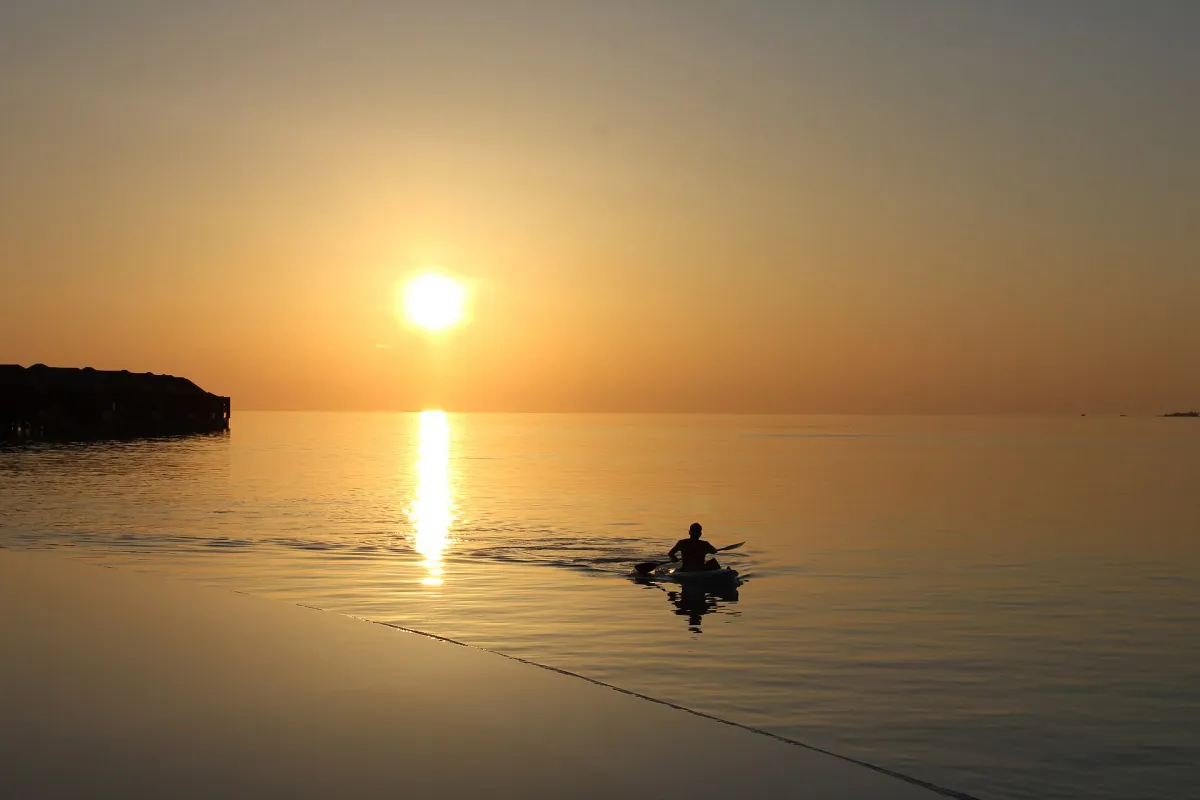
A person at the end of a jetty can supply scale, but the photograph should be made with their agreement and from a position that is safe for them. Do not ask someone to stand near an unguarded edge, climb a structure or enter unfamiliar water for a silhouette. Make the scene work within an ordinary permitted position, then allow the light and shape to do the visual work.
Evening restaurants and private dinners require a different kind of consideration. Keep cameras away from other guests’ tables and avoid flash. If you want an image of a decorated dining setting, ask staff which areas may be photographed and when doing so will cause the least interruption. A quieter detail—a lamp, an unoccupied chair or a reflection beside a walkway—can communicate the atmosphere without turning someone else’s meal into your background. Leave enough room for people to pass and keep bags clear of the route.
Edit gently and caption what is known
Sunset files can tolerate some adjustment, but exaggerated saturation often destroys the subtle transitions that made the light interesting. Watch the boundaries between clouds and the horizon for harsh bands, halos or unnatural colour. Straighten the horizon before deciding on a crop, and compare the final version with the original so that bright lamps and skin tones remain believable.
A useful caption names the actual island or location when verified, describes the visible subject and supplies a date when it contributes context. If a source identifies only the Maldives, keep the caption at that level rather than inventing a resort name. Preserve the photographer’s credit and licence when sharing an acquired image. The wider photo guide can help you build a varied album, but a sunset remains a record of one evening’s conditions, not proof that every night at the destination looks the same.
Frequently asked questions
Which month guarantees a colourful Maldives sunset?
No month guarantees one. Cloud, haze and local conditions shape the appearance on a particular evening. Seasonal information can help with trip planning but cannot promise a specific sky.
Do I need a professional camera?
No. A phone can make a strong sunset picture when the horizon is level, the main silhouette is clear and exposure preserves colour in the sky. Check automated night-mode results for movement artifacts.
Can I identify a resort from a generic sunset image?
Only if the source or another reliable record identifies it. A palm, jetty or overwater roof is not enough to assign a property name or a precise location.