ASIA · MALDIVES GUIDE
Fihalhohi Photos: Beach, Lagoon and Island Shoreline
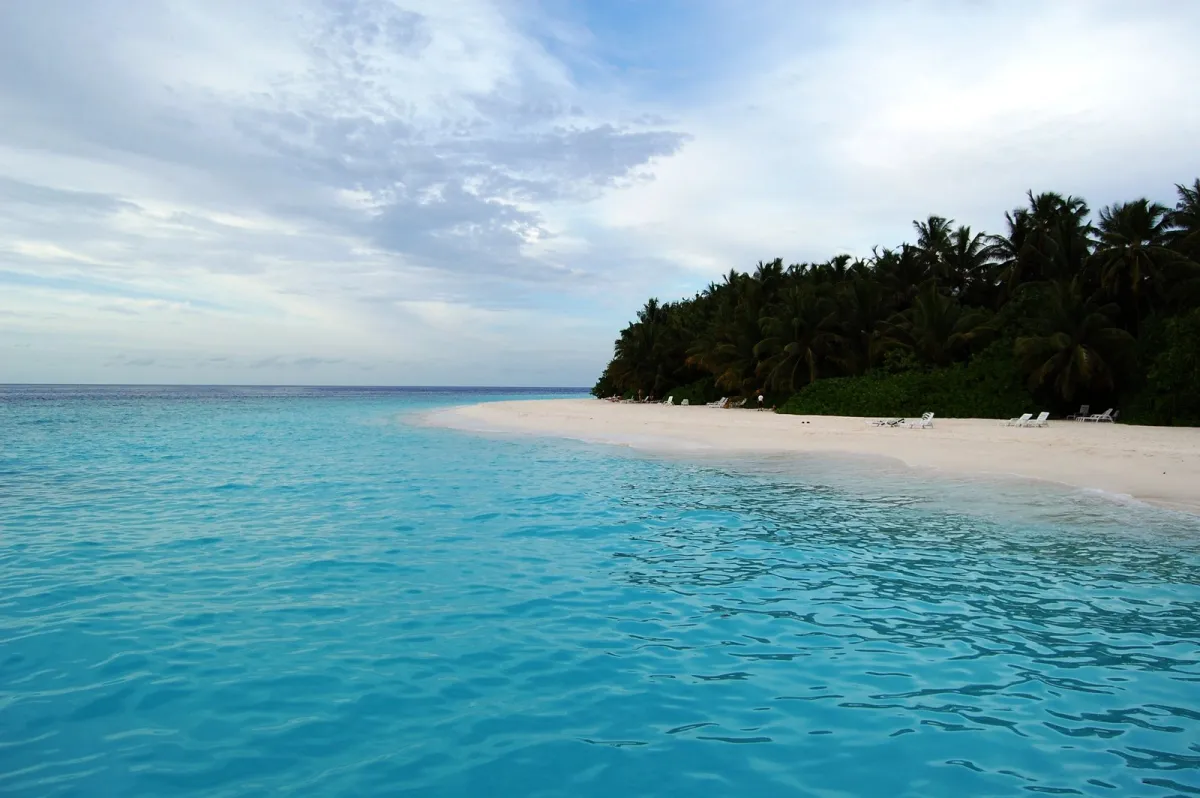
Fihalhohi photographs often reduce the island to a simple meeting of white sand, clear water and dense vegetation. That simplicity is a useful starting point for looking more closely. A curve of beach can lead the eye through a frame, while the contrast between shaded trees and bright water gives the shoreline definition. Small boats, people or palm leaves can supply scale, but they need to support the subject rather than become accidental distractions.
This guide explains how to read the island’s beach views and make a thoughtful photographic sequence during an authorised visit. It complements the Maldives beach guide and diving and snorkelling advice. A photograph of clear water is neither a swimming assessment nor confirmation of present-day reef conditions.
Read the shoreline before taking the picture
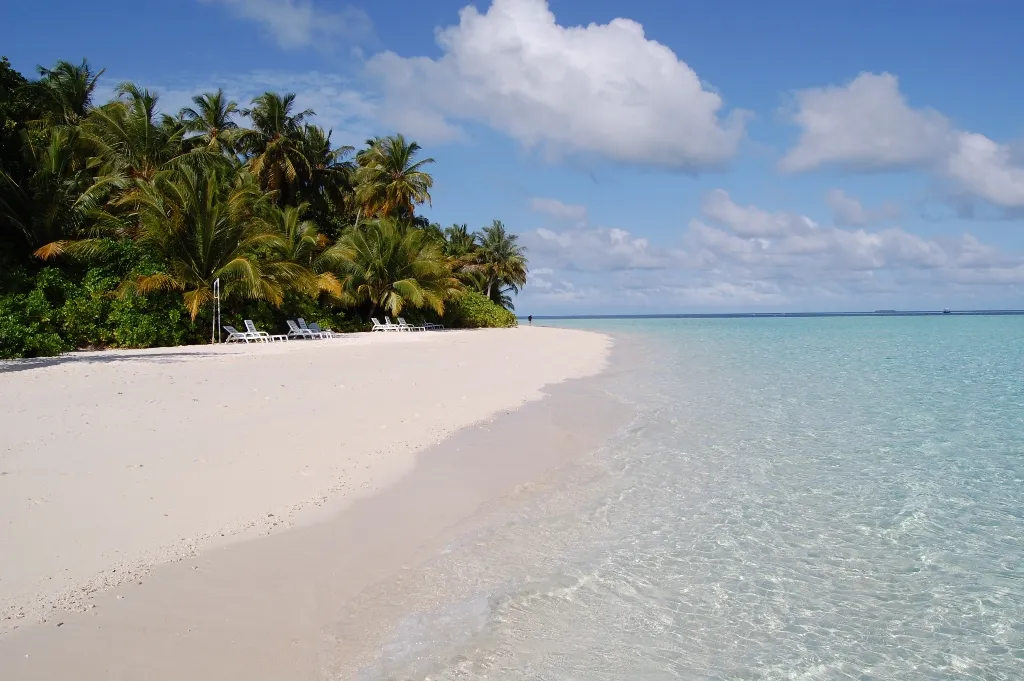
The beach view presented here has a clear visual structure: pale sand curves beside the sea, and a band of darker vegetation holds the opposite side of the composition. Water occupies a substantial portion of the foreground. That gives the viewer a sense of the island’s relationship with its lagoon, even though the photograph does not show the complete island or every part of its shore.
Look for the point where the curve becomes hardest to follow. A person, boat or patch of shade may interrupt it; a slight change of position can make the curve readable again. You do not need a very wide lens to explain the scene. A tighter photograph can show sand texture and the edge of the trees more effectively, particularly when the sky is unremarkable. Make a deliberate choice about whether the image is about the beach, the water or the weather. Including equal amounts of everything can leave the viewer unsure where to look.
Expose for pale sand and changing skies
White sand and cloud can be much brighter than a shaded line of palms. If a camera exposes mainly for the trees, the beach may lose its texture. On a phone, try tapping on a bright area that still contains detail, then check whether the scene has become unreasonably dark. A camera’s histogram or highlight warning can provide a similar check. Keep an alternative exposure when you are unsure instead of relying on a tiny screen in strong sunlight.
An overcast day is not automatically unsuitable for beach photography. Even light can reveal the shape of the shore and make small details easier to photograph. Broken cloud can add contrast between warm and cool areas of the lagoon. What changes is the subject you emphasise. On a hazy day, a wide horizon may contribute little; a closer view of palm fronds, water patterns or the curving shore can be stronger. Do not intensify colour so aggressively that sand becomes orange or the sea becomes a uniform artificial blue.
Photograph water without reading it as a depth chart
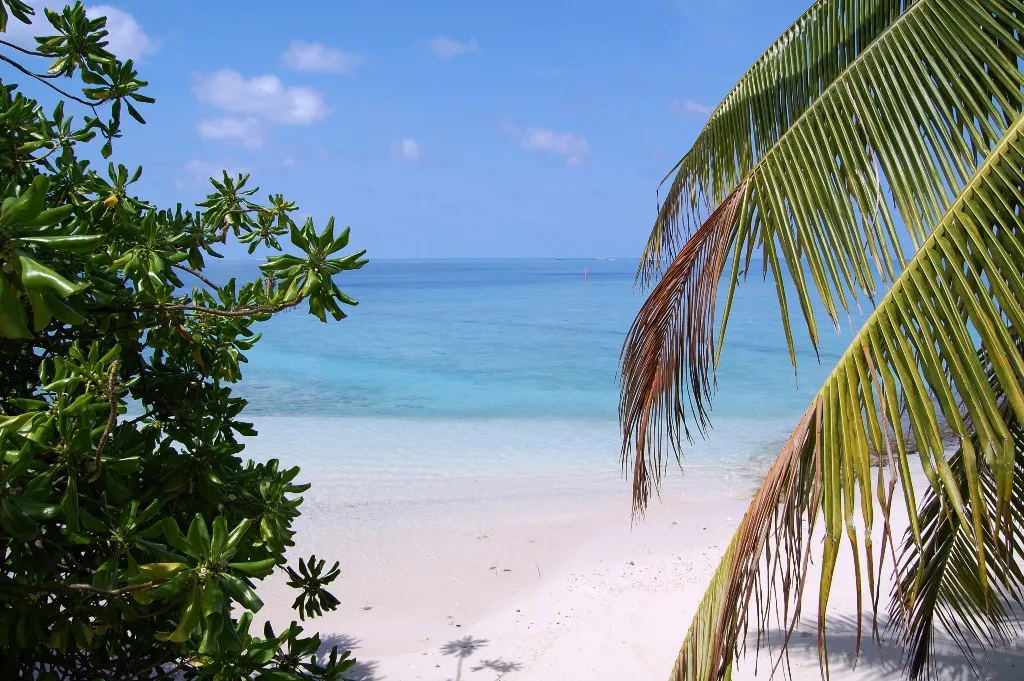
Ripples and submerged sand create changing patterns near a beach. Give yourself time to observe a small area before deciding on the frame. A line of foam, a reflection or a passing cloud shadow may turn an otherwise simple surface into an interesting study. Photograph from a stable permitted position, and keep the horizon outside the frame if the pattern itself is the subject.
Dark areas can result from several things, including depth, shadow and the nature of the seabed. They are not a reliable way to identify coral or a safe channel from an online picture. Ask the island’s staff about current entry points, conditions and permitted activities. If they advise against entering, continue photographing from land. Avoid walking into the lagoon while looking only at your screen. A photograph is easy to replace; damaging a reef or losing your footing in an unfamiliar area creates consequences well beyond a missed composition.
Make a sequence with genuinely different subjects
Begin with a broad view that explains the shoreline. Then change the scale of the story. A second photograph might concentrate on the contrast between shaded vegetation and water. A third can show a small texture or a boat with an identifiable relationship to the shore. The sequence should add information with each frame rather than repeat the same turquoise-water view from a slightly different distance.
A person can show the scale of a palm-lined beach, provided they agree to be photographed. Ask them to remain on an ordinary authorised path or safe area rather than climbing, entering water or standing near an edge for effect. Include a frame without the person as well. That gives you a more flexible record and avoids making the entire sequence depend on a staged pose. If you share the pictures publicly, use a caption that describes what is visible instead of claiming that an unusually quiet moment represents the island throughout the day.
Plan the visit through the property
Fihalhohi’s current official information places the resort in South Malé Atoll and describes an airport journey by speedboat. Its published FAQ asks guests to provide flight details in advance for combined transfers. Confirm current arrangements with the property for your dates rather than treating a photograph of a jetty as evidence of a public ferry service or unrestricted landing point.
If you are staying elsewhere, ask explicitly whether a visit is available, what areas it covers and whether photography requires any additional arrangements. A visit accepted for one activity is not automatically permission to use private decks or accommodation areas. Keep arrival-day photography optional, particularly when your onward boat depends on several guests clearing the airport. The island transfer guide separates scheduled public transport, shared speedboats and resort-arranged crossings so that a photographic idea can be fitted into a realistic journey.
Keep beach photography considerate
Leave a clear route along paths and jetties. A small camera bag can be surprisingly obstructive when people are carrying luggage or moving between the beach and their accommodation. Before putting a tripod down, look for an alternative position that does not interrupt normal movement. On sand, check that every support is stable, then clean equipment away from the water rather than spreading parts across a narrow walkway.
Keep a respectful distance from birds and other animals. Do not feed wildlife to bring it into the foreground, move a shell containing an animal or rearrange natural material in a protected area. Include people only with their agreement, especially around swimwear, private terraces and children. A visually simple beach picture does not require making the beach behave like a private studio. Your best opportunity may be an ordinary quiet interval, with a smaller composition that avoids other guests altogether.
Separate the photograph from current resort details
Buildings, equipment, beach profiles and room categories can change over time. The photographs on this page are visual references to Fihalhohi’s setting, not a certification that every visible detail is unchanged. If the exact view matters to your stay, request a recent photograph and a current map for the accommodation you are considering. Ask about access to the water from that category rather than inferring it from another villa’s image.
Use the same care when captioning your own photographs later. A precise location and capture date are more useful than a claim of permanent emptiness, perfect weather or untouched nature. Keep a copy of the original file and preserve the photographer and licence when reusing an openly licensed image. The strongest island picture remains valuable because it records a distinctive relationship between sand, water and vegetation, even when the practical details of a holiday need to be checked again.
Frequently asked questions
Can I infer safe snorkelling from the beach photographs?
No. Clear water and visible seabed patterns do not establish depth, current, reef condition or a safe entry. Follow the resort’s current briefing and choose an activity suited to your ability.
Does Fihalhohi have a public photography jetty?
Do not assume that resort infrastructure is public access. Confirm guest or day-visitor arrangements directly with Fihalhohi and use only the areas included in that permission.
What should I photograph in cloudy weather?
Focus on the shoreline’s curve, vegetation textures and small water patterns. Even light can help with detail, while a featureless sky can be excluded from a tighter composition.