
COSTA RICA TRAVEL GUIDE
Río Celeste Photos: Waterfall Views, Colour and Trail Photography
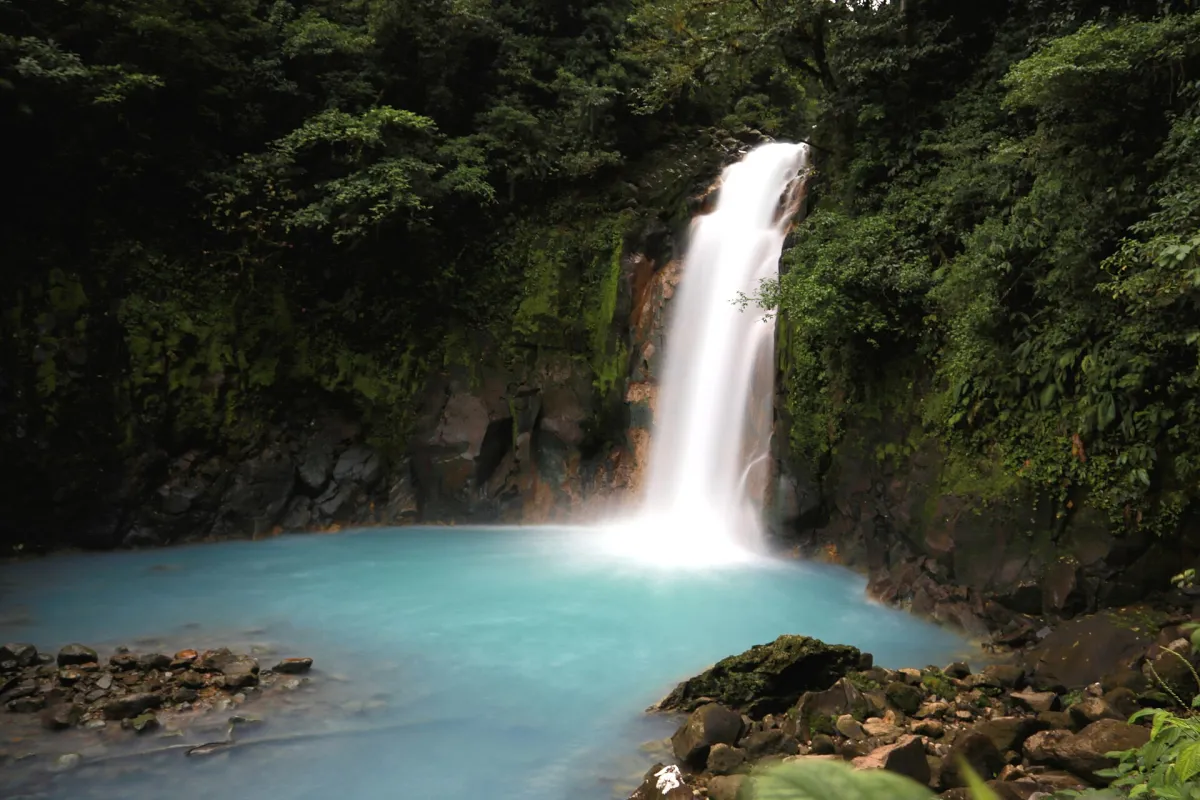

Use the waterfall and forest together
Río Celeste's waterfall is a landscape subject, not a swimming portrait location. Its water, rock and surrounding vegetation can be framed together to show the setting, or more tightly to emphasize the falling water. Keep to the authorized approach and viewing space, leaving room for other visitors to move and enjoy the same view.
The waterfall viewpoint is one part of Tenorio National Park's trail visit. Decide how much of the wider route you intend to walk before using all your time at the first composition. A photograph cannot show the effort of the descent and return, so consider steps and your own walking ability as well as the image you hope to make.
Use the two reference images differently
The waterfall photograph combines a bright vertical ribbon, a blue pool and a dark forest wall. Its visual movement is downward into the pool, so the space around the falling water matters as much as the water itself. The second image follows a much smaller stretch of river around moss-covered rocks. It is a useful reminder that a Río Celeste sequence can include landscape structure and close texture rather than repeating only the famous fall. Both source photographs date from 2014; neither identifies a new access point for today’s visit.
For the wider view, decide whether the foreground rocks help describe the pool or divide it awkwardly. For a smaller river composition, look for the relationship between a rock, a current and a patch of vegetation that is visible from the permitted route. Leave the plants and stones as they are. A detail does not need to contain every colour associated with the destination, and the second reference shows that the river can be interesting without a large uninterrupted area of blue water.
Try a vertical and a horizontal frame when the viewing space allows it. The vertical version may retain the drop and the pool together; the horizontal version can emphasize the forest wall and the water spreading below. Check that the crop has not removed the very feature that explains the place. This comparison is useful even with a phone: keep your own position steady and change the framing rather than leaning beyond the railing to force a wider view.
Expect colour to vary with conditions
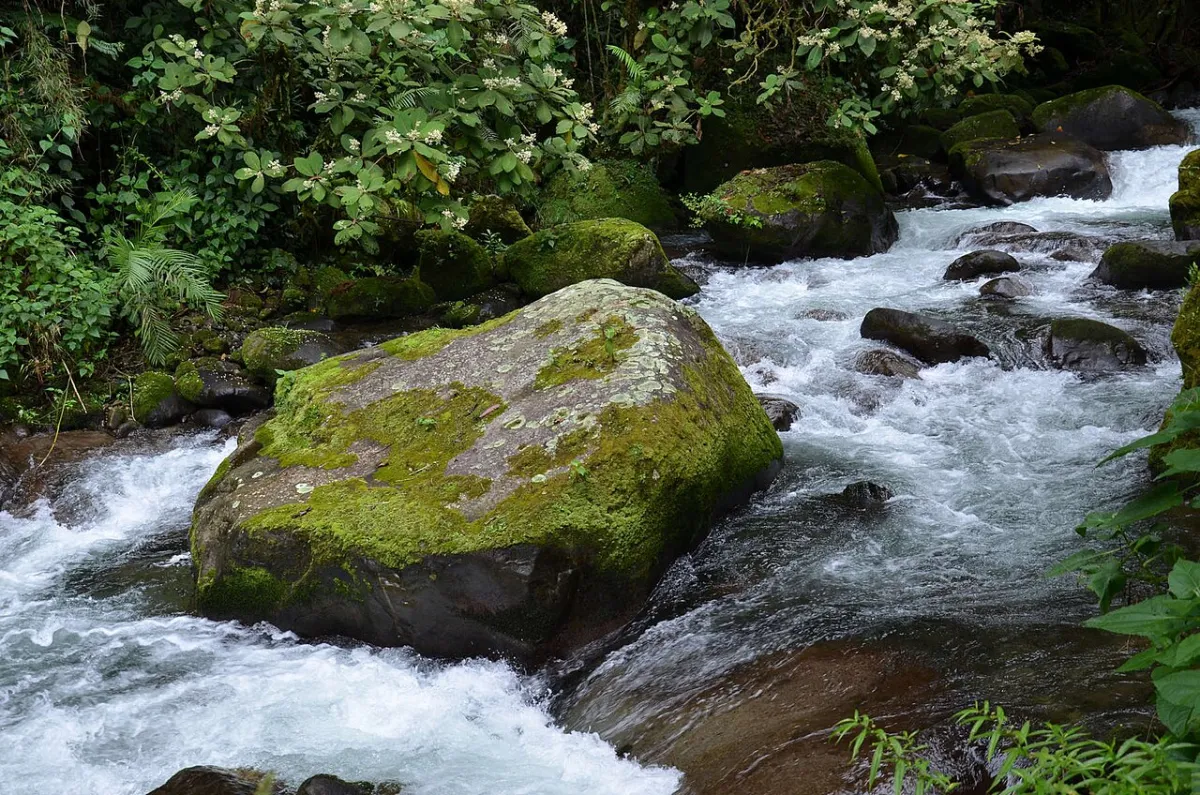

The river's appearance changes with weather, flow and the way light reaches the scene. Do not make the trip depend on seeing precisely the blue of an edited reference photograph. Overcast conditions can still support an effective image of water and green vegetation, while rain or sediment may change the balance entirely.
Review the bright water and dark forest together before moving on. A modest adjustment can make the photograph readable, but excessive saturation risks turning a real place into a promise that the next visitor cannot experience. Keep a record of the conditions and avoid describing one image as the river's permanent appearance.
Balance water texture against forest detail
Compare the bright falling water with the deepest shade before settling on an exposure. If the white water loses all texture, try a darker frame and inspect it; brightening the whole scene may simply flatten the forest and intensify an unrealistic colour impression. A shorter exposure can retain broken water and spray, while a longer one can turn the fall into a smoother shape. These are different descriptions of movement, not a competition to make the water look as silky as possible.
Leaves and moving water will not necessarily stay sharp together. If a slower exposure blurs foliage in wind, decide whether that motion supports the image or whether a steadier, shorter exposure better explains the scene. Keep the setup manageable on the actual viewing platform. A photograph made without a tripod can still show the colour and forest convincingly; equipment that cannot be used within the rules or without obstructing the route should not determine the visit.
Protect the return walk and the shared viewpoint
Use secure footwear and a camera strap, and pack the camera before negotiating slippery steps. Carry only the equipment you can manage comfortably on the uphill return. Water droplets can reach the lens or bag; a simple cover and a dry cloth are useful when they can be used without blocking the route.
Ask about tripod restrictions rather than assuming there is space to set up a long exposure. If allowed, choose a position that keeps the passing route clear. A handheld photograph made with consideration for others is more useful than a technically elaborate setup that takes over the viewing area.
Keep the photograph within the park rules
SINAC prohibits entering the river inside the park and prohibits drones. An image of someone standing in blue water elsewhere is not evidence that entering this river is allowed. Do not step beyond a barrier or seek a private route down to the water for a different angle.
Use SINAC's Tenorio information for the booking channel, current public-use arrangements and rules. Confirm access before the journey rather than relying on an old entrance description. Park staff can change the permitted visit as conditions require.
Leave room for the wider visit
If you continue farther along the authorized route, look for forest detail and the river's relationship to the landscape, rather than collecting only repetitions of the waterfall. Follow the permitted trail and decide your turnaround point early enough to return without rushing.
Read the Río Celeste attraction notes for visit context and Photo Spots for alternative subjects along a Costa Rica route. Official rules were reviewed on 2 November 2026; current trail and weather conditions still need a travel-date check.
Give the walk a photographic sequence: an establishing forest view, the waterfall, then a permitted detail if your chosen route and energy allow it. SINAC describes a wider trail with separate attractions, including the lagoon and Teñidero. That description is not a requirement to complete every part. Choose the return point before spending a long time on one image, and keep the camera packed when the steps need your attention. A smaller, coherent set from a manageable visit is preferable to a hurried collection made while worrying about the exit.
Río Celeste FAQs
Is Río Celeste always the same bright blue?
No. Weather, flow, sediment and light affect its appearance. Treat reference photographs as individual moments, and avoid expecting one edited colour on every visit.
Can I enter the river to make a photograph?
No. SINAC prohibits entering the river inside Tenorio National Park. Use authorized viewpoints and do not infer permission from photographs taken elsewhere.
Can I use a drone over the waterfall?
SINAC prohibits drones in the park. Aerial photographs do not give a visitor permission to fly equipment.
Should I take a tripod?
Check the current equipment rules and consider the shared space and steps. Even where allowed, a tripod must not block other visitors or make your return walk difficult.
Can I photograph only the waterfall and leave?
Choose a visit length that fits your needs and permitted access, while allowing for the approach and uphill return. Do not let time spent at the viewpoint compromise a safe, unhurried exit.