USA TRAVEL GUIDE
USA Photo Spots: Plan City, Coast and Landscape Photography
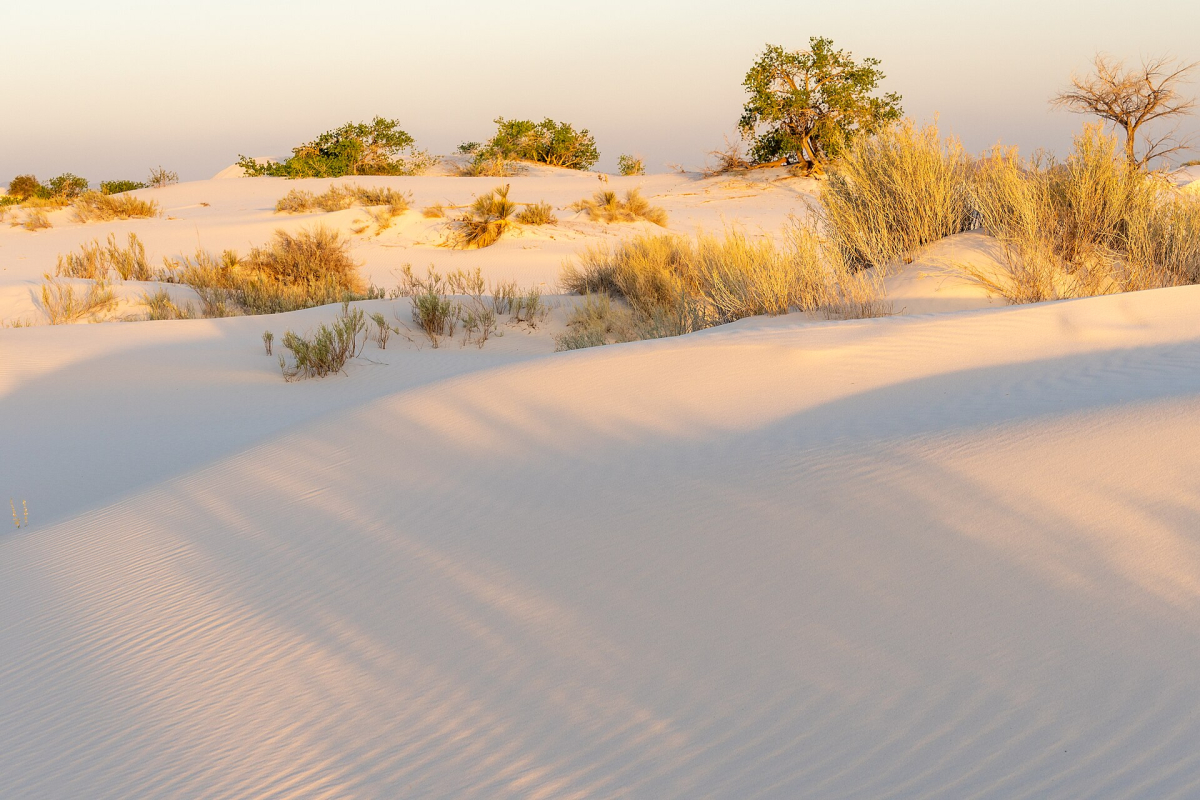
The United States offers many kinds of photography within very different journeys: a walk between Northeast waterfronts and monuments, a city-and-music trip through the South, a Southwest landscape route or time on a Hawaiian island. Start with a region and a few photographic questions you want to explore. This guide helps you connect those choices, plan around access and changing conditions, and use the fifteen existing photo pages for detailed studies of particular images and viewpoints.
Choose a regional photography route with room to observe
A useful photography itinerary leaves time to look, return and change plans. Moving between many distant locations can consume the light and attention you hoped to use for photographs. Choose a primary region, then combine subjects that fit naturally within it: waterfront and street scenes in a city, a gateway town and nearby landscape, or a coastline with a small number of bases. The number of famous places visited is less important than whether each stop gives you a distinct visual idea.
Decide what kind of sequence you want to bring home. A city story might need an establishing skyline, a street-level scene and an architectural detail. A landscape story might combine a broad view, a smaller study of form and a photograph explaining the permitted visitor setting. This gives each frame a purpose and helps you decide when a second visit to one place is more valuable than adding another stop.
The fifteen linked pages below are focused companions. They explain the visible subject, documented source context and practical choices around a particular photograph. Their range is deliberately narrower than a complete city guide. Use them to choose a photographic approach, then organise transport and accommodation through the wider USA travel guide.
Northeast cities: connect waterfront, street and civic subjects
The Northeast collection offers several different relationships between camera and city. The Boston Harbor photography page studies buildings layered behind a waterfront. The Philadelphia South Street Bridge panorama uses the river and crossing to organise the skyline. These are useful comparisons for deciding whether your own city photograph needs a foreground, an offshore perspective or a more concentrated arrangement of towers.
New York has two separate subjects in this collection. The Statue of Liberty page distinguishes a harbour view from an island or interior visit. The Times Square night-photography page explores bright screens, crowds and street-level framing. They can contribute to one city story without competing for the same visual role. In Washington, the east-side Capitol photograph offers a more ordered architectural composition.
For a manageable route, choose the cities that fit your available days and transport. Within each city, group photography around the places you will already visit. A late waterfront session, a museum booking and an early departure do not automatically fit comfortably together. Leave a backup opportunity for the subject you most want rather than relying on one brief stop having ideal conditions.
Central and southern cities: compare skyline structure and monument form
The Chicago lakefront skyline shows a long city outline beside open water. In St. Louis, the upward Gateway Arch study reduces a familiar landmark to curve, steel and sky. Together they illustrate a useful choice: a broad city portrait and a close geometric study can be equally specific to place, but they require different framing and surrounding explanation.
Further south, Atlanta from Jackson Street Bridge uses a road curve to lead towards downtown. The Dallas dusk skyline concentrates on colour and silhouette, while Houston from the Buffalo Bayou side includes a green foreground. Choose the approach that interests you rather than making every city stop produce the same tightly cropped skyline.
These cities occupy several different regional journeys. Work out the complete movement between bases before linking them into a route, and use a transport day realistically. If the most promising evening is also a long arrival day, a nearby permitted viewpoint may be a better choice than a distant stop reached in a hurry. Keep a smaller local composition available when weather or timing changes.
Western and coastal photography: allow for visibility and changing shorelines

The western collection spans very different settings. The Seattle Queen Anne Hill skyline studies a city from an elevated neighbourhood perspective. The north-side Golden Gate Bridge photograph uses towers, cables and changing visibility. The Hollywood Sign page concentrates on a landmark within its hillside. Choose a regional base and a manageable set of outings; these subjects do not need to become one compressed coastal journey.
The Cannon Beach reference below this heading adds another visual problem: a large coastal rock, surrounding sky and an open beach foreground. Its source records Oregon in June 2023. It illustrates the relationship between shoreline form and light; it does not establish a current tide, a safe route around the rock or permission to enter a protected area. A coastal photograph should be planned using the actual access and conditions at the chosen beach.
Changing visibility can become part of the photograph. Fog may simplify a bridge background; low cloud may make a skyline less distinct; a bright reflection may dominate the sea. Decide whether a closer composition works before abandoning the outing. Remain on authorised paths and observe beach or wildlife restrictions. Getting lower or closer is useful only when the available position is suitable.
Landscape photography: build the outing around access as well as light
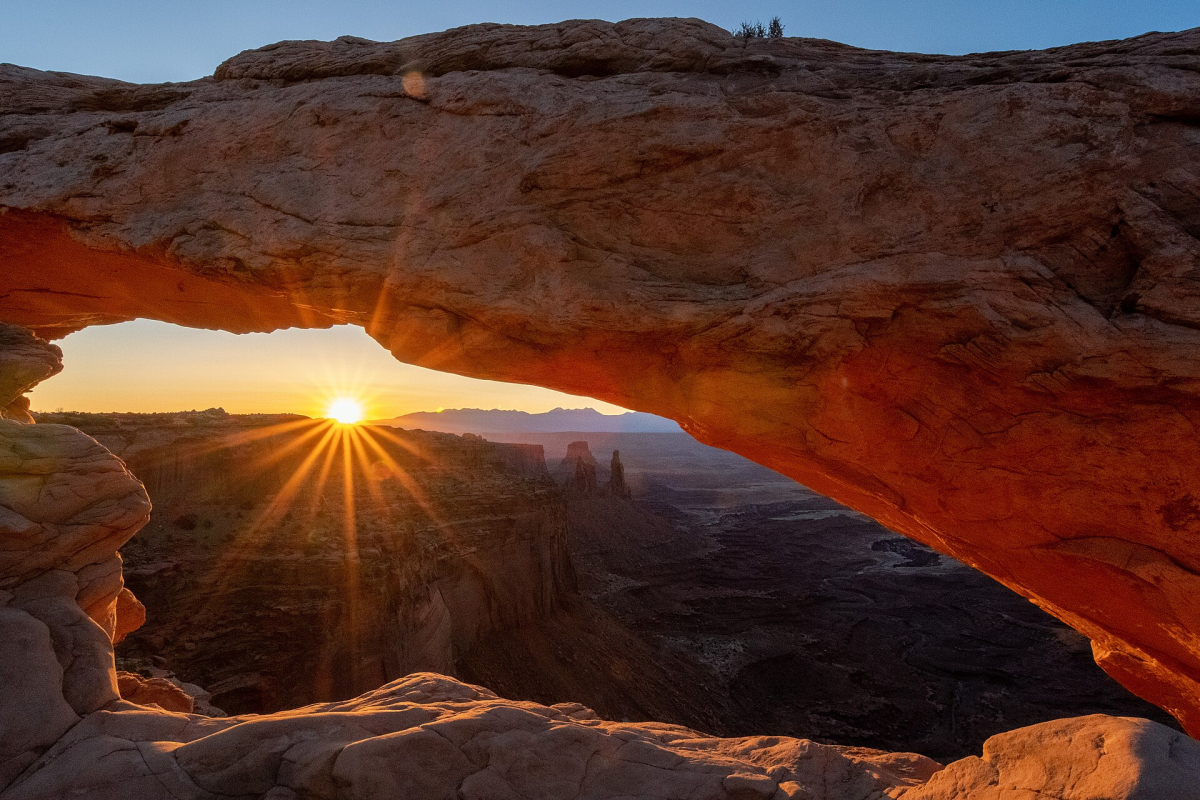
A landscape route needs enough flexibility for the place itself. The Mather Point photograph shows how light and shade separate successive canyon layers. The Mesa Arch sunrise photograph accompanying this section records a different arrangement: an opening frames the distant landscape while the sun becomes a concentrated point of attention. These are specific historical photographs, with their original context and credits retained; neither promises the conditions of a future visit.
Choose an outing you can complete comfortably before planning a particular light effect. A viewpoint, a short rim walk and a longer backcountry route have different demands. Check the responsible land manager’s current alerts, access arrangements and route information. Where reservations apply, distinguish the entrance requirement from any separate transport, road or activity booking. An entry pass should never be treated as confirmation of every other arrangement.
The National Park Service’s Mather Point route information is one example of a source that helps select a practical shorter walk. For another park, use that park’s own current details. Carry what the selected outing and conditions require, leave time for the return and change the plan when weather or access makes the original idea unsuitable. A clear photograph from a permitted viewpoint is a complete result.
Hawaii: decide whether the viewpoint is offshore, on shore or above the coast
The Diamond Head and Waikiki photograph was made from a tour boat offshore to the southwest in January 2022. That source context changes how the image should be used. It shows a long coastal profile, with the crater and resort shoreline together. A summit photograph would look back across the coast from above, while a beach-level scene would introduce nearby people, palms or water as a foreground.
Choose the perspective that fits your visit and mobility. A boat excursion and entry to Diamond Head State Monument have separate arrangements. The official state-park information should guide any summit visit. For an offshore activity, check the operator’s current route and conditions; the source image does not identify a present operator or guarantee a particular viewing angle.
On a moving vessel, secure equipment and follow crew instructions. From shore, use lawful public access and respect any protected or restricted areas. Your set can include more than one perspective if the itinerary allows, but keep the captions clear about what each actually shows. This avoids presenting a coastal profile as evidence of the summit trail or its current condition.
Check the rules for the place and the activity you will undertake
A camera does not make every place or setup available. Museums, observation decks, transport operators, city parks and federal land managers can have different requirements. Check the venue or land manager for the exact activity: a brief personal photograph, a paid portrait session, a group production and a drone flight can raise different questions. Confirm practical restrictions before travelling with equipment you may be unable to use.
Current NPS photography and filming guidance reflecting the 2025 EXPLORE Act includes conditions concerning public access, hand-carried equipment, exclusive use and effects on resources or other visitors. Use the relevant park’s information for your actual proposal rather than assuming that an old blanket commercial-photography rule is still the complete answer. Organised work may need direct discussion with the manager.
Drone use requires its own check. The NPS uncrewed-aircraft guidance directs visitors to the individual park’s rules and explains restrictions within the system. Do not infer permission from seeing an aerial image online: it may have been made under different circumstances, by an authorised operation or from a different place. The same care applies to photographs made beyond barriers, inside restricted buildings or on private property.
Keep the finished photo story accurate, varied and useful
Write captions from what you know. Identify the visible subject and documented place, and give the source date when it changes how readers should understand the scene. If the exact camera position is unknown, say so or use a broader description. A plausible-looking viewpoint, camera setting or access permission is still an invention if the source does not establish it.
Distinguish the photograph’s evidence from present travel information. An older museum interior can explain an exhibit’s historical context without promising that the same gallery remains open. A concert or parade photograph can illustrate a past event without announcing a future programme. A shoreline or trail image can show a landscape while current access comes from the responsible authority.
Finally, select images for different jobs. Keep one strong establishing photograph, then add frames that explain a particular form, activity or relationship. Reusing the same work under different filenames or crops does not add another observation. A compact set with clear subjects, honest context and retained creator and licence information gives a stronger record of a trip than a larger gallery of nearly identical views.
Continue planning your USA trip
Sources and further reading
- National Park Service — Mather Point Rim Trail
- Hawaii State Parks — Diamond Head State Monument
- National Park Service — Current filming and photography policy
- National Park Service — Uncrewed aircraft
FAQ
Should I plan a trip around all fifteen photo pages?
Use them as a collection of regional choices. Choose a route suited to your days and transport, then select the photographic subjects that add variety within that journey. Their inclusion together does not imply that they form one efficient short itinerary.
Are sunrise and sunset always the best times for USA photographs?
The useful time depends on the subject, permitted access, weather and the image you want. Daylight can explain building or trail context clearly; later light can emphasise silhouettes or illumination. Choose an outing you can access and complete comfortably.
Can a photo establish current access or drone permission?
No. A source photograph records particular circumstances. Check the responsible venue, park or land manager for the current activity and equipment rules. An aerial or after-dark image does not itself establish permission to recreate it.
Why do the detailed photo pages disclose older dates or unknown viewpoints?
That context lets readers use each image accurately. The pages analyse the visible composition while current access comes from official sources. They avoid turning historical images into claims about current buildings, galleries, schedules or camera positions.