AFRICA · SOUTH AFRICA GUIDE
South Africa Photos and Photo Spots: Light, Access and Planning
Photography in South Africa is more rewarding when you plan for a particular place, light and subject rather than collecting a checklist of familiar views. A coastal landscape, a safari drive and a city portrait each need a different approach. Build time to observe, work within access rules and accept that weather or wildlife may change the image you hoped to make.
This guide is a starting point for choosing photographic days and using the accompanying location pages thoughtfully. It does not promise a particular sighting, clear mountain or unrestricted shooting position. Photographs illustrate their stated places and contexts; an older image is not proof that the same access, surroundings or activity is available today.
Choose a subject before choosing equipment
On a small screen, scroll the table sideways to compare all columns.
| Subject | Useful approach | Access consideration |
|---|---|---|
| Cape Town mountain and bay | Work with foreground, scale and changing cloud | Use an appropriate public viewpoint and a planned return |
| Safari wildlife | Watch behaviour and leave space around the animal | Vehicle position and reserve rules take priority |
| Garden Route forest and coast | Choose either texture and detail or a wider landscape story | Check the actual trail, tide exposure and current closures |
| People, art and everyday life | Seek context and permission rather than a candid trophy | Individual consent and venue rules matter |
Choose a photo companion
For Cape scenery, the Cape Town companion looks at street scenes and architecture through a Wale Street view in Bo-Kaap. The Table Mountain companion separates photographing the mountain from visiting it, while Cape Point focuses on exposed coastal viewpoints and practical access. Use these different questions to choose an outing rather than treating the three pages as one repeated location list.
For urban subjects, start with Johannesburg for composition and a manageable city outing. Continue to Nelson Mandela Bridge for a named architectural subject, or the 2010 World Cup stadium companion for the historical collection and current-visit distinction. An archive image does not establish a fixture, tour or present-day access.
The other companions develop different subjects: Beach Life considers coastal scenes and personal space; Leopard & Wildlife addresses patient observation and respectful vehicle-based photography; and Heritage Day Portrait uses a group portrait to discuss permission, collaboration and accurate captions. None supplies missing identity, permission or source details for an existing photograph.
Cape Town: mountain, bay and an intentional foreground
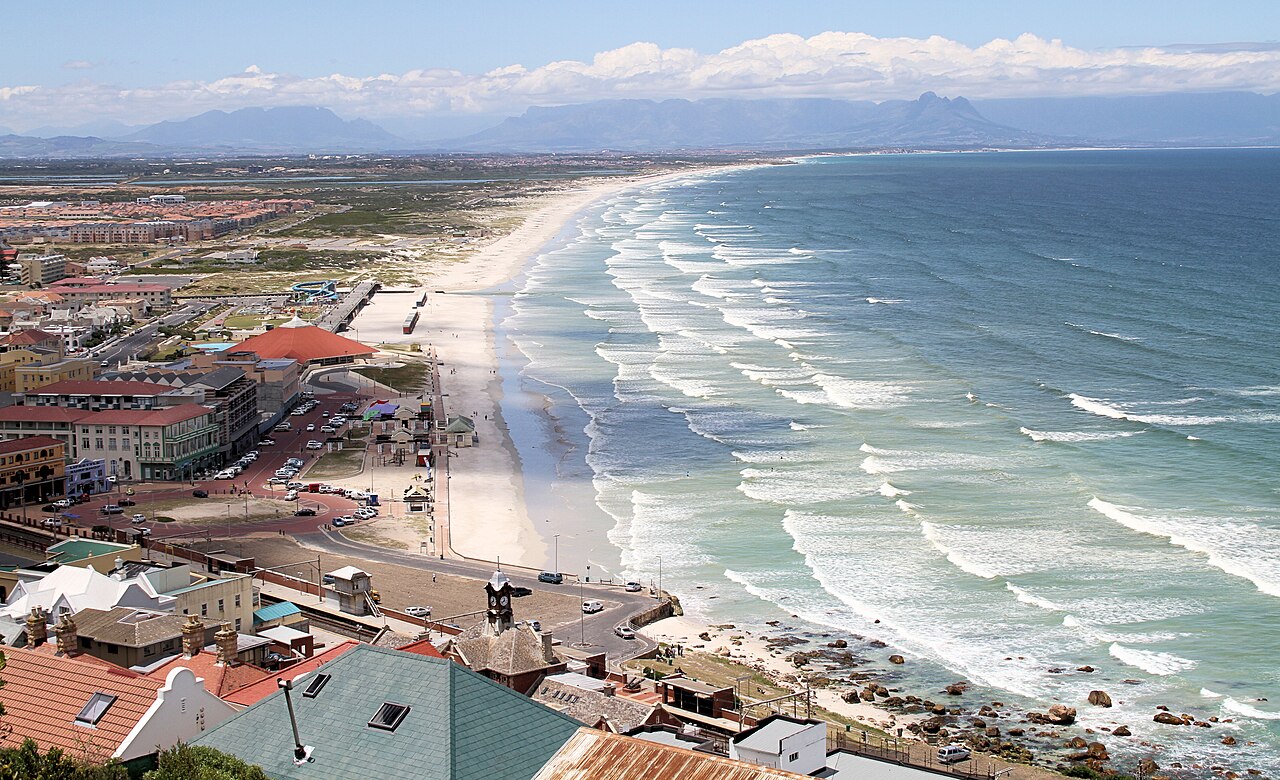
Bloubergstrand gives a recognisable view towards Table Mountain across Table Bay. Cape Town Tourism's viewpoint guide identifies it among the city's mountain perspectives. Instead of assuming there is one correct tripod position, decide what the foreground adds: a line of coast, a rock shape, changing water or people who establish scale when photographing them is appropriate.
Check the weather and allow more than one opportunity if the mountain view is central to your trip. Clouds can hide a familiar skyline or create the day's most interesting structure. A clear documentary view and an atmospheric landscape are different goals; choose the one that suits the conditions rather than forcing a preselected picture.
Use a safe public position and keep clear of waves, wet rocks and restricted areas. A longer exposure requires stable equipment and enough attention to your surroundings, not simply a filter and a saved camera setting. After-dark or early-morning plans need sensible transport and local advice. Do not let the promise of quiet light override a safe return or the current conditions.
Safari: photograph behaviour within the rules
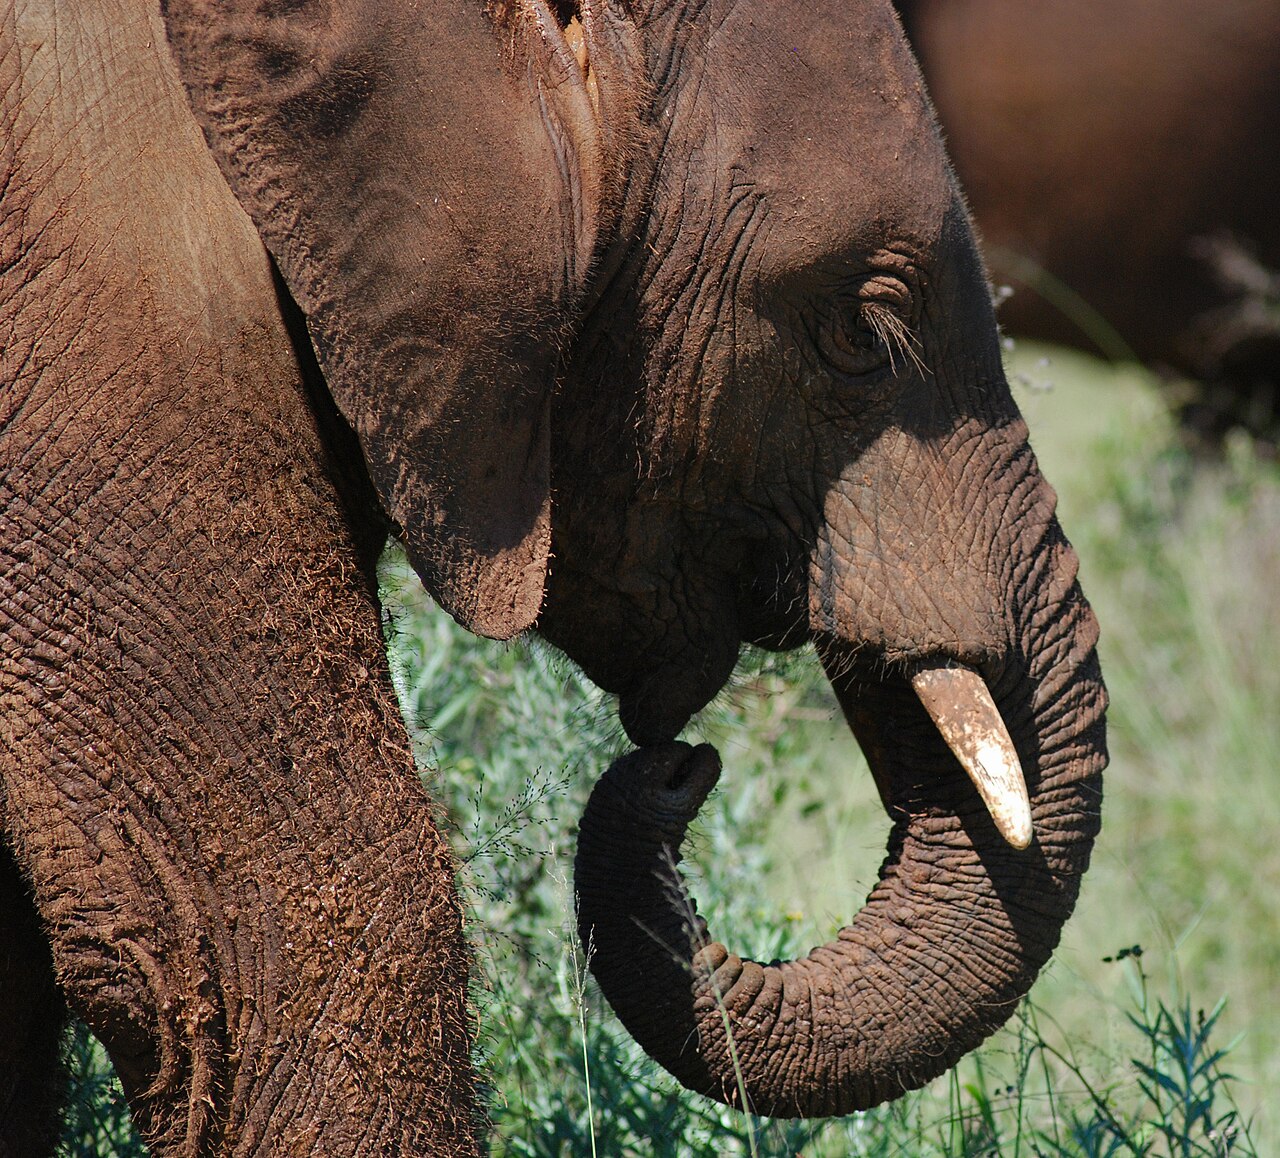
The elephant calf photographed at Addo illustrates an animal portrait; a wider frame can add the surrounding habitat. Wildlife photographs become more informative when they show behaviour, habitat or relationships rather than only filling the frame. Look for an animal's direction of travel, a bird's interaction with its surroundings or the space that explains the scene. A distant subject can still produce a strong image when its landscape is part of the story.
A longer lens can help you work without requesting a closer approach, but equipment does not create permission. Keep the vehicle and your body within the park or reserve's rules, leave an animal room to move and avoid pressuring a guide to alter its behaviour. A sighting is shared with other visitors as well as the wildlife; blocking a road for a preferred angle is not a reasonable photographic technique.
Use SANParks' current regulations to understand the boundaries of a national-park visit. Private reserves have their own procedures. Ask before a drive whether there is space for camera bags, whether supports are practical and how a shared vehicle handles different interests. Do not assume that a lodge accepts a bulky case on every transfer simply because it caters for photographers.
For camera settings, begin with the movement and available light rather than copying a single wildlife recipe. A walking animal, a perched bird and a fast flight need different shutter decisions. Learn your equipment before travelling so that observation remains the main activity. Silence unnecessary sounds and follow any guide instruction about lights or sensitive locations.
Garden Route: forest detail and coastal scale
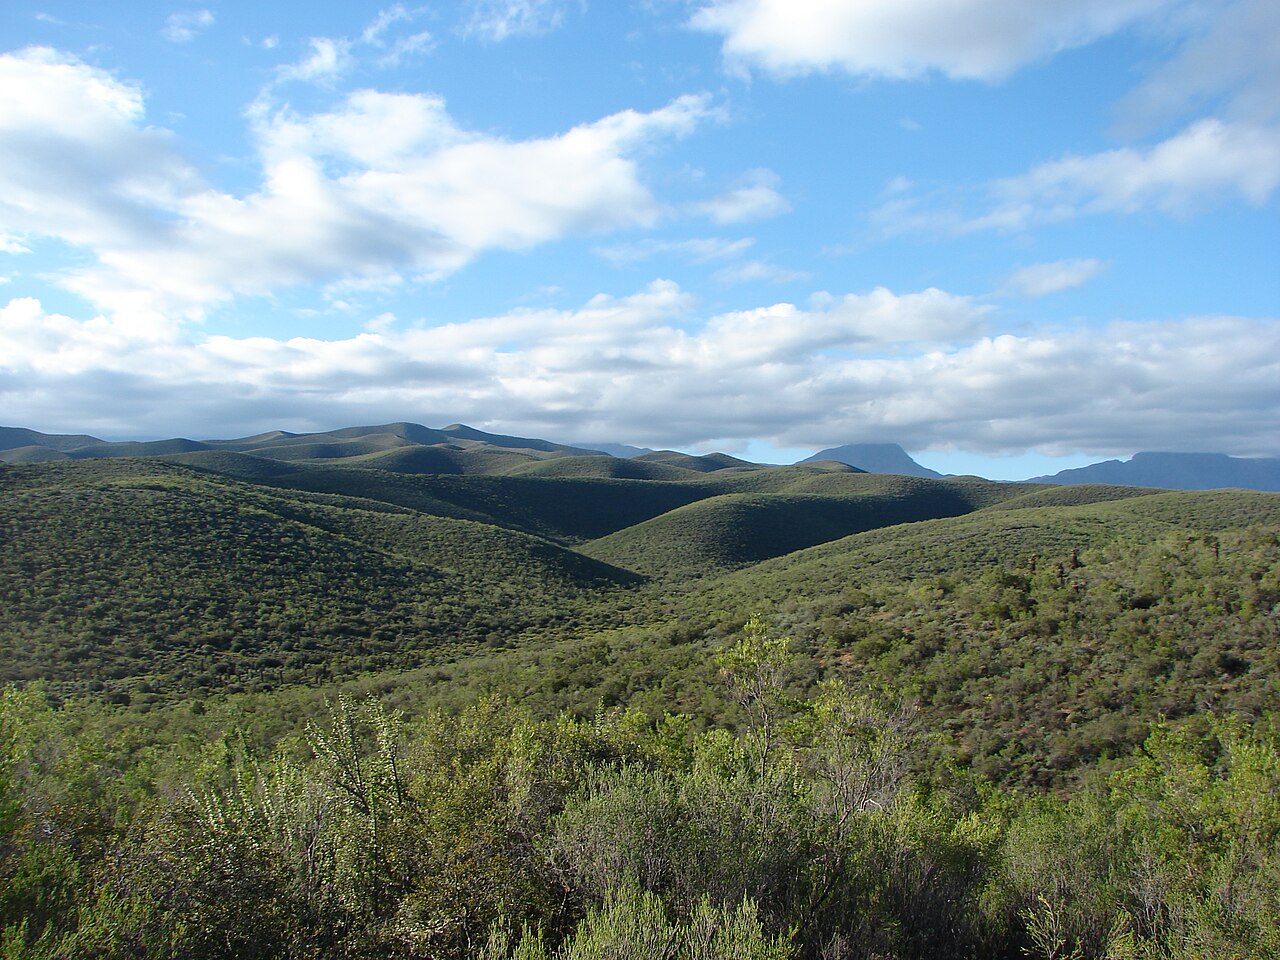
The Garden Route offers a useful contrast to the wide, bright coastal view. In forest, notice layers of trunks, small plants, water and differences in light rather than assuming the widest lens will explain everything. Overcast conditions can suit detail and texture. A photograph that shows a particular habitat clearly may tell more than another general panorama.
On the coast, use paths and authorised viewpoints to explore the relationship between rock, forest and sea. The official Garden Route trail information is a starting point for identifying actual routes. Check the specific section and current notices before relying on a bridge, coastal path or viewpoint shown in an older photograph.
Protect equipment from spray and rain without sacrificing your own safety. Keep spare batteries and essential items accessible, and avoid changing lenses where windblown sand or water makes it impractical. A tripod can obstruct a narrow boardwalk even when it is otherwise permitted, so choose a quiet position and move when others need to pass.
People, culture and the stories attached to images
Ask before making a recognisable portrait, especially when the person is working, participating in a cultural activity or visiting a place of memory. Explain what interests you and how the image will be used if you intend to publish it. A guide's permission to visit a neighbourhood is not blanket permission to photograph every resident.
Give the subject the option to decline without an argument, a hidden photograph or a financial pressure tactic. Be particularly careful around children. A respectful travel image does not need to show every encounter, and a conversation can be valuable without producing a portrait. Do not ask someone to perform a stereotype because it matches an imagined picture of the country.
At museums, religious spaces, galleries and performances, check the current rules for personal photographs, flash, tripods and commercial use. The Constitution Hill visitor guidance, for example, distinguishes public areas and professional photography arrangements. Credit artists and preserve the identity of work shown in a caption rather than turning every artwork into anonymous decoration.
Permits, drones and professional work
Personal holiday photographs and a planned commercial shoot are different activities. SANParks publishes its filming and photography application process; use it when your intended activity requires permission. Do not infer that a public entry ticket authorises models, lighting, a crew or promotional production. Describe the actual project to the land manager rather than choosing a label that hides its scope.
SANParks' general visitor rules prohibit ordinary drone use in and over national parks. An application route for authorised work does not mean a visitor can launch first and arrange permission afterwards. Elsewhere, landowner permission and applicable aviation requirements remain separate questions. If you cannot establish the permissions for your exact plan, leave the drone packed and use a permitted ground-based viewpoint.
Plan a photographic day that still works as travel
Choose one main photographic purpose and an alternative. If the coast is too exposed, a museum or a sheltered detail-focused outing may be more useful than chasing conditions across the city. If wildlife remains distant, look at landscape and smaller species. Planning flexibility is not accepting a worse day; it is paying attention to what the place actually offers.
Check batteries, storage, weather protection and the practical load you want to carry. A compact kit you can use comfortably often creates more opportunities than equipment left at the hotel. Back up important photographs during the trip and keep necessary travel documents separate from the only device holding your images. For the full itinerary, build a few unhurried returns to the places that matter most.
When sharing, write captions that distinguish observed facts from an assumption. Keep the actual place, species or artwork identity where known, and do not imply a close interaction that the photograph does not establish. Respect requests not to publish sensitive wildlife locations in real time. Honest context gives an image lasting value beyond its first impression.
South Africa photography FAQ
Can I make good photographs with a phone?
Yes, especially for landscapes, details and everyday scenes when you pay attention to light and composition. Distant wildlife may be harder to record clearly. Use binoculars for observation rather than moving closer simply to overcome the camera's limits.
Can I fly a drone in a national park?
Ordinary visitor drone use is prohibited by SANParks' rules. A formal permission process for particular work is separate from routine admission. Do not launch based on another person's old aerial photograph or a general statement from an unrelated destination.
Does an image prove I can reach the same viewpoint?
No. Access, structures, vegetation, safety conditions and permissions can change. Check the current route and land manager before planning around a photograph, and treat the image as visual context rather than a guarantee of present-day access.