
Hawaii travel guide
Hawaii Photo Spots: Viewpoints, Light and Thoughtful Island Routes
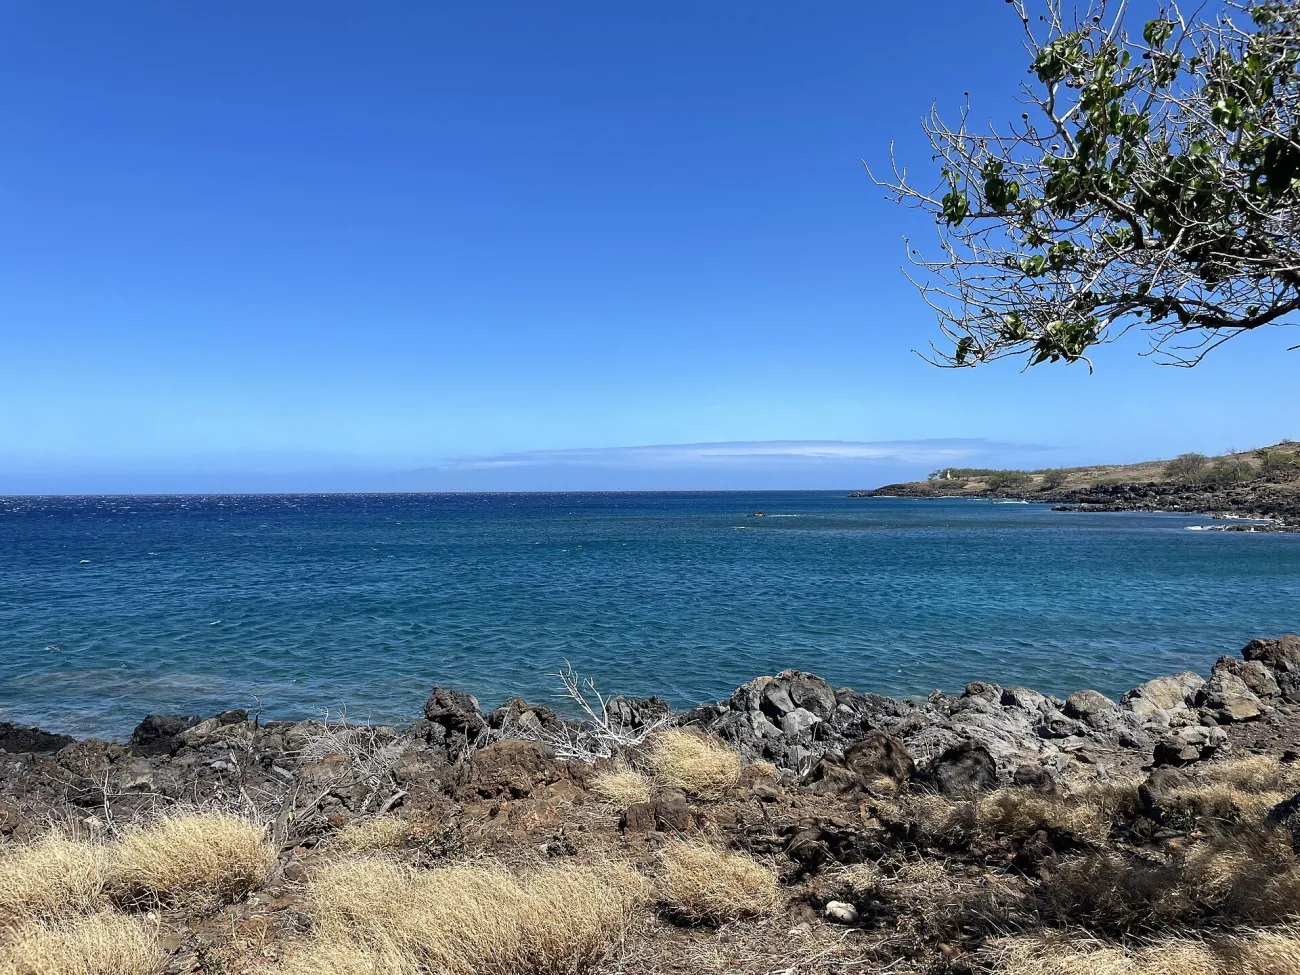

The most useful Hawaii photograph starts with a practical question: where can you stand legally, safely and without disturbing anyone? A crater seen from Waikīkī, a lava texture viewed from a trail and a cliff profile seen from a boat are different outings. Choose a few subjects on the island you are already visiting, then leave space for light, weather and access to change the plan.
Choose the subject and the kind of journey
For a short trip, build a photographic sequence within one area rather than assembling an archipelago-wide checklist. An easy sequence might combine an urban shoreline and a nearby architectural visit on Oʻahu, or a landscape and a closer detail during one Hawaiʻi Island park day. A second island adds flights, transfers and packing, not simply another map pin.
On a small screen, swipe the table sideways to compare photographic outings.
| Subject | Island | Useful photographic approach | Check first |
|---|---|---|---|
| Waikīkī and Diamond Head | Oʻahu | Coastal profile, beach-level context or a separately planned summit view | Actual viewpoint, public access and summit reservation if applicable |
| Punaluʻu | Hawaiʻi Island | Contrast between sand, water and volcanic coast | Current coastal conditions and protected wildlife space |
| Nāpali | Kauaʻi | Cliff layers from a permitted land viewpoint or booked sea outing | Recovery notices, reservations and operator departure harbour |
| ʻIolani Palace | Oʻahu | Architecture in context; interior only under the palace’s rules | Tour booking, personal-use rules and equipment restrictions |
| Volcanic landscapes | Hawaiʻi Island | Large landforms and close texture from open routes | Current park alerts; visible lava is never guaranteed |
Waikīkī and Diamond Head: choose your perspective
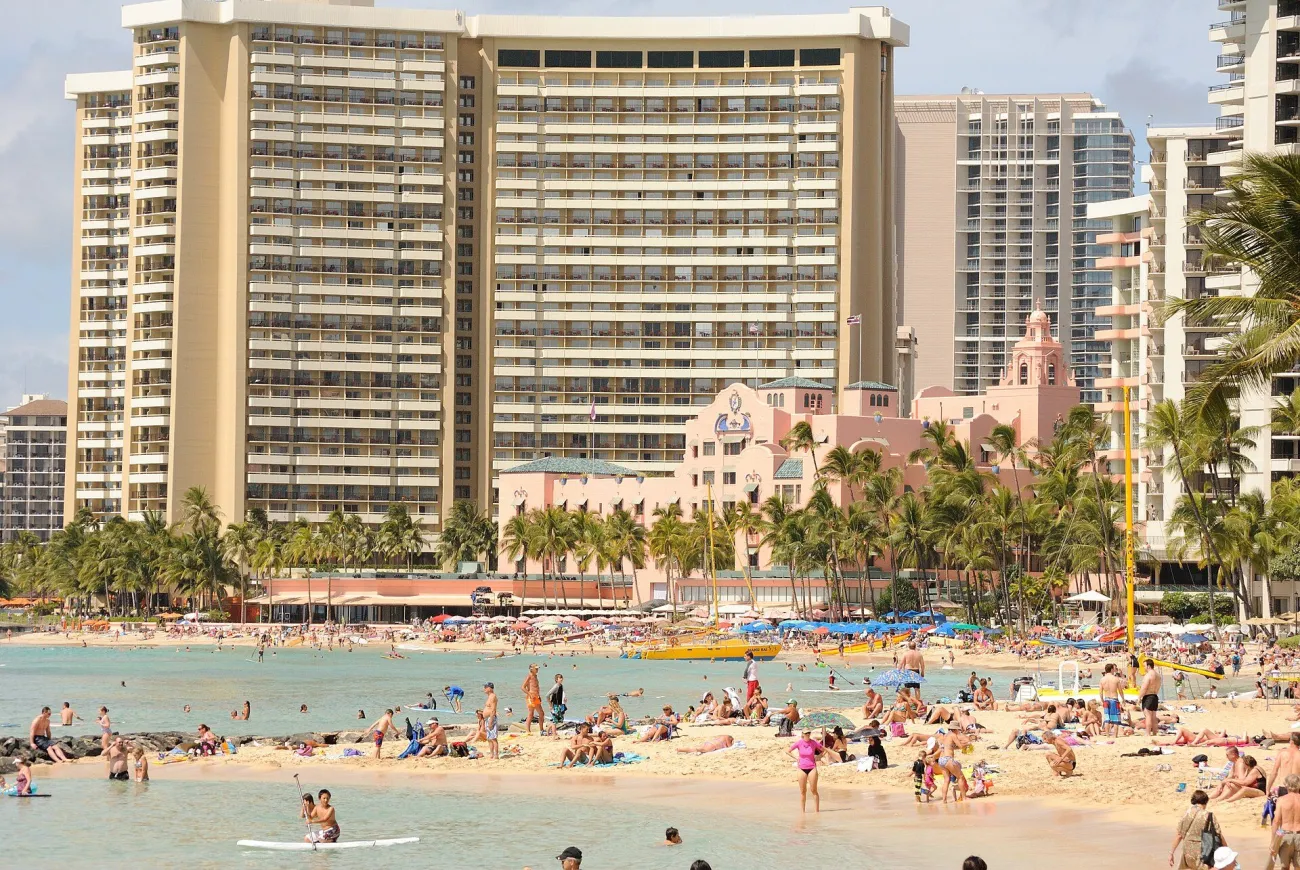

From Waikīkī, Diamond Head can anchor a coastal frame while the beach, people or water provide scale. Move along a permitted public route to see how foreground and skyline change. You do not need to enter the water, stand on a wall or block a narrow path to make a recognisable photograph.
A summit view is a different visit with its own access arrangements. An offshore photograph is different again. Do not use a reference image to promise the same composition from a beach. Our Waikīkī photographic companion discusses this subject within Hawaii; the USA guide’s offshore sunset reference studies one particular source image rather than supplying a general viewpoint guarantee.
For shoreline details, the outrigger-canoe companion offers a different subject. Ask before making portraits or using an operating canoe as a prop. Working equipment and people’s access to the beach take priority over an empty foreground.
Punaluʻu: make the contrast without disturbing wildlife
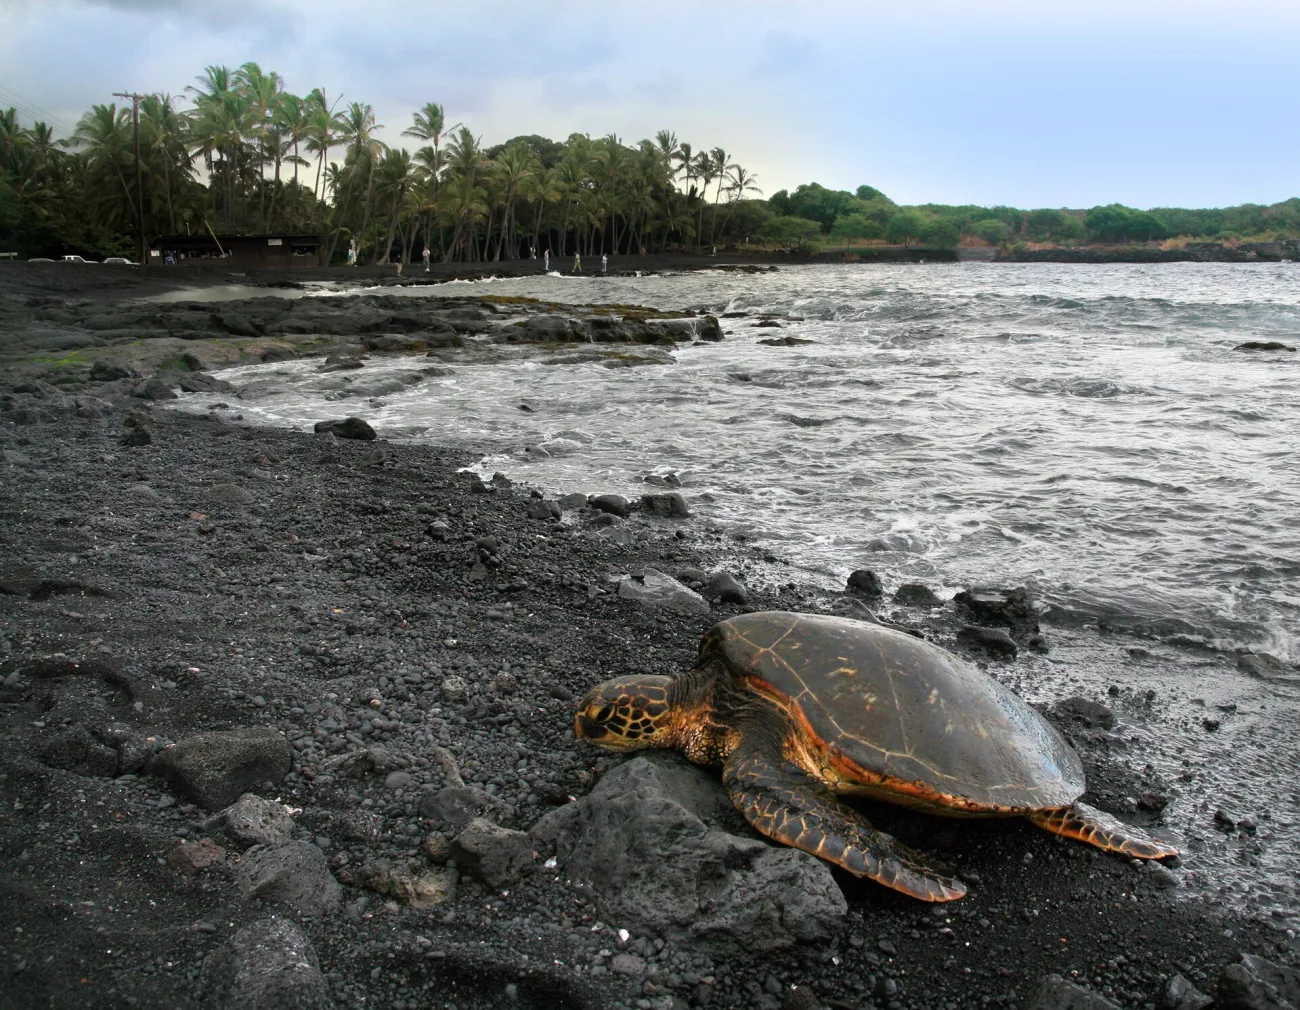

Black sand can give water, foam and vegetation a striking relationship. Try one wider frame to establish the coast and a second that studies the surface without losing its context. Keep the camera position comfortably away from wave reach; wet sand in a photograph does not tell you where the next surge will reach.
The Punaluʻu companion focuses on this photographic setting. If protected animals are present, leave them space and follow posted guidance and staff instructions. Use a longer focal length or choose a different subject rather than moving closer. A turtle in an old photograph is not evidence that one will be there on your visit.
Keep sand, stones and natural material in place. A souvenir photograph is enough. For choosing a beach by activity and facilities, use Hawaii Beaches; this page does not certify swimming conditions.
Nāpali: the picture depends on the access
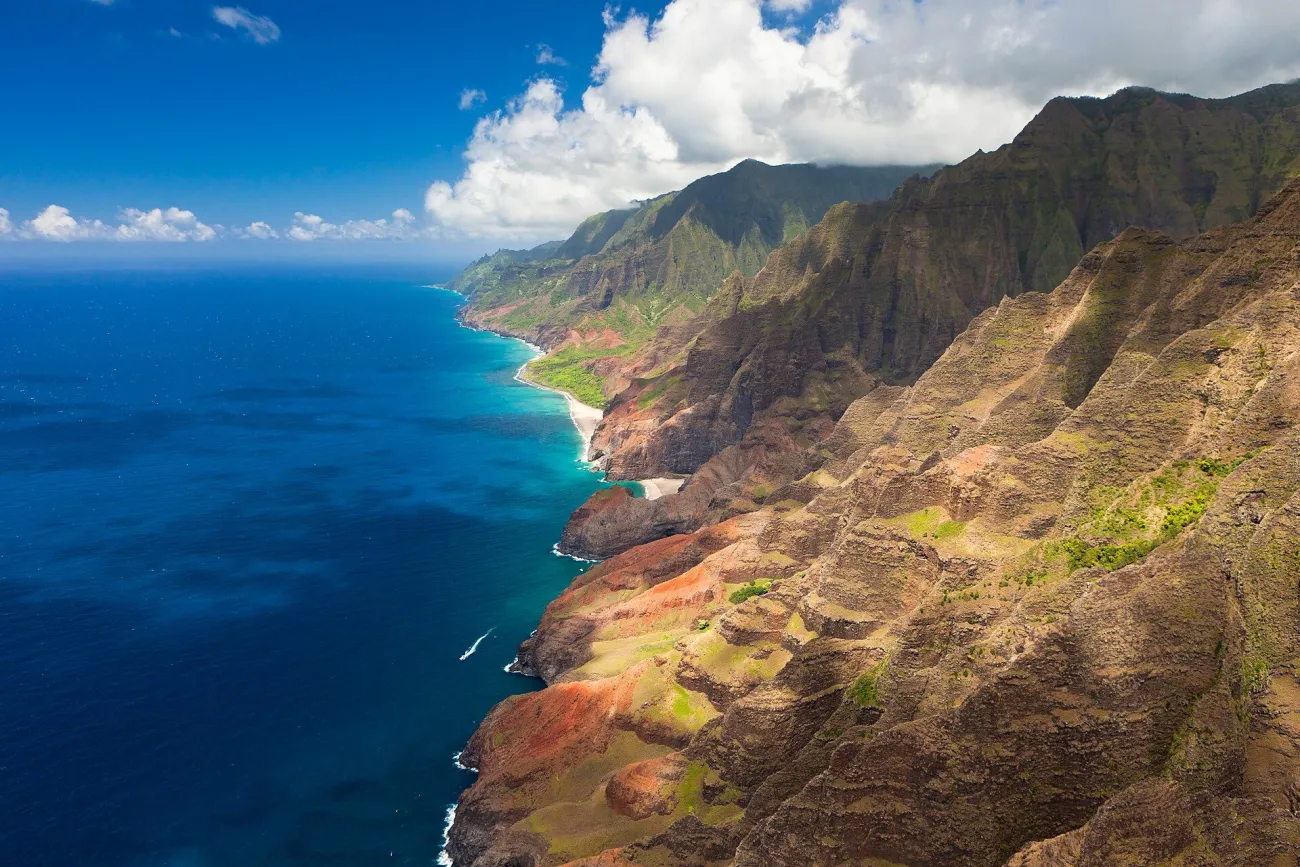

Nāpali’s cliff forms can change substantially with viewpoint, cloud and sea conditions. A boat-level profile, a distant lookout and a hiking view are not substitutes for one another. Choose the outing you can realistically undertake, then work with the view it offers instead of trying to reproduce an unexplained image.
Before booking a sea outing, confirm the actual departure harbour, meeting time and route flexibility. A coastline appearing on the same island as your hotel does not establish a short transfer. If a provider changes the route because of conditions, assess the alternative on its own merits rather than expecting a guaranteed cliff angle.
For land access, check current State Parks guidance. Recovery notices checked on 10 November 2026 differ between pages, so obtain confirmation of the specific route. Our Nāpali photo companion separates what the reference shows from the choices a visitor can make now.
ʻIolani Palace: architecture with a historical context
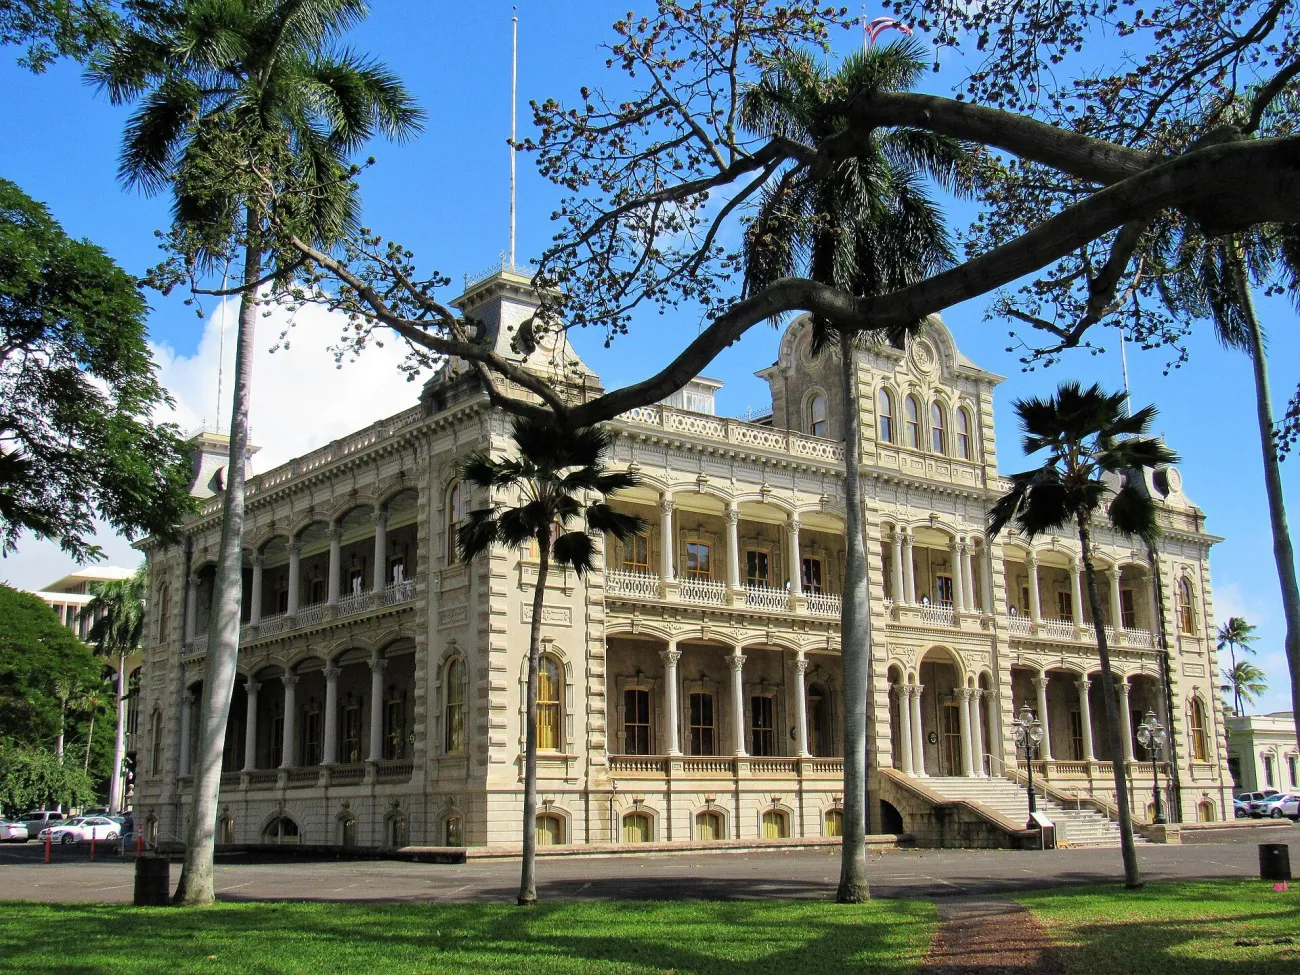

The palace’s exterior offers architecture, grounds and a place in downtown Honolulu’s history. Start with a frame that keeps those relationships visible, then consider a detail. Avoid describing it simply as an ornate backdrop; understanding the monarchy and overthrow makes the image more meaningful.
The palace’s visitor rules allow personal-use photography under stated restrictions, including no flash, tripods or recording. Read the current list before an interior visit, and ask about separate permission for commercial work. Our palace photo companion distinguishes an exterior image from interior tour access.
Volcanic landscapes: form and texture without a lava promise
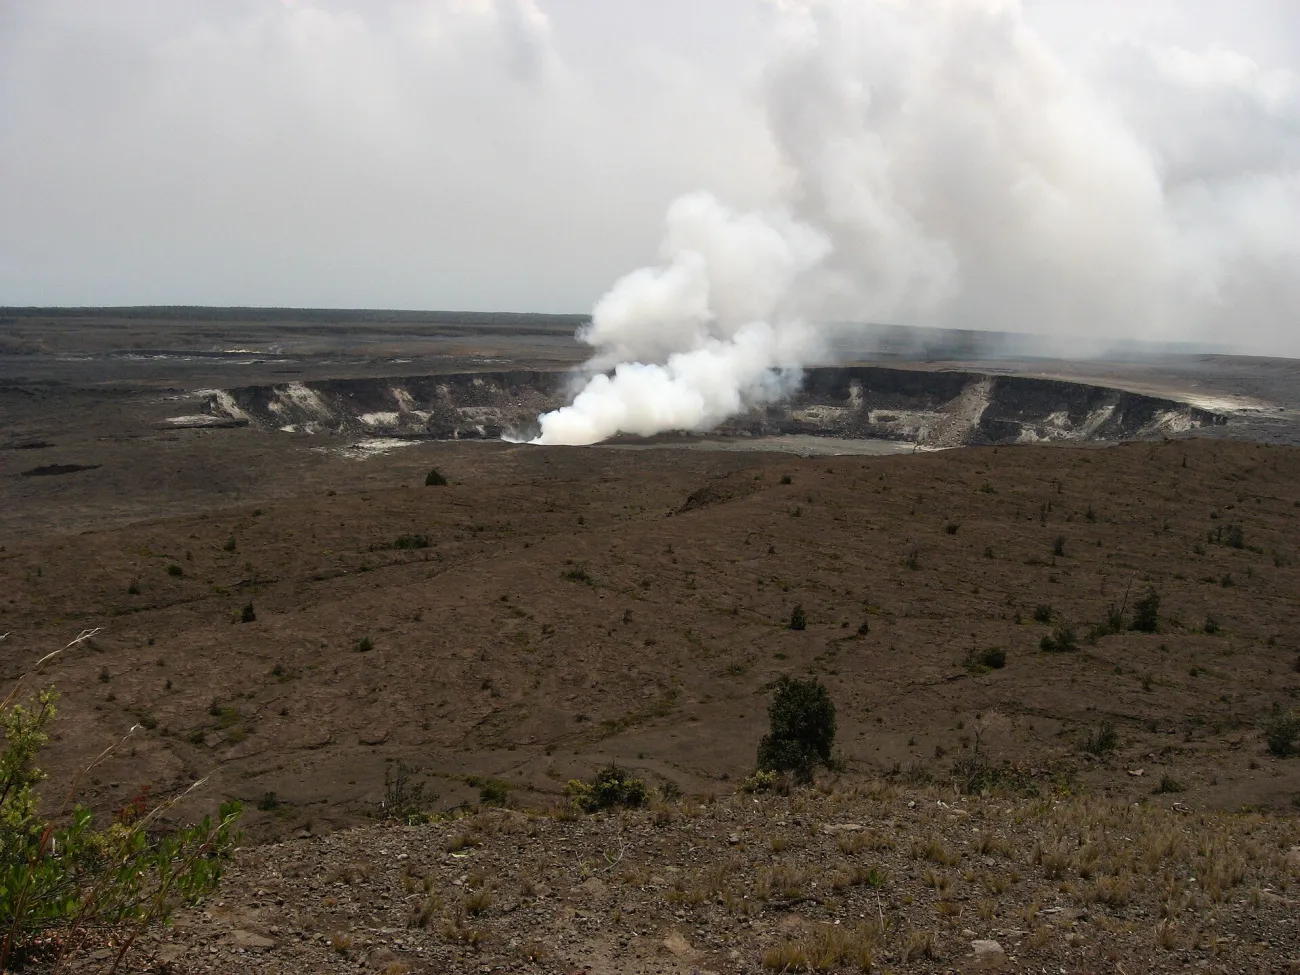

Hawaiʻi Volcanoes National Park offers large landforms and smaller surface patterns. A wide scene establishes scale; a detail can show the way cooled lava holds light and shadow. Neither requires a promise of visible molten lava. Use the park’s current alerts and visitor information for where you may go.
The national-park companion focuses on landscape planning. The separate pāhoehoe companion looks at surface form. Keep to the permitted route: stepping backwards while looking at a screen is a poor way to negotiate uneven lava or an exposed edge.
For another kind of landscape, Lapakahi’s coastal settlement connects built remains with the shore. Read it as a heritage place, not a supply of stones to arrange for a photograph.
Light, equipment and an honest caption
Begin with where the light is falling, not a universal rule that every Hawaii scene is best at sunrise. A coast’s orientation, terrain and weather change the result. A bright horizon can leave foreground detail dark; cloud can soften a scene that looked harsh at midday. Leave enough time to observe those changes from a safe, permitted position.
Pack what you will carry comfortably. Salt spray, rain and sand make a protective bag and a clean cloth useful. A compact setup can be more practical on a shared tour than a bag of lenses. Ask about equipment limits before visiting museums or heritage interiors, and keep a tripod from obstructing public routes where its use is allowed.
Do not assume an attractive aerial reference means you may launch a drone. FAA requirements and the land manager’s rules both matter; national parks generally restrict drone operation. Check the actual current rules and permissions before packing an aerial plan into the itinerary.
Caption only what you know. A generic Hawaii sunset should not become a named Sunset Beach location without evidence. The sunset companion, Oʻahu image and surfing photograph require the same distinction between visible subject and unverified location, date or technique.
Frequently asked questions about Hawaii photography
Do I need to visit several islands for good photographs?
No. One island offers enough variety for a thoughtful photographic trip. Choose a few areas, allow time for changing conditions and avoid losing days to unnecessary transfers.
Can I use a tripod inside ʻIolani Palace?
The palace’s published visitor rules prohibit tripods. Check its current photography and equipment guidance before visiting, particularly for anything beyond personal-use photography.
Will I be able to photograph flowing lava?
That cannot be guaranteed. Eruption activity, viewing positions and access change. Plan for the park’s broader landscapes and follow current NPS alerts.