
Sign in
For Photos4Travel editors and team members.
Virgin Islands · Photography
Virgin Islands Photo Spots: Harbors, Bays, Historic Ruins and Boulders
The Virgin Islands are easy to photograph badly in a hurry. Bright water can pull your exposure away from the shore, a harbor panorama can lose all sense of scale, and the image you hoped to make may require a different position from the one where the taxi can safely stop. Choose a small number of places and give each one time.
This guide brings together practical photo locations across St. Thomas, St. John and the British Virgin Islands. The photographs are individual records of a place and a moment. Their dates and credits belong to each image; an older photograph does not establish today's access, hotel appearance, ship movements or sea conditions.
St. Thomas: compose the harbor before looking for another viewpoint
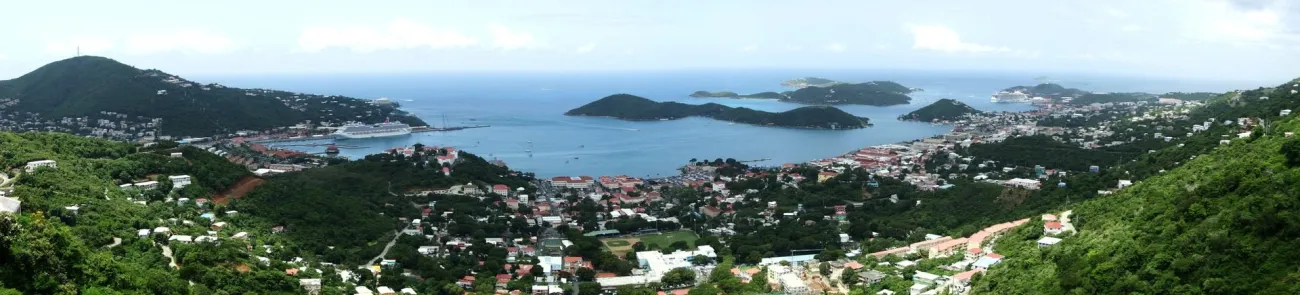
Photo: Haakon S. Krohn · CC BY-SA 3.0. Resized.
Charlotte Amalie's harbor gives you several layers to work with: buildings on the slope, boats in the water and the islands beyond. Decide which layer carries the photograph. A wide view is useful for orientation, while a tighter frame can make the working waterfront feel more personal. Leave something in the image that gives the water and the hills scale.
Allow time to observe the light from a safe stopping place. If you arrive when the foreground is dark and the water is bright, avoid forcing every part of the scene into the same exposure. Try a simpler frame, change direction or return when your schedule allows. A driver can help you choose a permitted stop; an apparently convenient roadside shoulder may not be safe for standing or unloading equipment.
Cruise-ship photographs are records of a particular call. Ship position and traffic change, so an archive image should not be used as a current cruise timetable. The same care applies to older views of Frenchman's Reef and the University of the Virgin Islands: identify the photographed subject accurately, and check access with the property or institution before planning a visit. A campus or hotel image does not create public access to a terrace, shoreline or private viewpoint.
St. John: use the America Hill ruin to give the coast a foreground
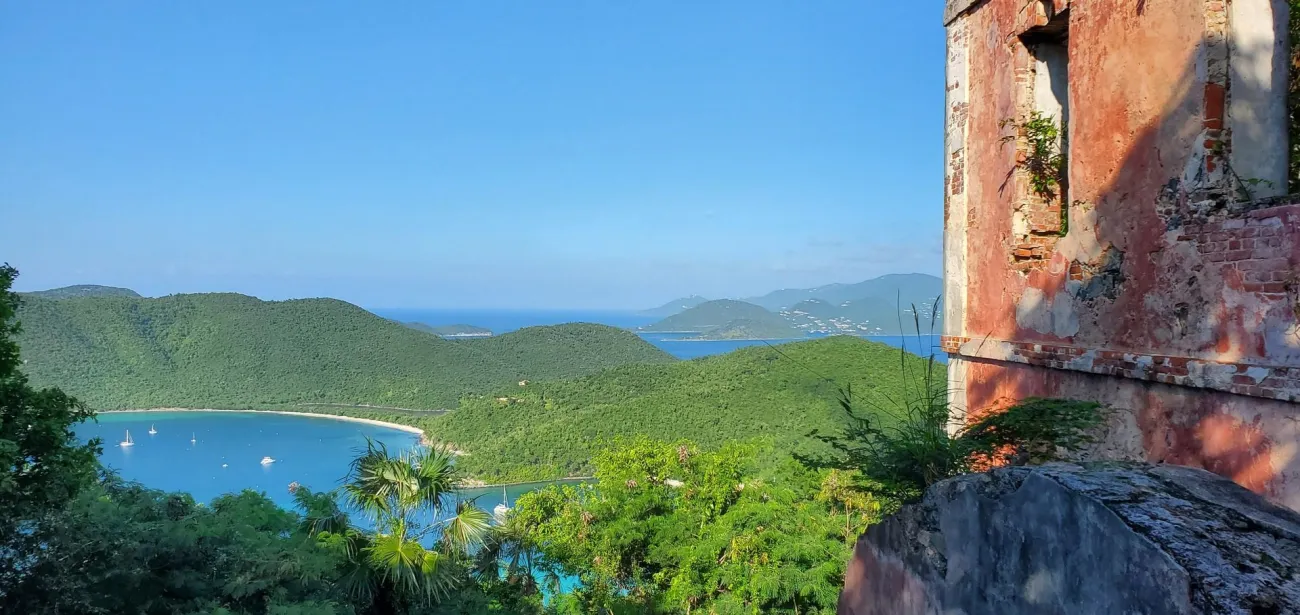
Photo: NPS/Parnicza · Public domain (U.S. Government work). Resized. No claim to original U.S. Government works.
The view from the America Hill ruins combines a close, textured subject with the bays beyond. That is a useful change from a beach panorama made entirely of sky and water. Look for a position on the permitted route where the masonry gives the frame a clear edge without hiding the landscape.
Exposure can be awkward when a wall falls into shadow and the sea catches the sun. Take time to check both parts of the image. A small change of position may be more useful than adding equipment, particularly if you can bring a wall, tree or opening into a simpler relationship with the distant coast.
This is a walk to a historic site, so pack for the route first and the photograph second. Water, suitable shoes and enough daylight for the return matter more than an extra lens. Do not climb onto fragile structures to imitate a published angle. Consult NPS hiking information for current planning advice, and read the interpretation so that the image's caption reflects the place's history as well as the view.
Trunk Bay: make one image from above and another from the shore
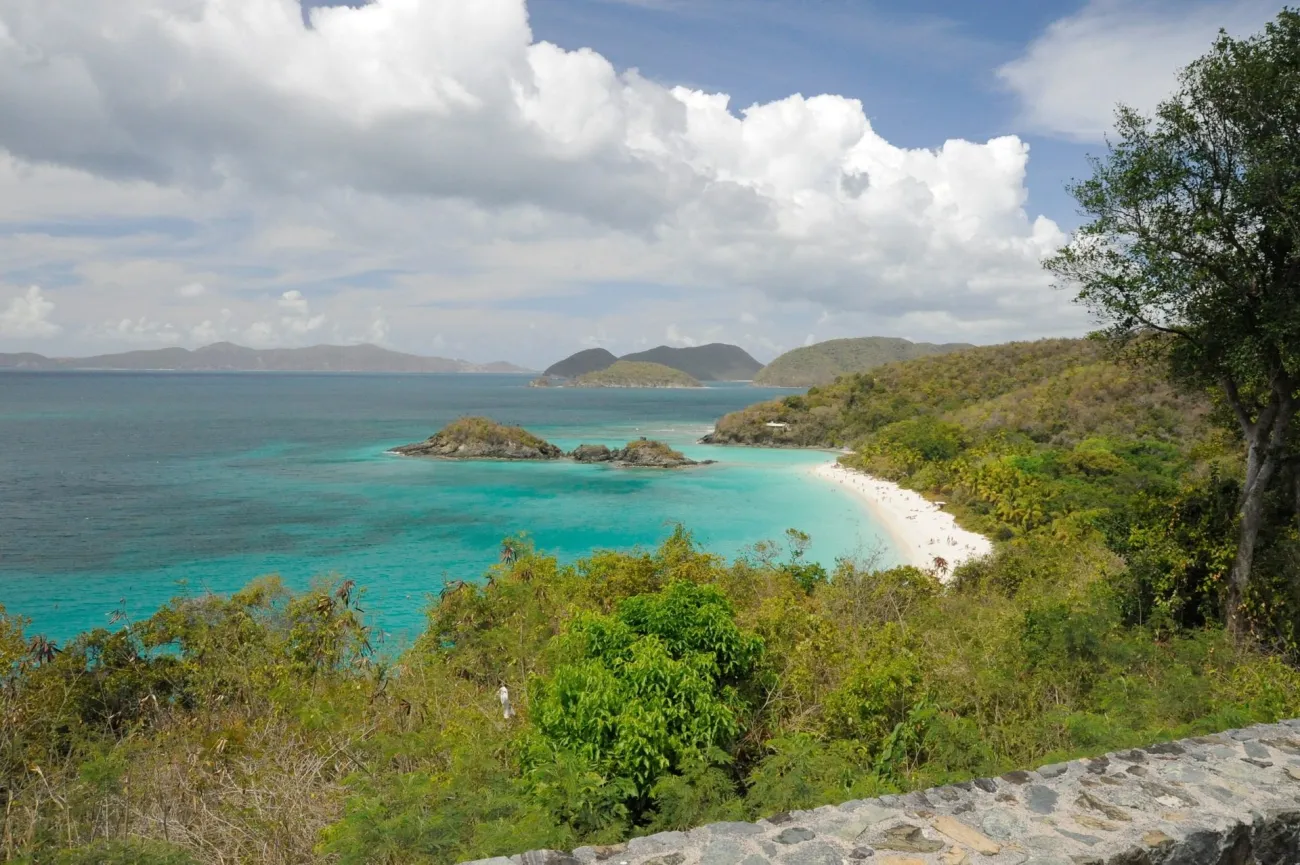
Photo: Fred Hsu · CC BY-SA 3.0. Resized.
Trunk Bay's familiar elevated view works because the shoreline leads the eye toward the cay and the surrounding hills. It is a strong starting point, but it need not be the only photograph you bring home. From the beach, the relationship between sand, water and cay changes, and a lower angle can make the scene feel less like a distant overview.
If you plan to photograph near the water, bring a dry bag and keep the camera away from spray between exposures. Sand and salt are more pressing concerns than carrying every possible focal length. A phone in a suitable protective case may be the most practical choice for a swimming day.
Read the beach warnings before approaching the water. An attractive foreground is not a reason to stand where waves are breaking, and a quiet-looking image can conceal conditions that were unsuitable for swimming. Check the park's facility hours separately from your photographic plans. If you stay for later light, make sure your return transport and route remain practical; a sunset photograph should not depend on an uncertain ride.
Leinster Bay: let Waterlemon Cay establish the shape of the scene
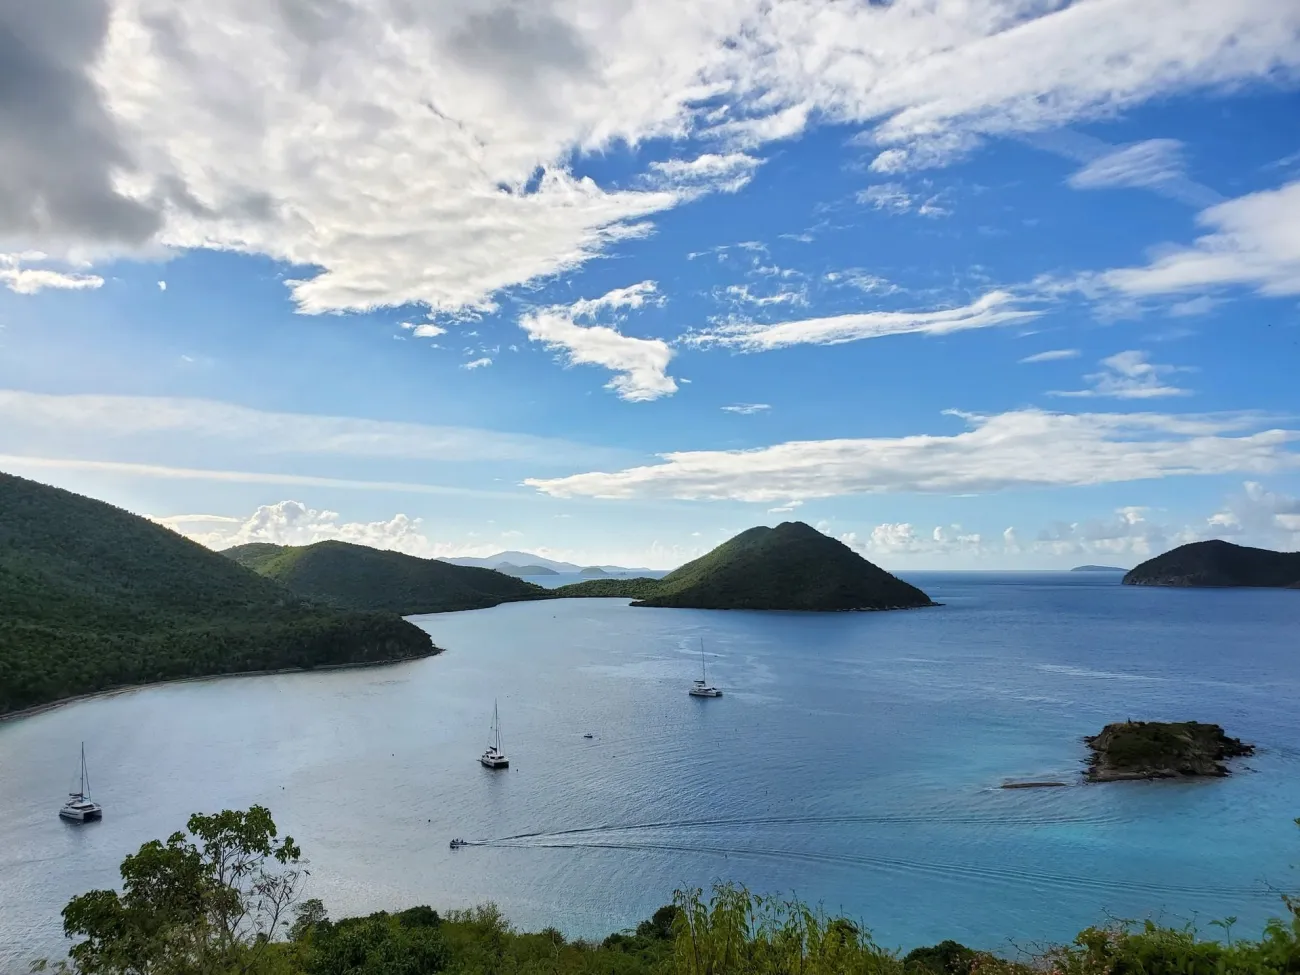
Photo: NPS/Parnicza · Public domain (U.S. Government work). Resized. No claim to original U.S. Government works.
At Leinster Bay, the outline of Waterlemon Cay gives a coastal view a clear center. Try leaving enough space around it to show the neighboring shore and the shape of the bay. Boats can provide scale when they happen to be present, but do not make their position a requirement for the composition.
Watch how passing cloud changes the water. Bright patches and darker areas can help separate the cay from the background, while flat light may suit a quieter, more descriptive photograph. Wait a few minutes before deciding that the first exposure is the best one.
Keep photography and snorkeling as separate decisions. A place that offers a rewarding land view does not automatically offer an easy swim, and carrying a camera does not reduce the need to assess currents and your ability. Follow the permitted route, carry water and leave time for the return. Ask locally about present conditions if a swim is part of the plan, and take the photograph from land when the water is unsuitable.
Cinnamon Bay: give low light a different job from blue water
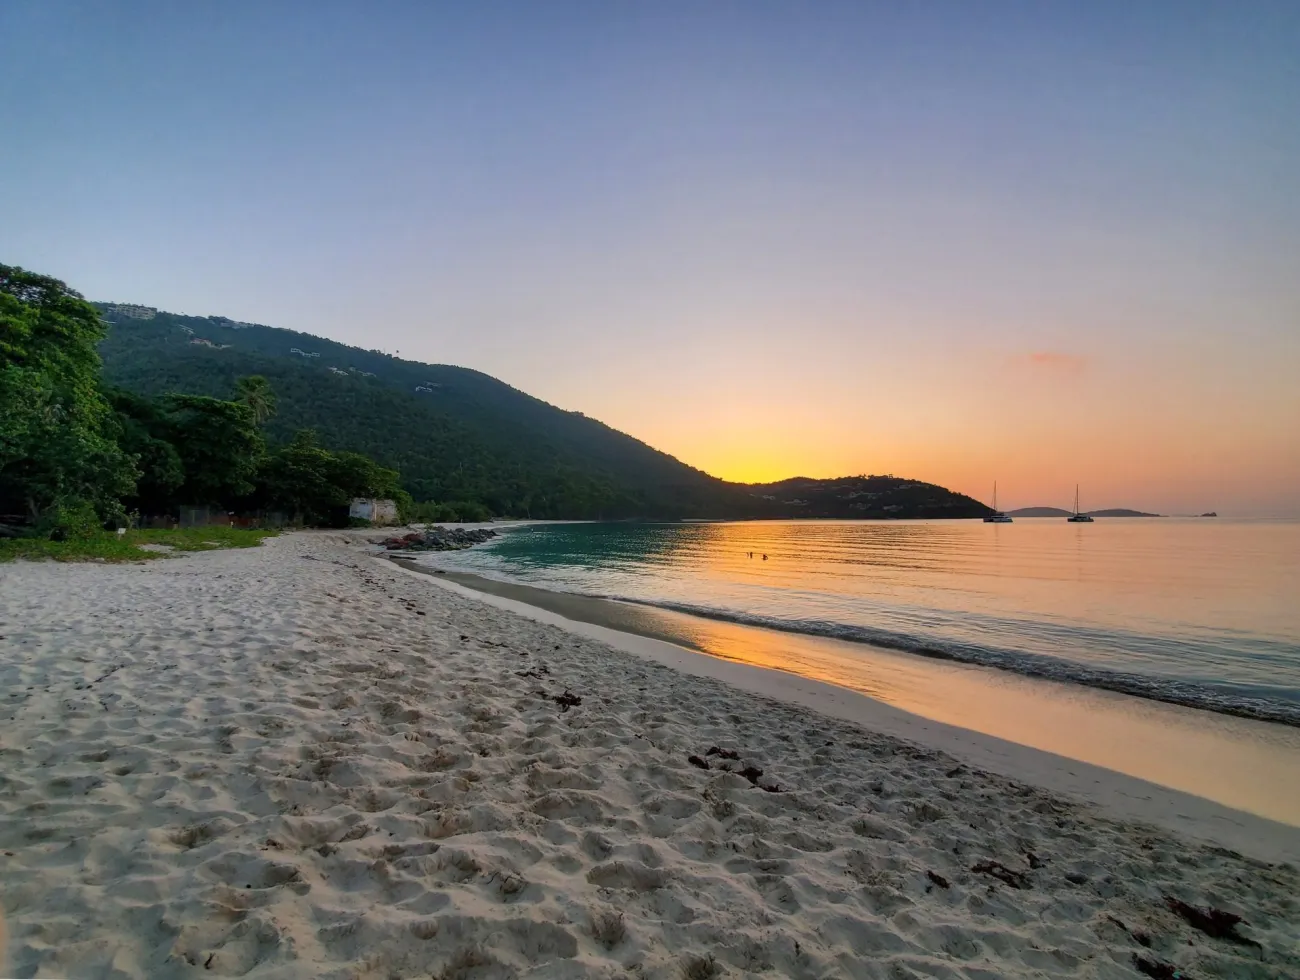
Photo: NPS/Parnicza · Public domain (U.S. Government work). Resized. No claim to original U.S. Government works.
Cinnamon Bay can support two very different kinds of photograph. Brighter light emphasizes the separation between pale sand and blue water. Lower light can shift attention toward reflections, the curve of the shore and the silhouettes of the hills. Choose the kind of image you want instead of expecting one visit to deliver every version.
A simple beach composition often improves when you move your feet. Include a clean edge of sand, reduce distracting objects near the frame and decide how much sky the image needs. If the sunset itself is muted, the water's reflected color may still be interesting.
Be considerate when people are using the beach. Wait for a clear frame or ask before making a recognizable person the subject. Keep bags and tripods out of paths and avoid turning a shared space into a private set. When you publish the image, identify it as Cinnamon Bay on St. John, in the USVI; the island name is more useful than a generic 'Caribbean sunset' label.
Annaberg: photograph the windmill with its historical context
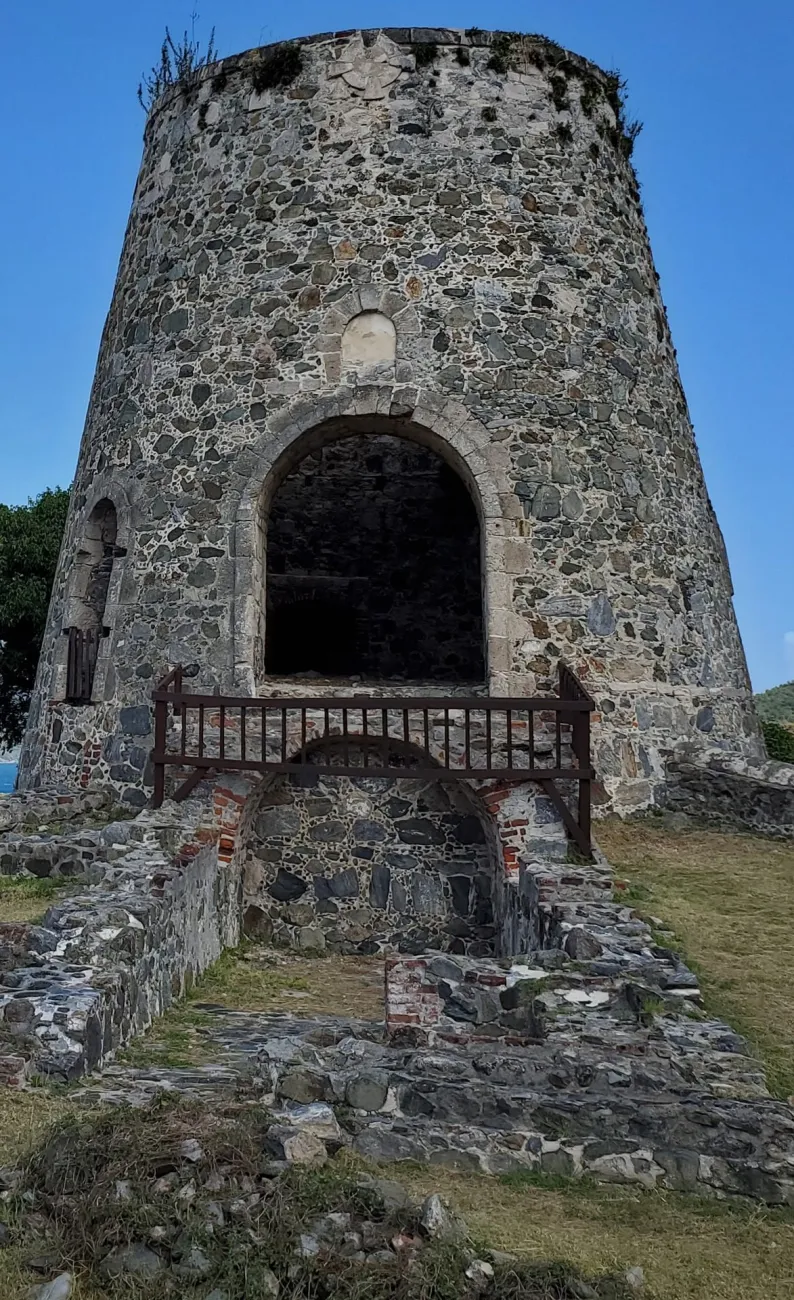
Photo: NPS/Parnicza · Public domain (U.S. Government work). Resized. No claim to original U.S. Government works.
Annaberg's windmill provides an unmistakable shape, while the stonework rewards closer photographs. Begin with a view that shows how the structure sits within the site, then choose details that help explain its construction. This gives you more useful material than several nearly identical full-height images.
Keep the plantation's history in the caption. The structures were part of a sugar economy dependent on enslaved labor; presenting them only as romantic ruins removes the most important part of the story. Read the site's interpretation and the NPS historic places information before writing a description.
Stay on the allowed routes and leave space for other visitors. A wide-angle lens or phone camera can exaggerate leaning walls, so check the edges of your frame and keep the image's purpose in mind. A straightforward descriptive photograph is often more useful in a travel story than a dramatic angle that makes the structure hard to understand.
The BVI: use a Tortola bay view to explain island geography
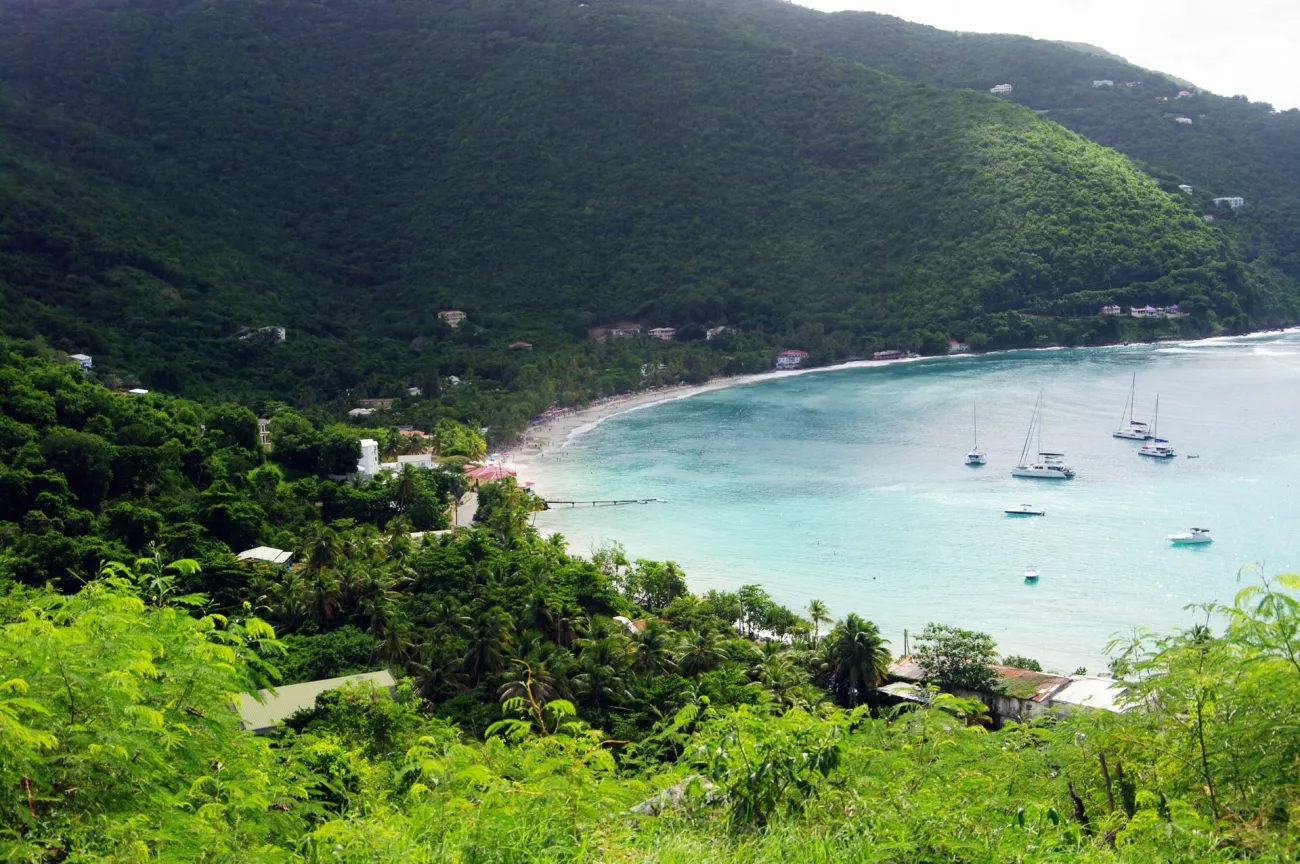
Photo: Balou46 · CC BY-SA 4.0. Resized.
Tortola's hills and bays make an elevated coastal view especially useful. It can show why an accommodation's position on the island matters, how the road climbs away from the shore and why two places close on a regional map may feel farther apart on the ground.
For Cane Garden Bay, choose a safe, permitted viewpoint and give the shoreline enough room to read clearly. A tighter frame may emphasize the beach; a wider one can explain the surrounding hills and the bay's shape. Ask a driver where stopping is appropriate rather than trying to recreate an image from a moving vehicle.
Sunset photographs of Tortola record a particular direction, weather pattern and moment. Check the actual direction of the light from the place you can reach safely, and leave an alternative plan if cloud covers the horizon. Older photographs of Peter Island or other BVI resort settings are useful archive views, but present access and facilities must be checked with the relevant operator. Keep the island name and photograph date attached to the image so that an archive landscape is not mistaken for a current property description.
Virgin Gorda: work with the scale of the Baths boulders
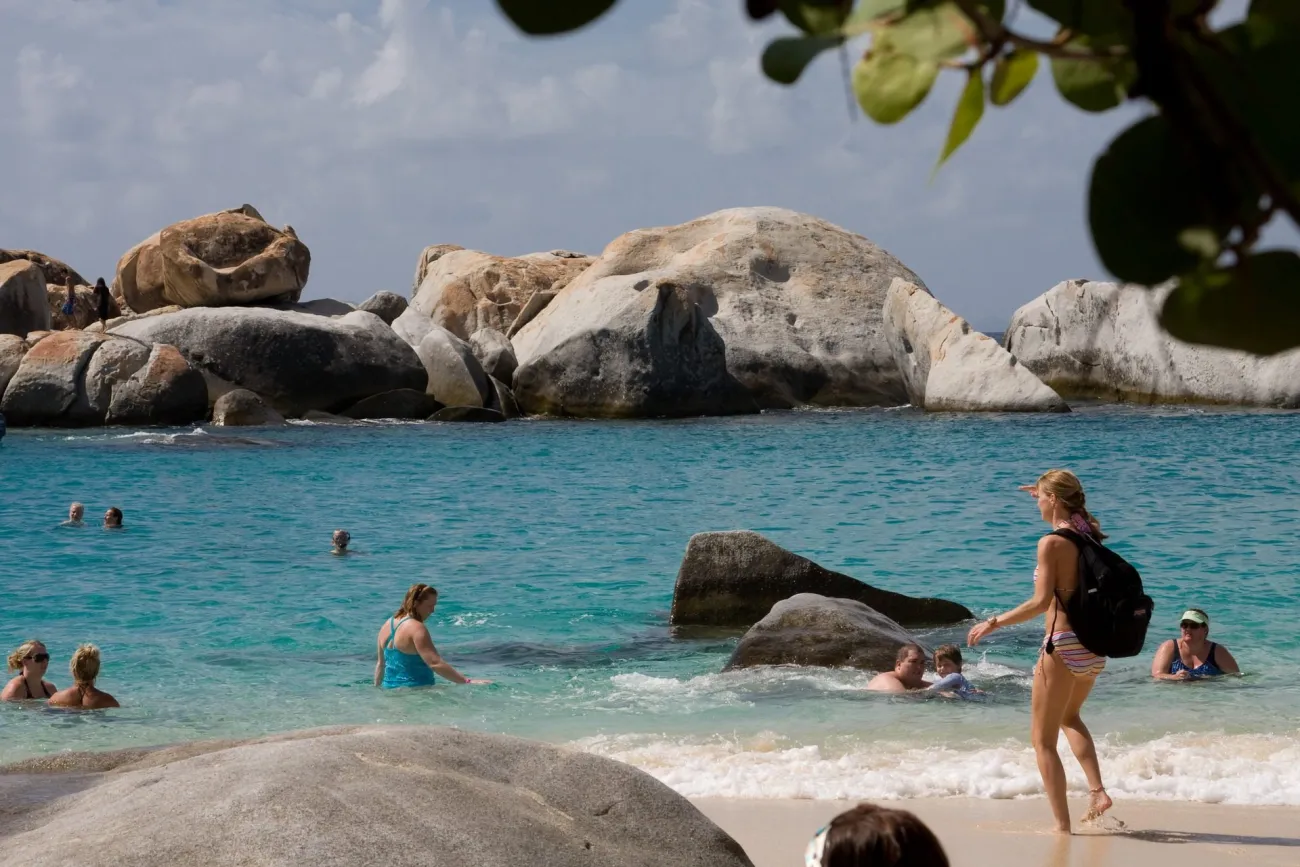
Photo: Calyponte · CC BY 3.0. Resized.
The boulders at the Baths create natural frames and abrupt changes between shade and bright water. A compact camera is easier to manage here than a large bag, and a wide view can help communicate the scale of the passages. If you include a person for scale, ask first and leave the route clear for everyone else.
Do not stop in a narrow gap for a long exposure when visitors need to pass. Look for a place where you can stand securely without obstructing the route, make a few deliberate images and move on. Keep equipment secured so that your hands remain available for steps and uneven surfaces.
Check the BVI National Parks Trust's current conditions guidance. Swell warnings and closures take priority over a planned angle. The useful photograph may be a land view rather than an image made close to breaking water. An older picture of the caves cannot establish today's route, water level or access.
Plan permissions and equipment before packing a drone
Ground access, airspace permission and site rules are separate questions. The current Virgin Islands National Park compendium prohibits launching, landing or operating an uncrewed aircraft from NPS-administered lands and waters in the park and coral reef monument unless the superintendent has approved it in writing. An FAA registration or airspace authorization does not supply that park permission.
For the USVI, consult the FAA's current drone guidance for the kind of flight you intend. In the BVI, Air Safety Support International identifies the relevant authority and application route. Check any additional property, park or wildlife restrictions before bringing a drone to a location.
For most travelers, a small camera, a cloth, spare power and a dry bag will be used more often. Back up photographs after the outing and retain your own location and date notes. When reusing someone else's work, keep the author, original source, license and any required change notice together; an image appearing in search results does not by itself grant reuse rights.
Frequently asked questions
Where should I take Virgin Islands photos on a short visit?
Choose one accessible scene close to your base and give it time. Charlotte Amalie's harbor, a St. John beach or a Tortola bay view can each make a worthwhile outing without adding a distant island connection.
Is Trunk Bay best photographed from the viewpoint or the beach?
The elevated view explains the bay's shape, while the shore gives a closer relationship between sand, water and cay. They serve different purposes; choose the accessible position that fits your time and conditions.
Can I fly a drone in Virgin Islands National Park?
The park's current compendium prohibits launching, landing or operating an uncrewed aircraft from NPS-administered lands and waters without written superintendent approval. FAA requirements are an additional, separate matter.
Do old hotel or island photographs show current access?
No. They record the subject at a particular time. Confirm current visitor access, property conditions and opening arrangements directly before planning a visit.
May I reuse the photographs in this guide?
Read the individual image's credit and license. Different photographs have different terms. Follow the original source's attribution and adaptation requirements, and do not assume that the website's editorial text and every image share one license.
Last updated: