USA · LAS VEGAS GUIDE
Las Vegas Photo Spots: Where & How to Photograph
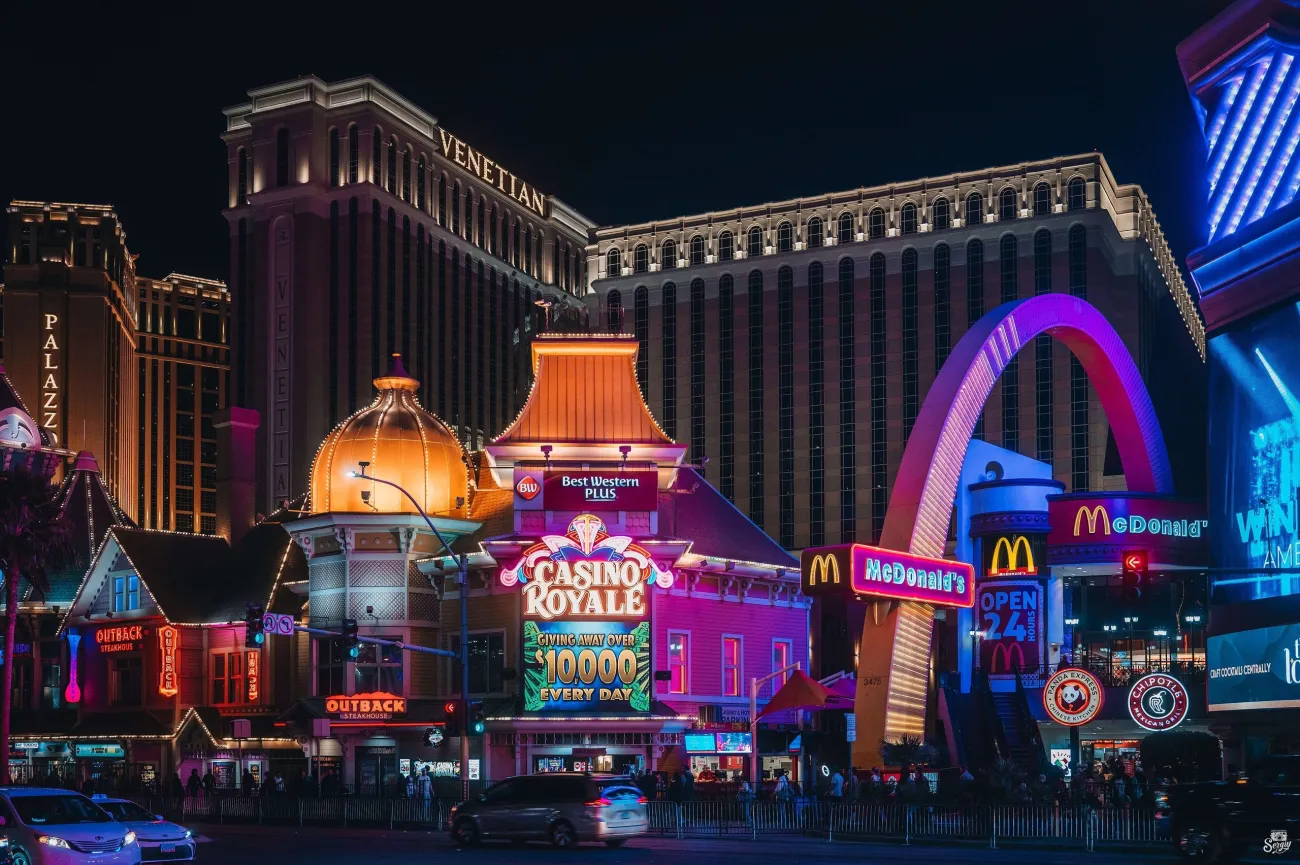
The most useful Las Vegas photo plan combines a few well-chosen viewpoints with the right light and a route you can actually follow. The Strip, Downtown and the Welcome sign are different stops; trying to photograph all of them in one continuous walk can turn the best light into travel time.
Use this guide to choose the subject, position and access conditions before you go. The suggested compositions are editorial ideas, not a promise that every viewpoint will be unobstructed on your date. Construction, major events, crowds and venue rules can change access. For the broader trip, see Las Vegas itineraries and Getting Around.
Choose Las Vegas photo spots by subject
On smaller screens, swipe or scroll horizontally to read the full table.
| Spot | Photographic subject | Useful light or approach | Important planning check |
|---|---|---|---|
| Welcome to Fabulous Las Vegas Sign | A classic arrival portrait or sign detail | Daylight for colour; after dark for the illuminated sign | A separate south-end stop; use designated access |
| Bellagio fountains | Water movement with the resort skyline | Blue hour for sky colour; after dark for illuminated water | Check the current show schedule and temporary barriers |
| The Venetian | Canals and Venetian-style architecture | Outdoor daylight or blue hour; indoors for painted-sky detail | Indoor and outdoor canal areas are different settings |
| Paris Las Vegas Eiffel Tower | A tower landmark within the Strip scene | Include street context rather than only a tight tower crop | Use pedestrian viewpoints; observation-deck access is separate |
| Fremont Street | Historic façades and the overhead canopy | After dark for the strongest contrast with the surrounding lights | Check the event schedule and keep pedestrian routes clear |
| The Neon Museum | Historic signs as a curated collection | Choose the visit or photography experience for your purpose | Regular admission permits personal phone/tablet snapshots only |
Welcome to Fabulous Las Vegas Sign
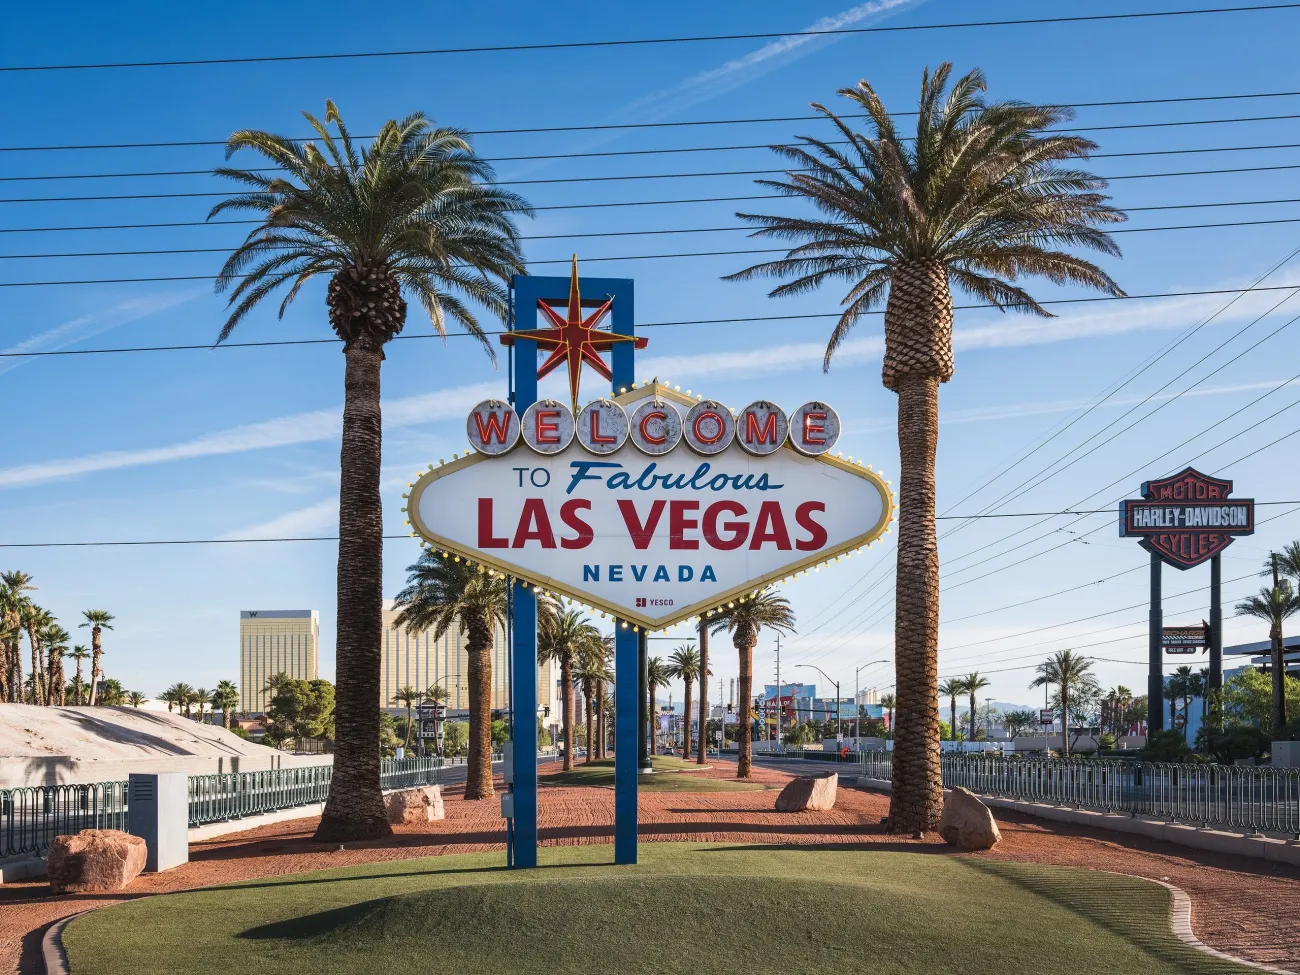
The sign is at the south end of the visitor corridor, at 5100 Las Vegas Boulevard South. Treat it as a planned stop rather than an extension of a central Strip stroll. Clark County's history of the sign identifies Betty Willis's 1959 design and explains its place in the area's identity.
For an arrival portrait, leave enough room around the sign to show its distinctive outline and separate your subject from the lettering. A tighter frame works for the typography and star. Daylight records colour and detail; after dark makes the illuminated lettering the main subject. Neither is universally better: decide whether the person or the sign is the priority.
Use the designated pedestrian approach and parking or pickup arrangements. Do not step into a traffic lane for a cleaner angle. If the main portrait position has a queue, wait your turn or choose a different composition without blocking another visitor's photograph. Arrange transport as a separate leg if the rest of your day is farther north.
Bellagio fountains: water and skyline
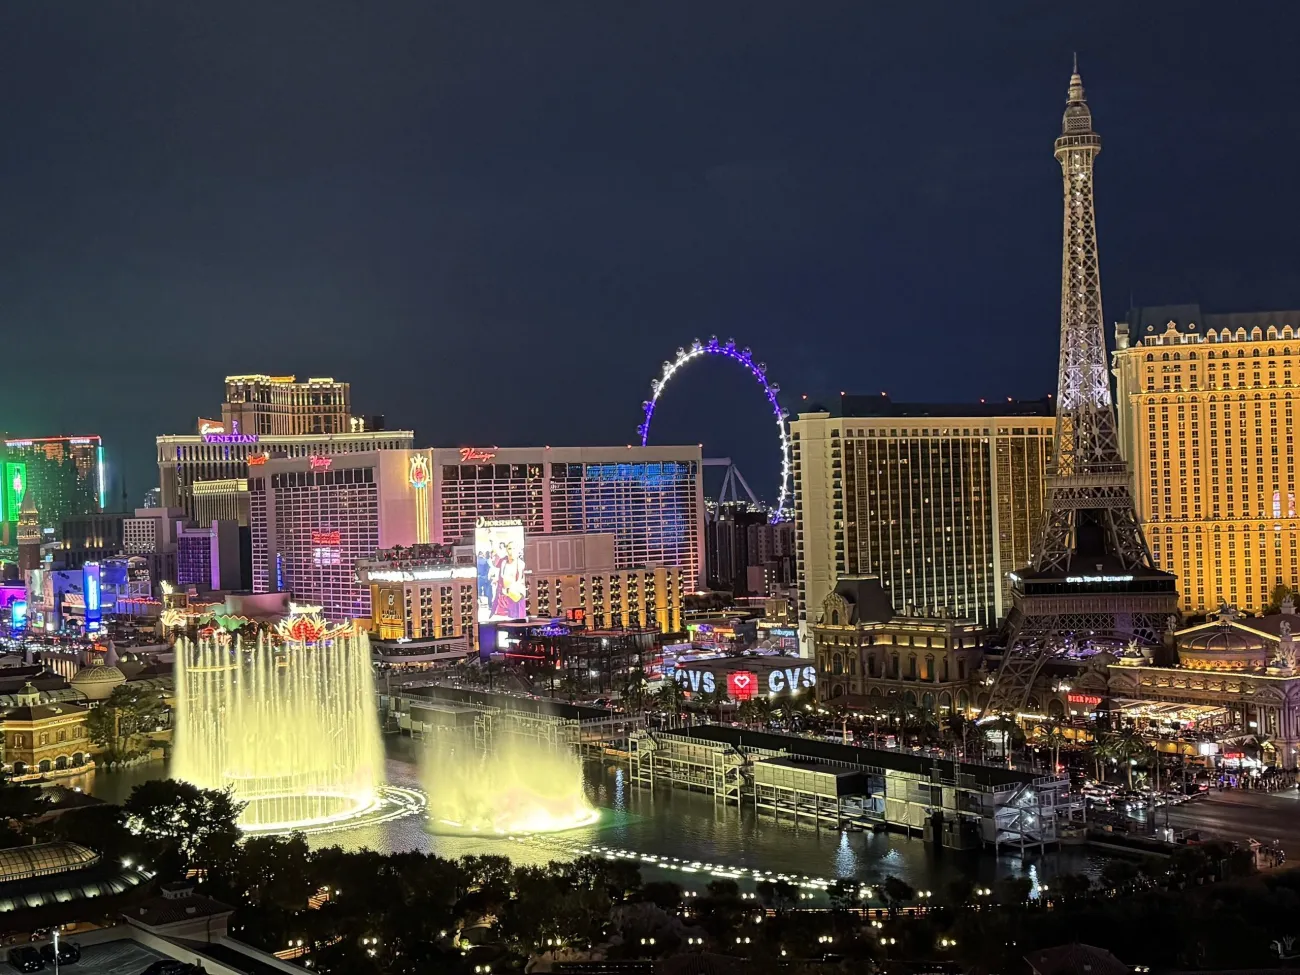
Start with the pedestrian side of the lake along Las Vegas Boulevard for a direct composition of water and the Bellagio building. A wider view can include more of the surrounding Strip. Check your horizon and use the edge of the lake as a compositional line; avoid leaving a railing across a face in a portrait.
At blue hour, the remaining sky can balance the building lights. Once fully dark, expose for the illuminated water and expect deep shadows elsewhere. Water shapes change throughout a performance, so a short sequence gives you more choice than a single frame. A very long exposure can turn separate jets into a bright mass; choose it deliberately rather than assuming it improves every fountain image.
The official fountain page gives the current schedule. Allow for show changes, weather and special-event arrangements. Nearby seasonal displays are separate: checked on 9 November 2026, the Conservatory lists transition closure dates of 8–13 November 2026, with its Holiday display beginning 14 November. Check the current display calendar before adding an indoor stop.
The Venetian: canals and architectural details
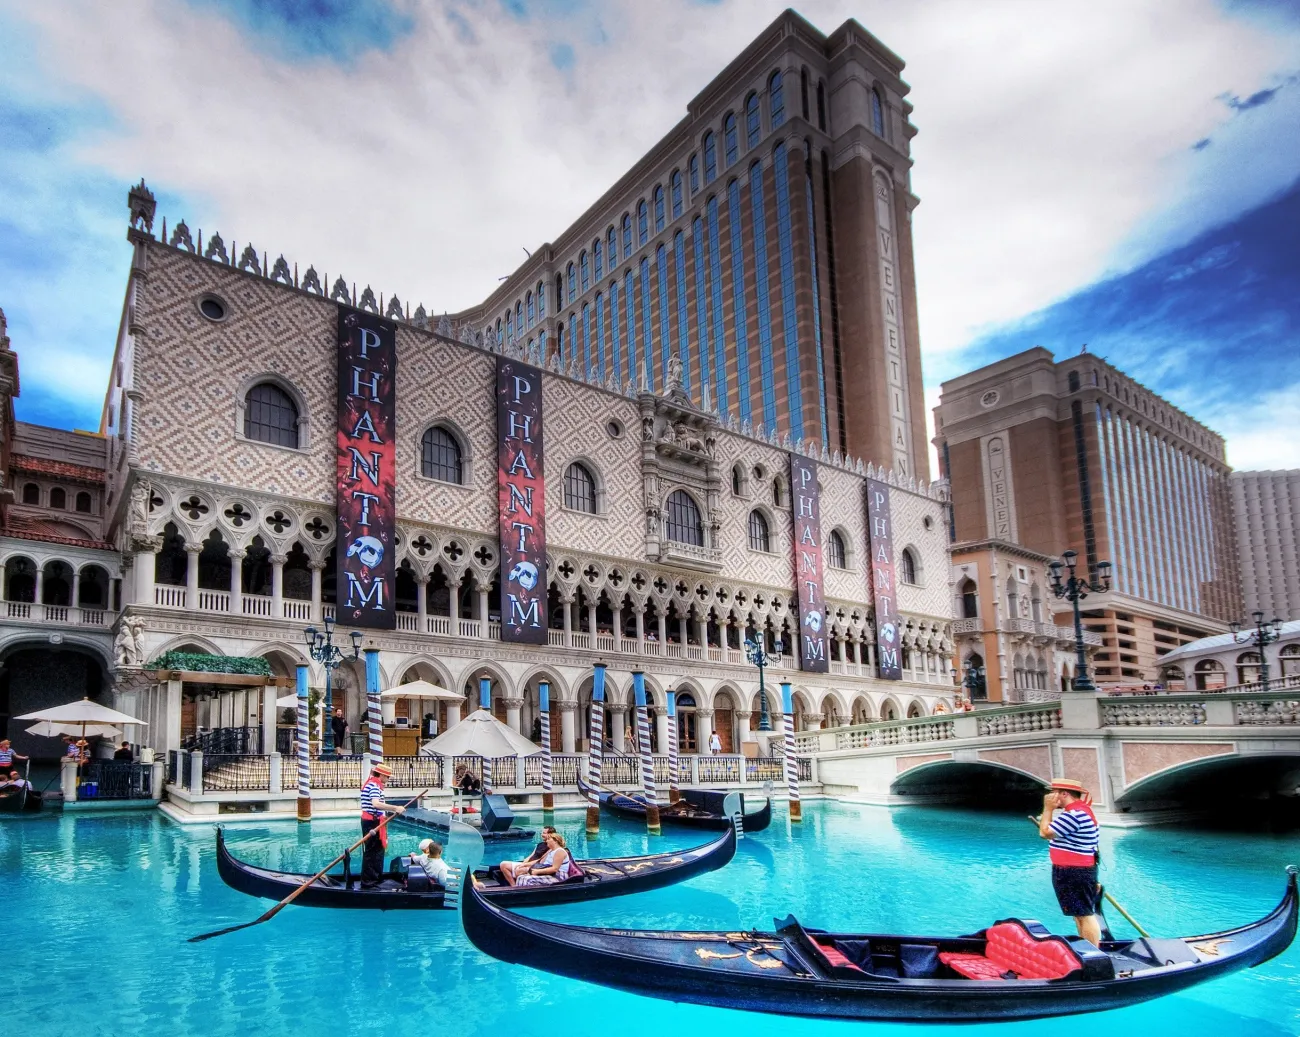
The Venetian offers two different photo settings. Outside, the lagoon and Doge's Palace-style entrance provide architecture against the real sky. Inside, the Grand Canal Shoppes use canals, bridges and a painted sky. Choose one deliberately; an indoor image should not be described as a sunset scene.
For the outdoor composition, first find a permitted pedestrian position that includes both the water and a recognisable part of the façade. Blue hour can help the building lights sit against the sky; daylight makes stonework and colour easier to record. Inside, look for a clear line along the canal and wait for people to move naturally through the frame rather than trying to occupy a bridge.
The resort's gondola information distinguishes the indoor launch in the Grand Canal Shoppes from the outdoor departure near Doge's Palace. A ride, a purchased photo package and access to an architectural viewpoint are different things. Ask staff about equipment or a planned portrait session; do not assume a gondola ticket grants permission for a professional shoot.
Paris Las Vegas Eiffel Tower in the Strip scene
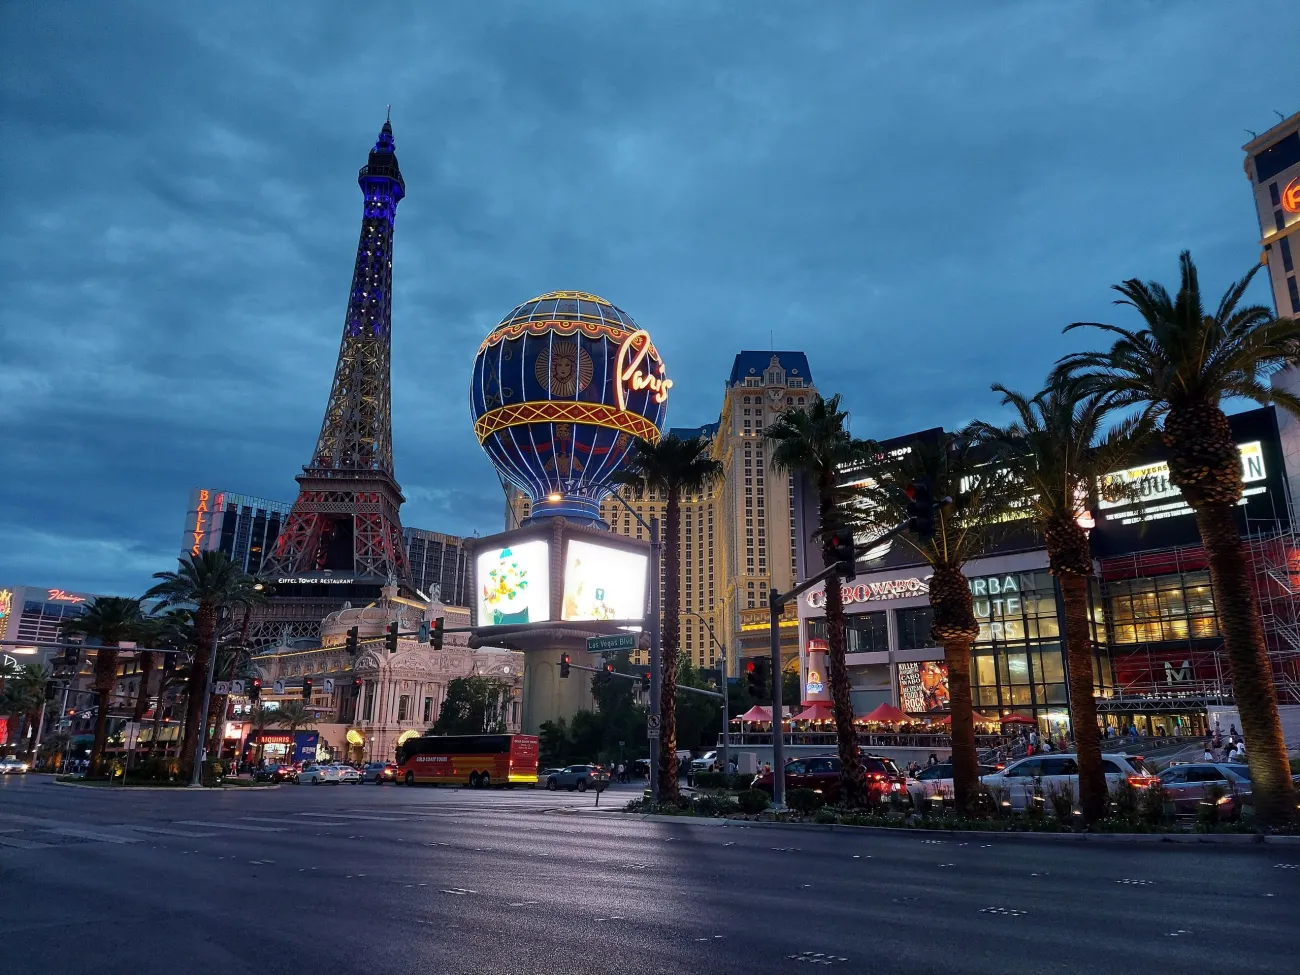
The replica Eiffel Tower is a useful landmark for showing the scale and theatrical architecture of the Strip. From the pedestrian area across Las Vegas Boulevard near Bellagio, the tower can form part of a wider city composition. From closer to Paris, a lower viewpoint emphasises the structure but can lose the surrounding context.
For a portrait, check where the tower sits behind the subject before taking the photograph. Move a short distance within the permitted pedestrian area to avoid the structure appearing to grow out of someone's head. Use marked crossings to change sides of the boulevard; a better angle is not a reason to stand in the road.
An image of the tower from street level is different from a skyline photograph taken on its observation deck. If you want the elevated view, check the official Eiffel Tower experience for current admission, opening and equipment conditions before booking. Weather or operational restrictions can change the visit.
Fremont Street: historic fronts and an illuminated canopy
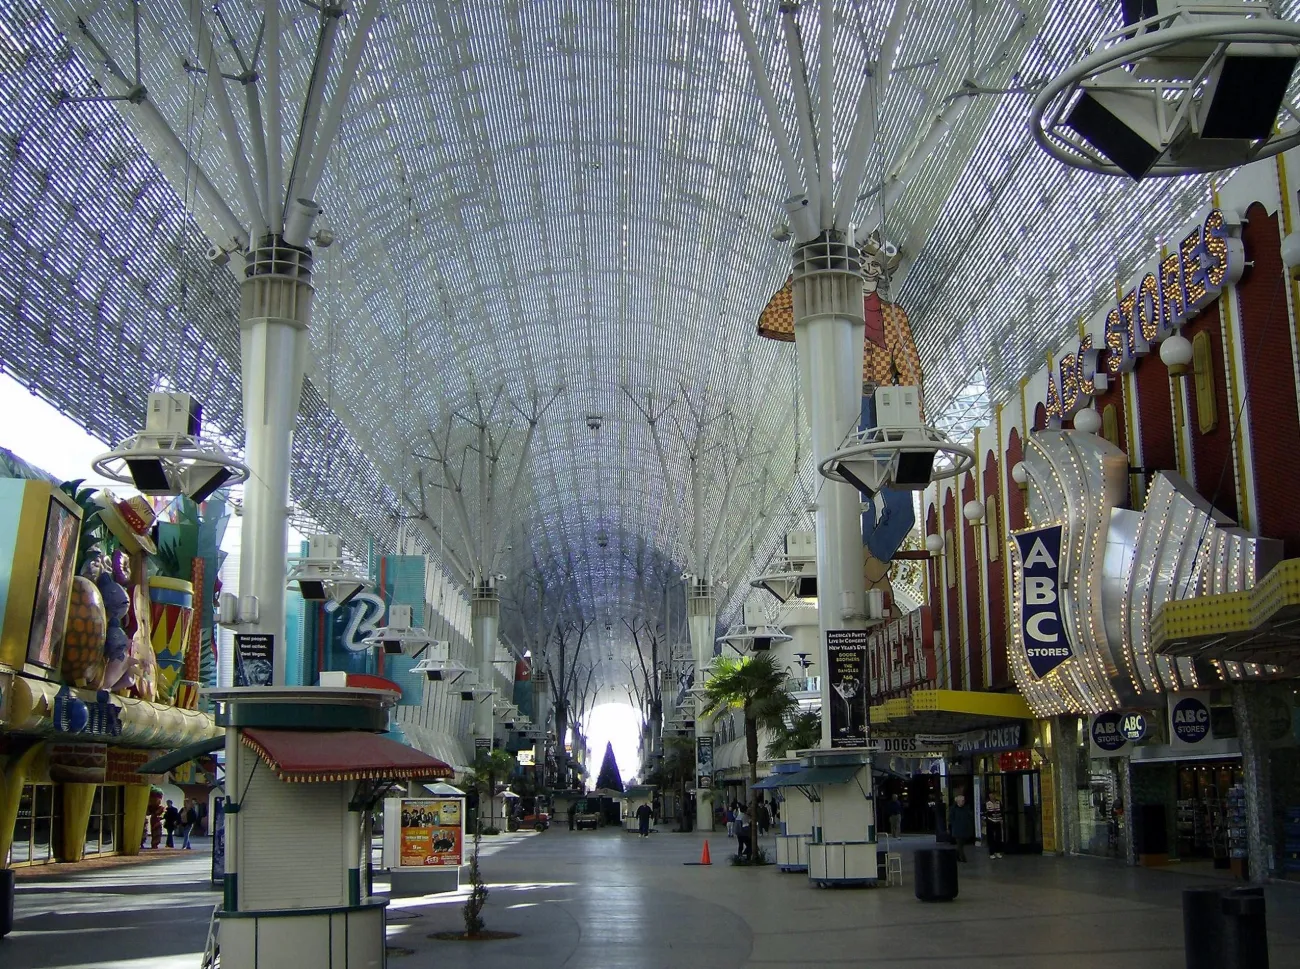
Downtown offers a different visual character from the Strip. Use Fremont Street's casino fronts, signs and overhead canopy to create a layered street scene. A position near an intersection of façades and the canopy can give the image more depth than pointing the camera straight upwards.
After dark, brightness and colour can change quickly as displays and surrounding signs change. Check the exposure again between scenes and protect bright sign detail. For people moving through the frame, use a suitable shorter exposure and accept some shadow instead of making every surface equally bright.
The Fremont Street Experience's current canopy page describes the overhead display as The Canopy. Check its programme rather than relying on an old light-show timetable. This is an active entertainment district: do not set up equipment where it obstructs crowds, entrances or emergency access. Combine this stop with other Downtown plans rather than assuming it is within the same short walk as the central Strip.
The Neon Museum: choose the right photography access
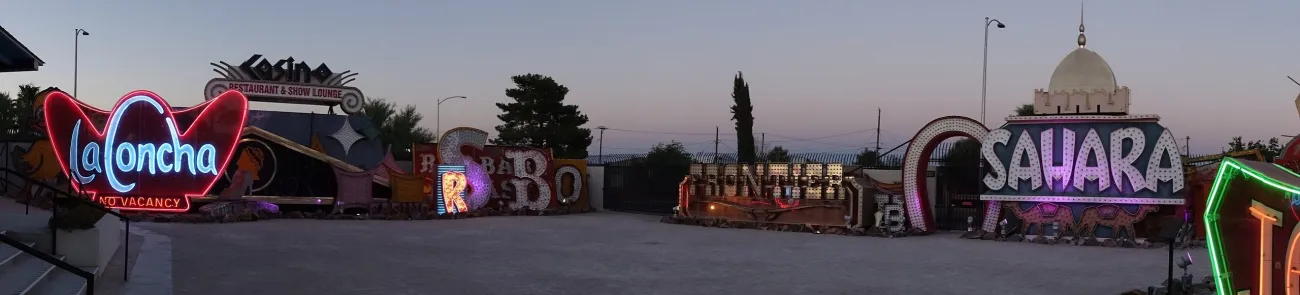
The Neon Museum at 770 Las Vegas Boulevard North presents historic signs as a collection. It is a ticketed museum visit, not a free-access street set. Choose the visit for the collection and experience, and decide in advance whether you want personal snapshots or a dedicated photography session.
Regular admission is not a camera photo walk. The museum's current visitor rules permit personal-use snapshots on phones or tablets; other cameras and external equipment such as tripods are not permitted during regular visits. For a camera-based or professional shoot, read the museum's separate photography opportunities and Photo Hour conditions and choose the appropriate booking. Commercial or editorial projects need their own approved arrangements.
Respect the barriers and never touch or lean on the signs. At night, allow a sign's own lighting and the surrounding darkness to define the composition. A phone camera's night mode can work for a still subject, but movement can blur; check the result before moving on.
Night photography without losing the evening to equipment
Choose one area for the best light. Arrive before the sky becomes completely dark so you can inspect the actual viewpoint, check access and make a test exposure. Sunset and blue-hour timing vary by date; use a local clock and sunset reference rather than copying a fixed hour from another season.
- Protect highlights: bright signs and illuminated water can lose detail before the rest of the scene looks well exposed.
- Match exposure to movement: a sharp handheld portrait and a long-exposure traffic scene require different choices.
- Keep it steady where permitted: use your camera's stabilisation or a stable permitted position; tripod permission is venue-specific.
- Check the frame edges: railings, moving pedestrians and signs can distract from the main subject.
- Travel light: take only equipment you can carry comfortably and keep secure through crowded areas.
A small camera or phone can suit a normal sightseeing evening better than a large setup that restricts where you can enter. The Neon Museum's restrictions are a specific example; always check other private venues independently.
Build a practical Las Vegas photo route
Central Strip: Venetian, Bellagio and Paris
Plan the Venetian's architecture as one stop, then leave a realistic transfer or walking interval before Bellagio and Paris. Choose one of those areas for blue hour rather than scheduling all three for the same light. The actual pedestrian route can involve bridges, property interiors or temporary diversions; check it against your mobility and weather conditions.
Downtown: Fremont Street and a museum booking
Reserve the appropriate Neon Museum visit first if it is important, then build Fremont Street around that time. Use suitable transport between stops instead of treating every nearby point on a map as an equally comfortable walk after dark. Do not add the south-end Welcome sign as an unplanned extension of this route.
Access and responsible photography
Follow current barriers and staff instructions. Permission to enter a resort, museum or attraction does not automatically allow a tripod, lighting equipment, posed shoot or commercial use. Ask the venue when your plans go beyond ordinary personal snapshots. For portraits, seek consent and avoid making other visitors' private moments part of your subject.
The photos illustrating this guide have their own photographer credits and usage rights. Those permissions do not establish the rules for your visit, and a visitor photography policy does not license another person's image. Keep those two questions separate when preparing a project.
Las Vegas photo spots FAQ
Where should I start for a first Las Vegas photo evening?
Pick one area and the subject you most want: Bellagio/Paris for a central Strip skyline composition, The Venetian for themed architecture or Fremont Street for a Downtown street scene. Avoid trying to reach every area during one short blue-hour period.
Can I take a DSLR or mirrorless camera on a regular Neon Museum visit?
The museum's current regular-visit policy allows personal phone/tablet snapshots only. Other cameras and external equipment need an appropriate separately arranged photography opportunity; check the current conditions before booking.
Do I need a tripod for every night photograph?
No. Match the technique to the subject and the permitted access. A tripod can help a deliberate long exposure, but venue rules and crowded walkways may make it inappropriate or prohibited.
Can I photograph the Bellagio Conservatory every day?
Seasonal installations have scheduled transition closures. Check the current official display calendar; the November 2026 transition is listed for 8–13 November.
Is the Welcome sign part of a short central Strip photo walk?
Plan it as a separate south-end stop. Decide how you will reach and leave it, use the designated access and do not enter traffic for a better composition.