CANADA TRAVEL GUIDE
Canada Photo Spots: Skyline, Gardens, Mountains and Aurora
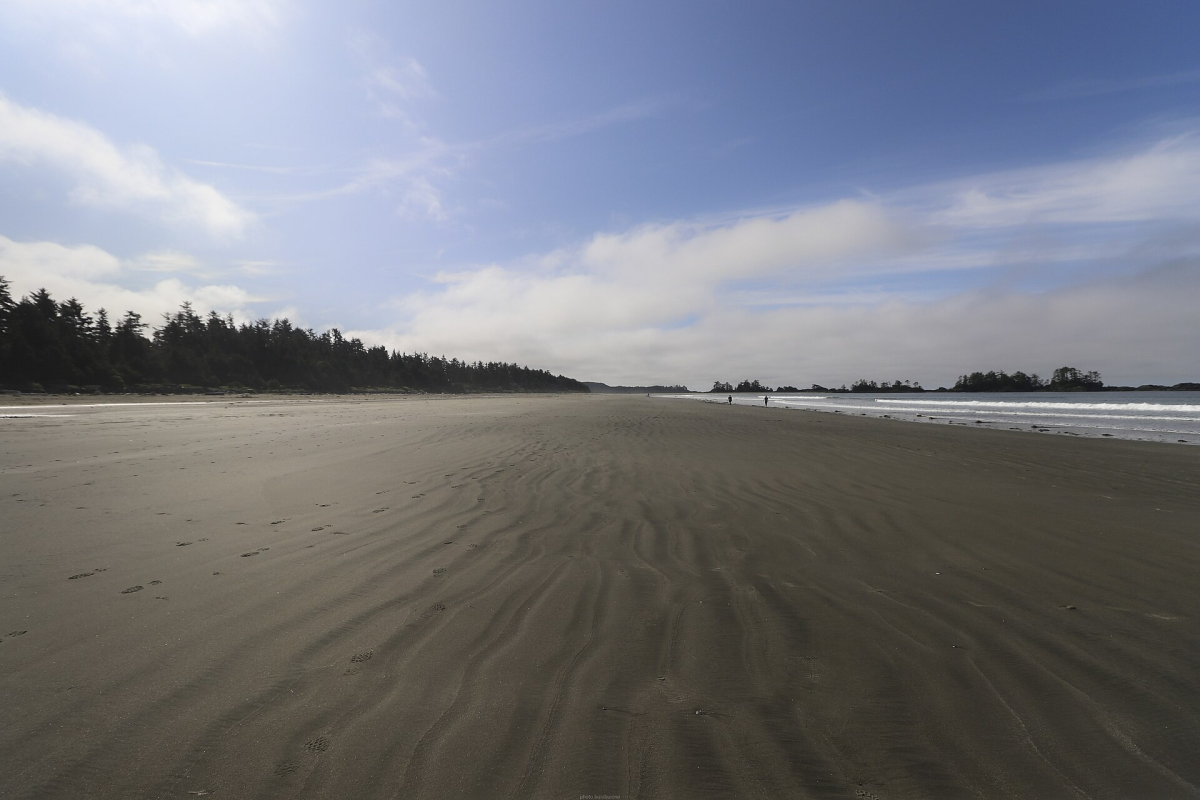
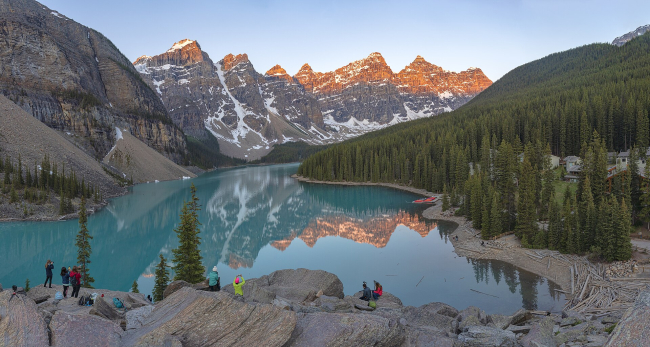
Canada’s most useful photo opportunities are not a list of coordinates to copy. A strong photograph depends on what is visible, where you can stand legitimately, the light you actually have and how your presence affects other people and the place. The subjects below range from a city skyline to a low-light interior and an uncertain natural sky display. They are alternatives across different regions, not a one-day photo route. Choose a few that fit your journey and give them time. For the broader trip, start with Itineraries and Map & Regions.
Choose the subject and the practical constraint together
On a small screen, swipe or scroll the table sideways to see every column.
| Subject | Visual idea | Constraint to plan around |
|---|---|---|
| Toronto skyline | Water, tower silhouettes and building lights | A legitimate viewpoint and a confirmed return journey after dark |
| Québec City waterfront | The relationship between river, skyline and winter atmosphere | Slopes, icy surfaces and safe public access |
| Notre-Dame Basilica, Montréal | Interior colour, symmetry and architectural depth | Current visitor-session photography rules and respect for worship |
| Butchart Gardens | Layered planting, paths and the Sunken Garden’s shape | Seasonal planting, opening hours and visitor-flow rules |
| Icefields Parkway landscape | Mountain scale, texture and a restrained foreground | Road conditions, designated stopping and a safe camera position |
| Yellowknife aurora | A dark sky with a clear foreground relationship | Cloud, auroral activity, cold and properly arranged access |
A source photograph can help you understand the subject but does not reserve its camera position or prove current access. Buildings, planting, snow cover and visitor arrangements change. Treat an older image as a visual reference, then make your own decisions from current conditions. Do not cross a barrier or enter private land merely because another photographer once stood there.
Toronto skyline: build a night composition around water and light
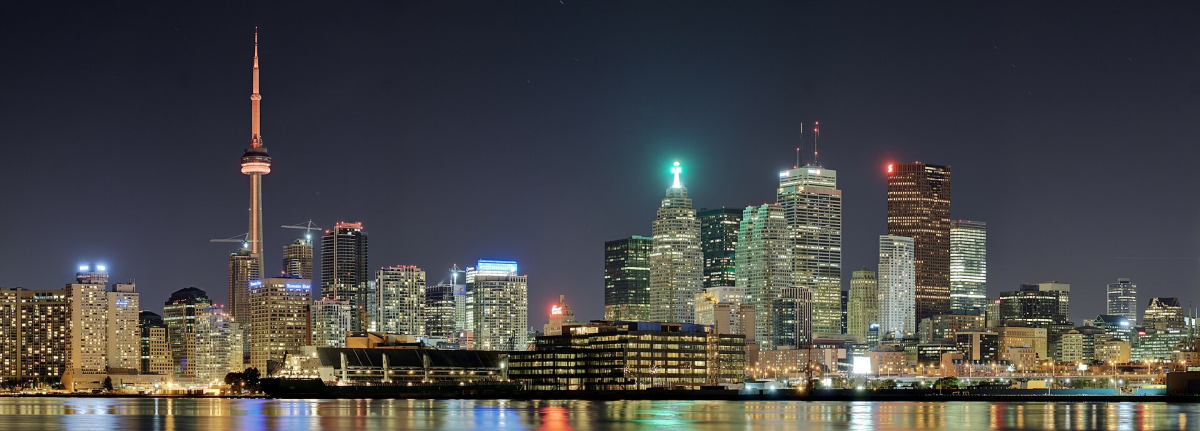
Toronto’s skyline offers a clear photographic relationship between tall buildings, the CN Tower and the waterfront. Start by deciding how much water and sky the frame needs. A wider view can emphasise the city’s scale, while a tighter composition simplifies competing shapes and lights. At night, watch bright signs and building highlights rather than exposing only for dark water. A stable camera position can help, but keep any tripod out of the walking route and do not place equipment where a sudden movement could send it into the harbour.
The reference panorama here shows a night skyline across water; its exact camera position is not established, so it is not labelled as a particular island viewpoint. If you choose an island outing for your own photograph, use the City of Toronto’s island and ferry information to establish current access and the return service. A moving ferry is useful for quick handheld frames, not for assuming a long exposure will remain sharp. Keep a mainland alternative if the timing or weather does not work.
Québec City waterfront: photograph the city’s relationship with the river
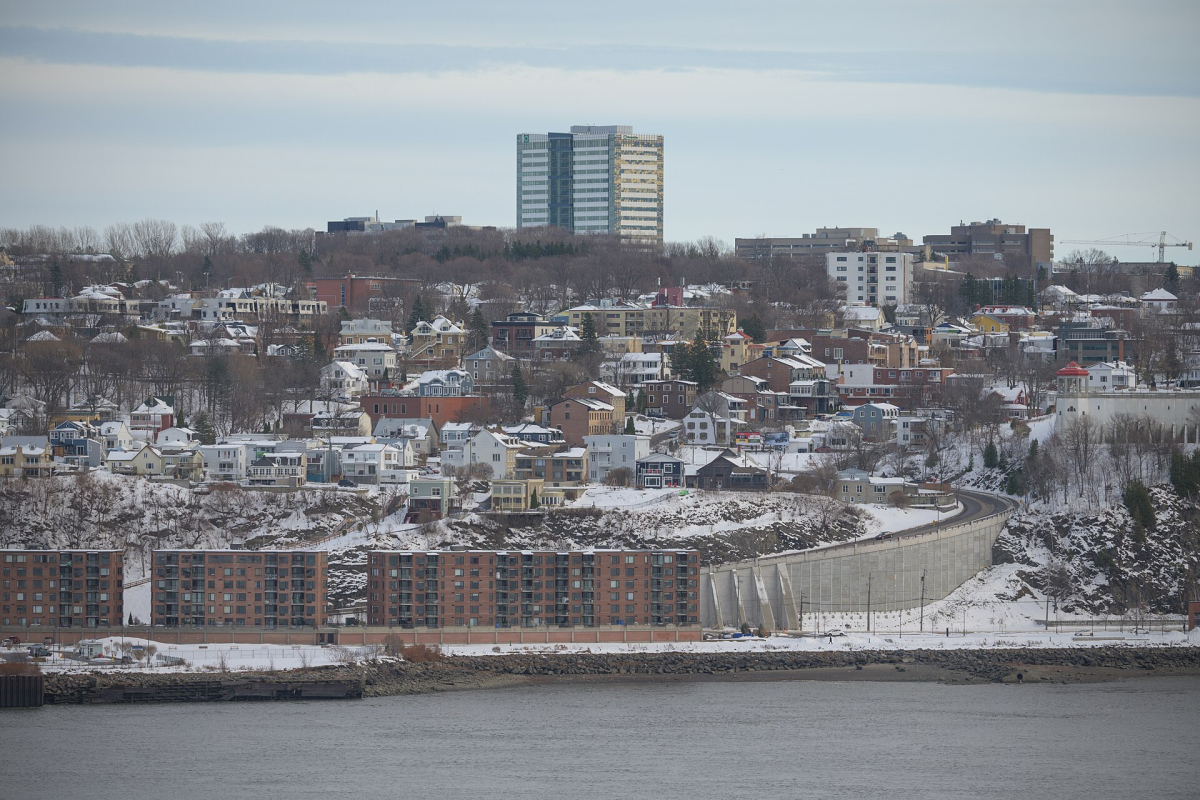
A river-facing view of Québec City can show more than a single landmark: the rise of the town, its roofline and the space of the St. Lawrence all contribute to the composition. In winter, snow and subdued light can simplify the scene, while small areas of warm building light add contrast. Decide whether the photograph is about the skyline or the weather. If the river and foreground have little detail, reduce their share of the frame rather than including them only because a wide lens allows it.
Use established public viewpoints and routes, and assess the surface before stopping to work. A camera bag changes your balance on steps or ice, and looking through a viewfinder can distract you from the edge of a path. The official Old Québec guide provides visitor context; it does not make every riverbank, hotel terrace or boat access public. Snow cover and waterfront conditions change by season; choose your position and footwear for the conditions on the day. Keep the route back to your accommodation as deliberate as the outward walk.
Notre-Dame Basilica, Montréal: use interior colour and architectural depth
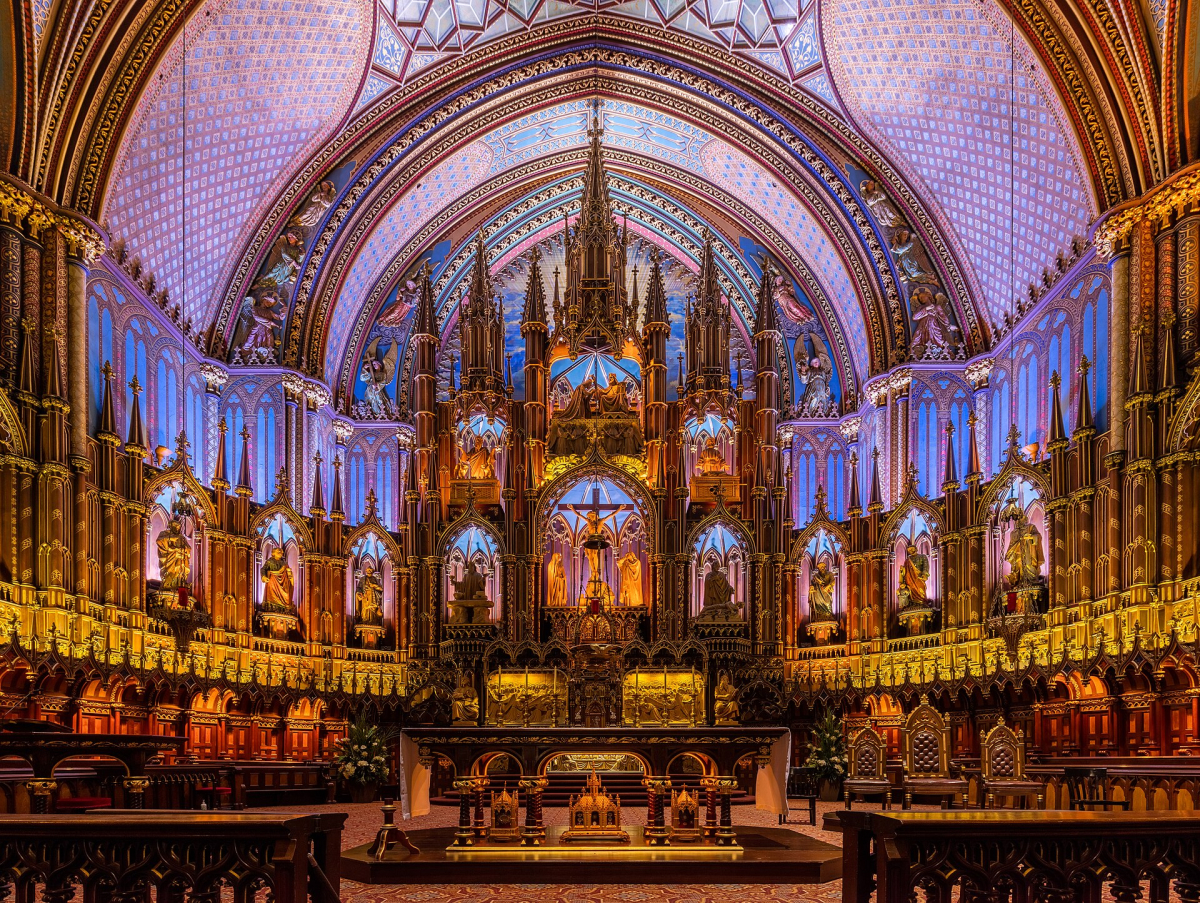
Inside Montréal’s Notre-Dame Basilica, colour, repeated architectural elements and the depth toward the sanctuary provide a different challenge from an outdoor landmark. Look first at the balance between the darker seating area, the illuminated details and the ceiling. A central view can emphasise symmetry; a carefully chosen off-centre detail can reduce the number of bright and dark zones competing in one frame. Keep vertical lines intentional and avoid tilting so far that the architecture becomes an accidental effect rather than the subject.
This is a place of worship and a managed visitor site. Consult the Basilica’s official visitor information and ask staff about the rules for the specific session, equipment and intended use. A daytime sightseeing visit, worship and the AURA experience are distinct activities; permission to photograph one should not be assumed for another. Do not use flash or a tripod without establishing that it is allowed, and do not block aisles or photograph people at prayer intrusively. Plan your composition around the visitor route and the viewpoints permitted on the day.
Butchart Gardens: simplify the Sunken Garden’s layers
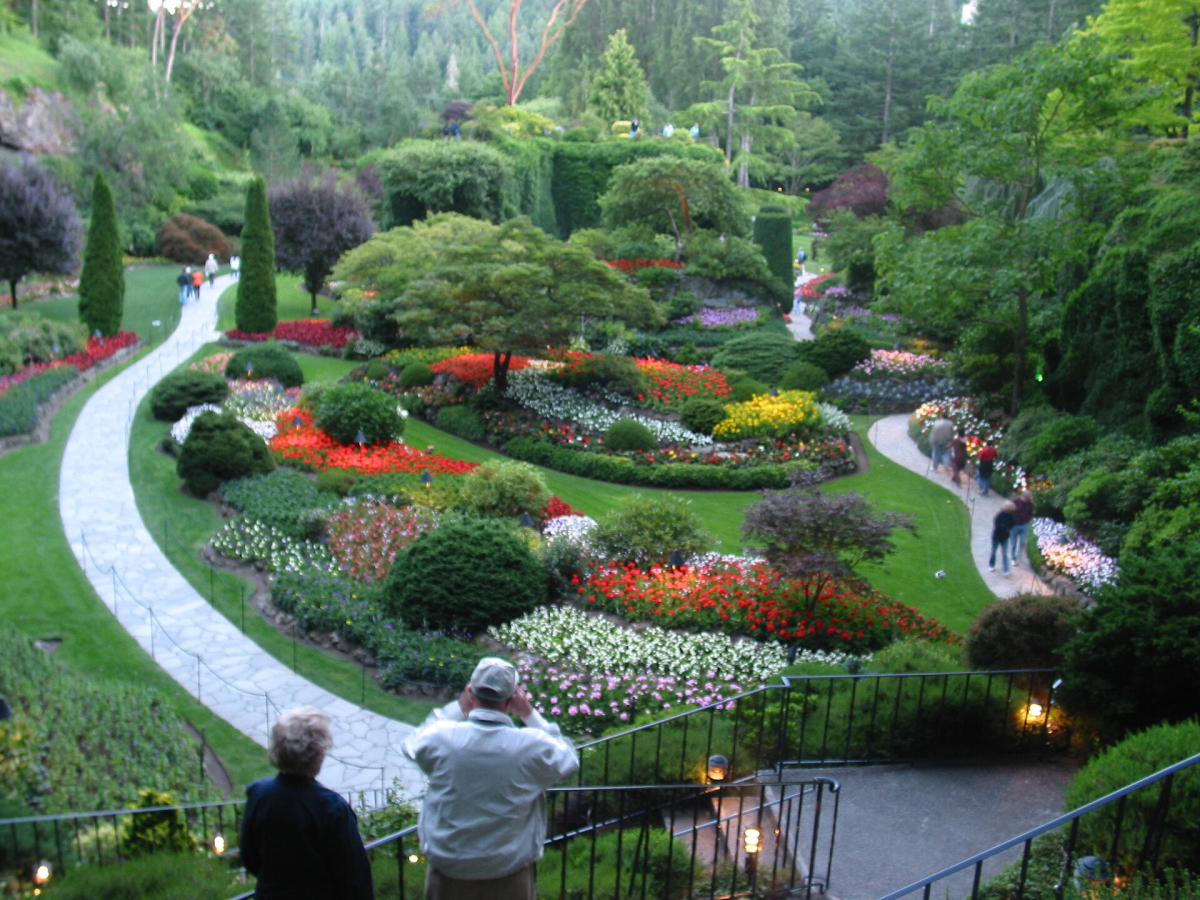
The Sunken Garden at Butchart Gardens offers curves, paths and planting at different heights. Start with the overall structure, then decide which part of it makes the photograph coherent. Too many equally bright flowers can compete for attention; a path or a quieter band of green can organise the frame. Soft cloud can help with close plant details, while stronger directional light may work better for the shape of the wider garden. Flowering and colour depend on season, so choose your date for the garden you expect rather than a single photograph seen online.
The Gardens’ official FAQ allows tripods only when they do not obstruct other visitors or enter beds, prohibits selfie sticks and drones, and states that professional photo shoots and commercial photography/filming are not permitted. Respect those distinctions: ordinary visitor photography is not permission to stage a portrait production. Stay on the permitted routes, move aside while reviewing pictures and never rearrange plants for a cleaner composition. Check opening hours and transport before planning to use the last light; the garden’s operating day may end before the light you imagined.
Icefields Parkway: photograph mountain scale from a safe stopping place
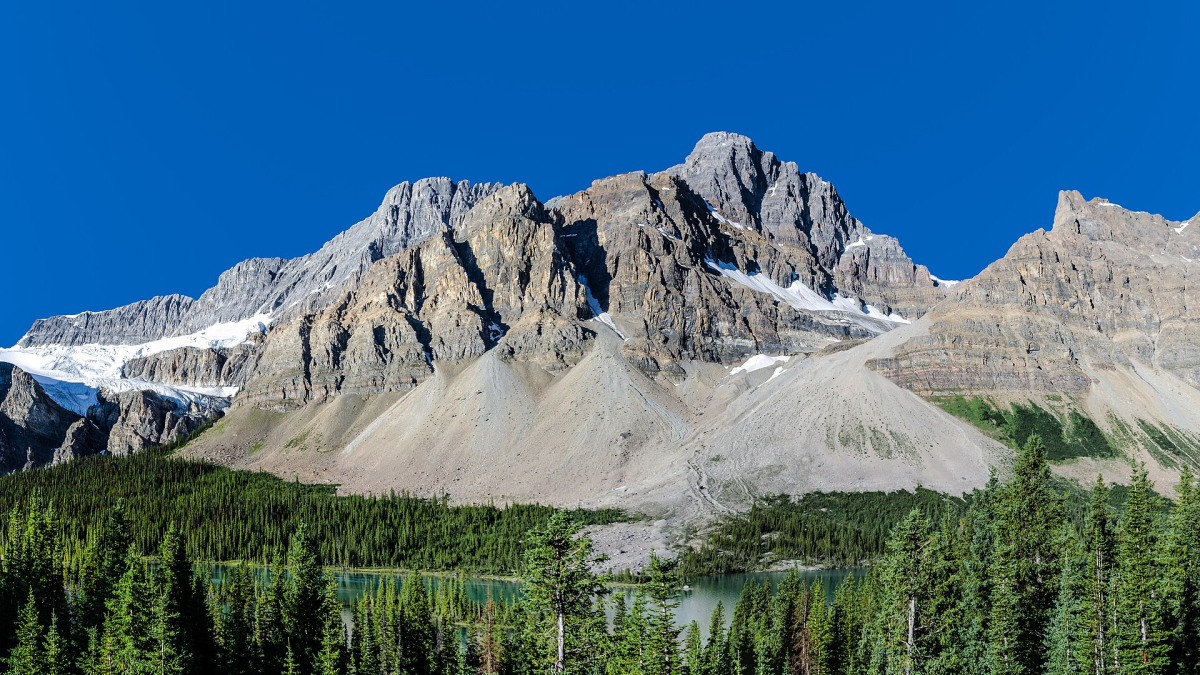
A mountain photograph along the Icefields Parkway can work through shape and texture rather than relying on a famous lake. Look at the relationship between the large rock face, scree and the trees below it. A small amount of foreground can establish scale, while too much roadside detail can dilute the subject. Changing cloud can reveal ridges that flat midday light hides, but waiting for light is worthwhile only when you are stopped in a suitable place and the weather remains safe.
Choose a designated stopping place and keep people, tripods and open car doors out of traffic. Check Parks Canada’s current Parkway and road-planning information before the drive. Do not cross a closure, walk into unstable terrain or approach wildlife for a closer frame. A glacier or a steep snow slope is not a casual camera platform. If conditions deteriorate, continue to a safe place rather than trying to rescue the planned photograph.
Yellowknife aurora: prepare the foreground before the sky changes
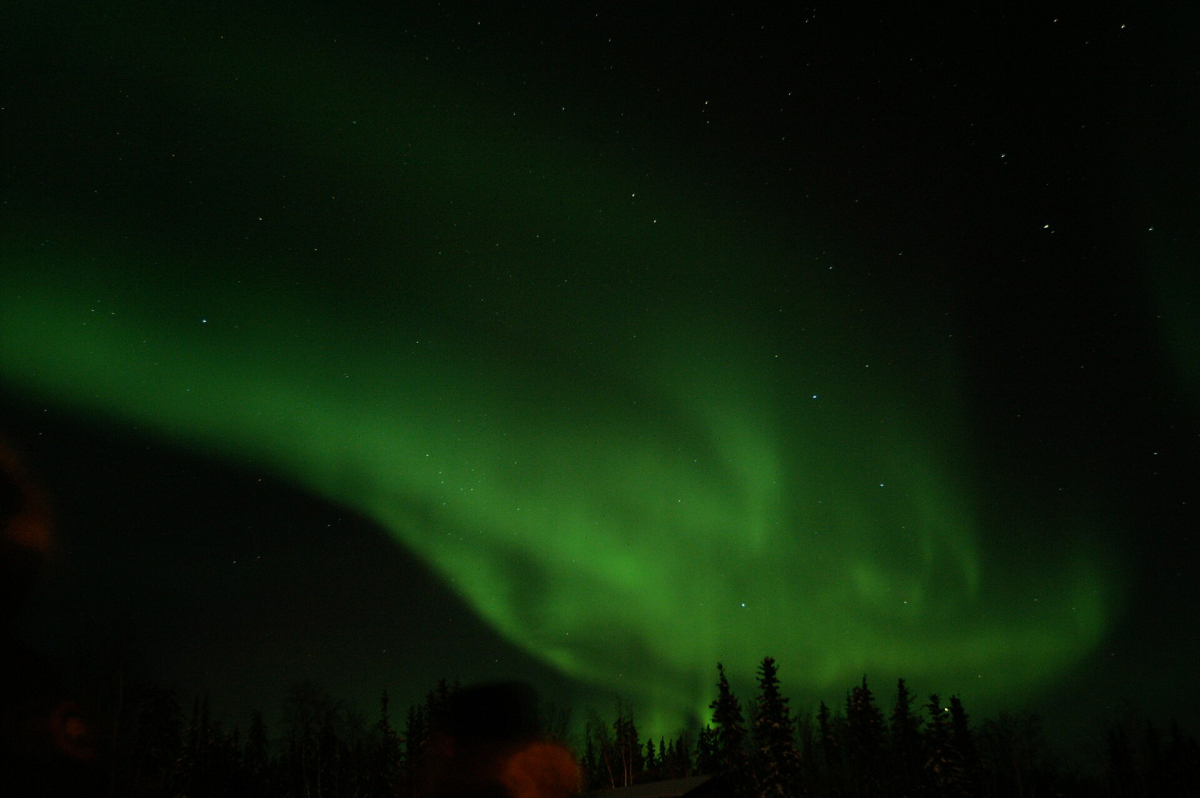
Aurora photography begins with a safe place to wait, not with a guarantee of green light. Choose a clear foreground relationship while you can still see the ground, then leave room above it for a changing sky. A simple shoreline, trees or an authorised viewing structure can give the image scale without overwhelming the display. Start with a stable camera and check focus deliberately; autofocus may struggle in darkness. Exposure time is a response to the brightness and movement of the actual aurora, not a fixed setting that works every night.
Northwest Territories Tourism’s Yellowknife guide provides the destination context. Arrange access and transport through an appropriate host when using a private viewing site, and confirm permission before entering. Confirm warm-up space, clothing and the return journey before committing to a long wait. Keep batteries warm, avoid shining bright lights into other photographers’ frames and lower expectations when cloud obscures the sky. A camera can record colour more strongly than the eye, so describe the result honestly rather than promising identical visual intensity.
Drones, commercial work and permission to photograph
A small camera or a light drone does not remove local rules. Parks Canada designates its places as no-drone zones for recreational use. Permission under aviation rules is a separate question from land-manager permission, and taking off outside a boundary is not a way to assume the intended flight is allowed. For other places, read Transport Canada’s location guidance and obtain any required local authorisation before flying.
For planned work in the mountain national parks, Parks Canada’s film and photography guidance says requirements depend on the project’s scale and nature and can include registration, a permit or a business licence. It specifically addresses blog and social-media work, so do not assume a small crew is automatically exempt. Contact the responsible office well before the proposed dates, and ask the property owner or cultural host separately where needed. An image’s copyright licence and permission to enter, stage or film at a location are different matters.
A light kit, a realistic plan and a photograph that respects the place
Carry only the equipment you can manage comfortably on the actual route. A phone or a single-lens camera can be a better choice on an icy walk than a heavy bag that discourages stopping safely. Pack a cloth and weather protection, keep straps controlled in wind and back up important images during a longer trip. Do not leave equipment visible in a parked vehicle while visiting another stop. For a remote or cold outing, food, clothing and communication take priority over an extra lens.
Ask before making a person the main subject of a close photograph, follow cultural hosts’ recording rules and avoid disclosing sensitive wildlife or cultural locations. Do not bait animals, move natural objects or step into a planted area to recreate someone else’s frame. Caption photographs with what is actually known: place, visible subject and a verified date when it matters. Avoid claiming a precise camera position, a current access arrangement or a personal field experience that the image does not establish. The result will be more useful to the next traveller as well as more respectful to the people and landscapes shown.
Frequently Asked Questions
Can I fly a recreational drone in a Canadian national park?
Parks Canada places are no-drone zones for recreational use. Other authorisations do not replace Parks Canada permission; read the current rules for the exact location and purpose.
Does a photo licence give me permission to enter the photographed location?
No. Copyright permission to reuse an image is separate from access to the land, a private viewing site, a building or a managed visitor session.
Do I need professional equipment for these photo spots?
No. Choose equipment that suits the light and that you can use safely without blocking others. Thoughtful framing, a workable visit plan and accurate captions matter more than carrying a large kit.