
Sign in
For Photos4Travel editors and team members.
Bahamas · Photo Spots
Bahamas Photo Spots: Starting Points, Light & Access
The strongest Bahamas photographs usually come from understanding one place rather than rushing between islands. Limestone passages, shallow banks, Atlantic shores and a working harbour need different light and different access plans. Choose a location close enough to revisit when the first attempt meets cloud, surf or an inconvenient tide.
This guide describes six practical starting points for ground-level photography. Light suggestions are editorial advice based on the kind of scene, not promises of a particular colour, tide or clear sky. The photographs accompanying a place may have been made from another position; an aerial image is not evidence that the same view can be reached on foot.
Match your photographic subject to your island
On a phone, swipe sideways to compare the access column. Use this as a location shortlist; the sites are spread across different island groups.
| Photo spot | Start with | Composition | Access constraint |
|---|---|---|---|
| Queen's Staircase | The lower limestone passage | Walls leading towards the stairs | Keep the route clear for visitors |
| Pink Sands | Dry sand at your confirmed beach access | The receding shoreline and wet sand | Atlantic conditions; private-property boundaries |
| Tropic of Cancer Beach | The beach arrival point on Little Exuma | The curve of sand against the water | Vehicle approach and self-supplied return |
| Glass Window | A lawful off-road stopping place, if available | The contrast between the two sides of Eleuthera | Traffic, closures and wave exposure |
| Gold Rock Beach | The end of the managed beach approach | Tidal sand patterns along the shore | Park opening and changing tide |
| Hope Town harbour | The town-side waterfront near Front Street | Lighthouse, harbour and boats | Working docks and return crossing |
Queen's Staircase: begin in the lower limestone passage
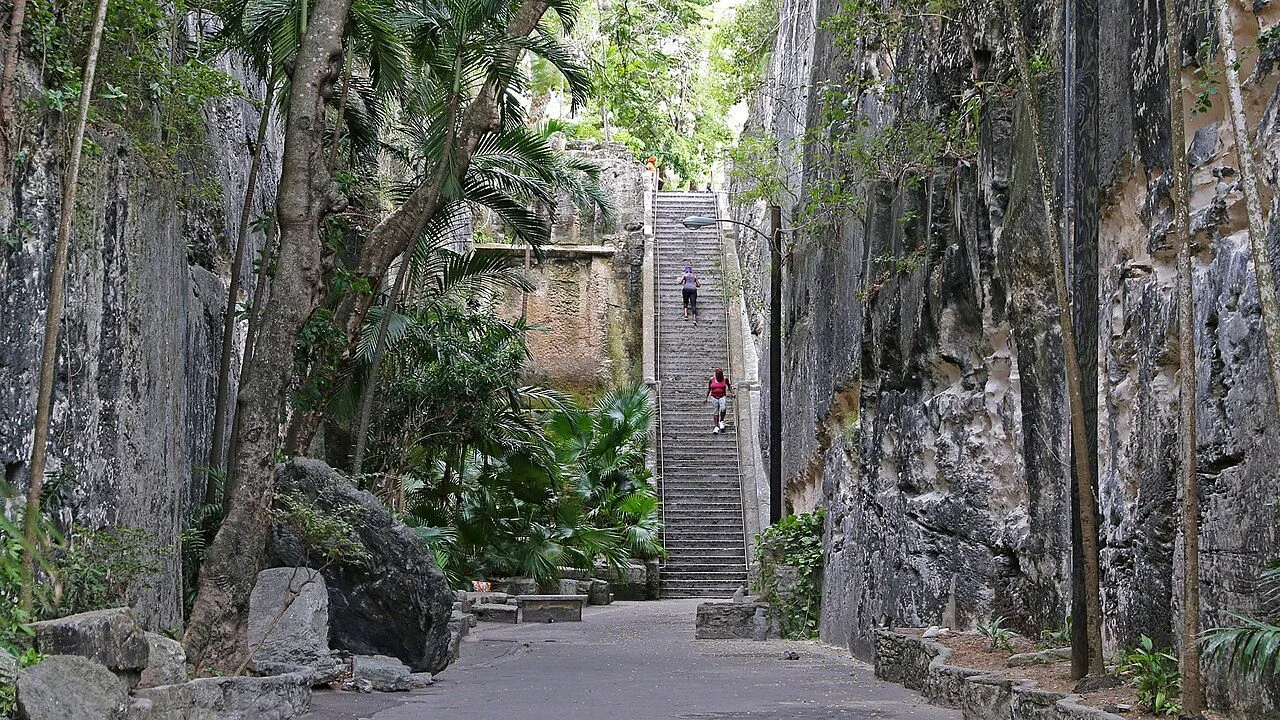

Start at the bottom rather than at the top of the flight. From the lower passage, face the stairs and use the rock walls to lead the eye towards the brighter opening. The tourism board describes the historic “66 Steps” as 64 exposed steps after paving, so reaching the top remains a physical climb. You can make the lower-passage photograph without making a tower or fort visit part of it.
For a first attempt, look for soft light within the passage. A bright opening and deeply shaded walls can exceed what the camera records comfortably; make a second exposure that protects the highlights and compare it on screen. The tourism board's staircase history provides context for photographs of this place and its connection to enslaved labour.
Stand to one side while waiting for a clear frame. Visitors using the steps have priority over a composition, and a tripod should never block the route. If including a guide or another visitor prominently, ask first. Keep time for the site itself after taking the photograph; the stone passage deserves more than a brief stop for a picture.
Pink Sands: photograph the shoreline rather than a colour expectation
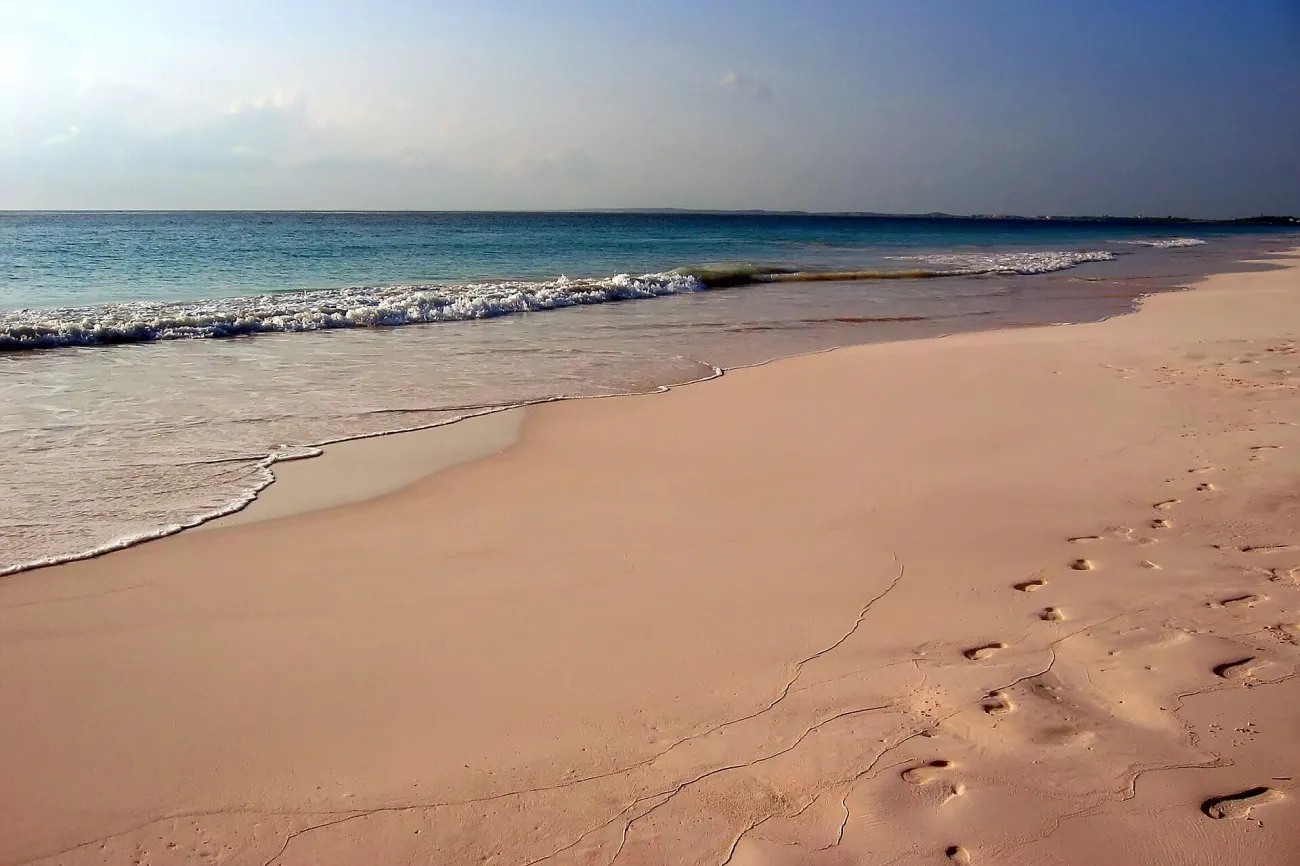

Use Court Street's beach approach from Dunmore Town towards the Atlantic. The official court record locates the access steps between the former Sip Sip site and Ocean View Club. Follow current signs rather than entering neighbouring hotel grounds. At the foot of the steps, remain on dry sand, face the water, then turn left to frame the shoreline receding north. The tourism entry confirms the eastern Atlantic setting.
Try a low viewpoint that includes shell fragments and the edge of a retreating wave, then make a second frame at standing height. Gentle light can help retain subtle colour; full daylight can be useful when the water is the main subject. These are photographic choices, not a guarantee of pink sand in every frame. Avoid increasing saturation until the image suggests a colour the beach did not have.
Keep equipment above the waterline and check the waves before moving closer. A hotel terrace or a neatly placed row of private loungers is not an invitation to enter. Leave enough daylight for the walk back across the island and keep your agreed return crossing in mind if you are visiting for the day.
Tropic of Cancer Beach: use Little Exuma's crescent shore
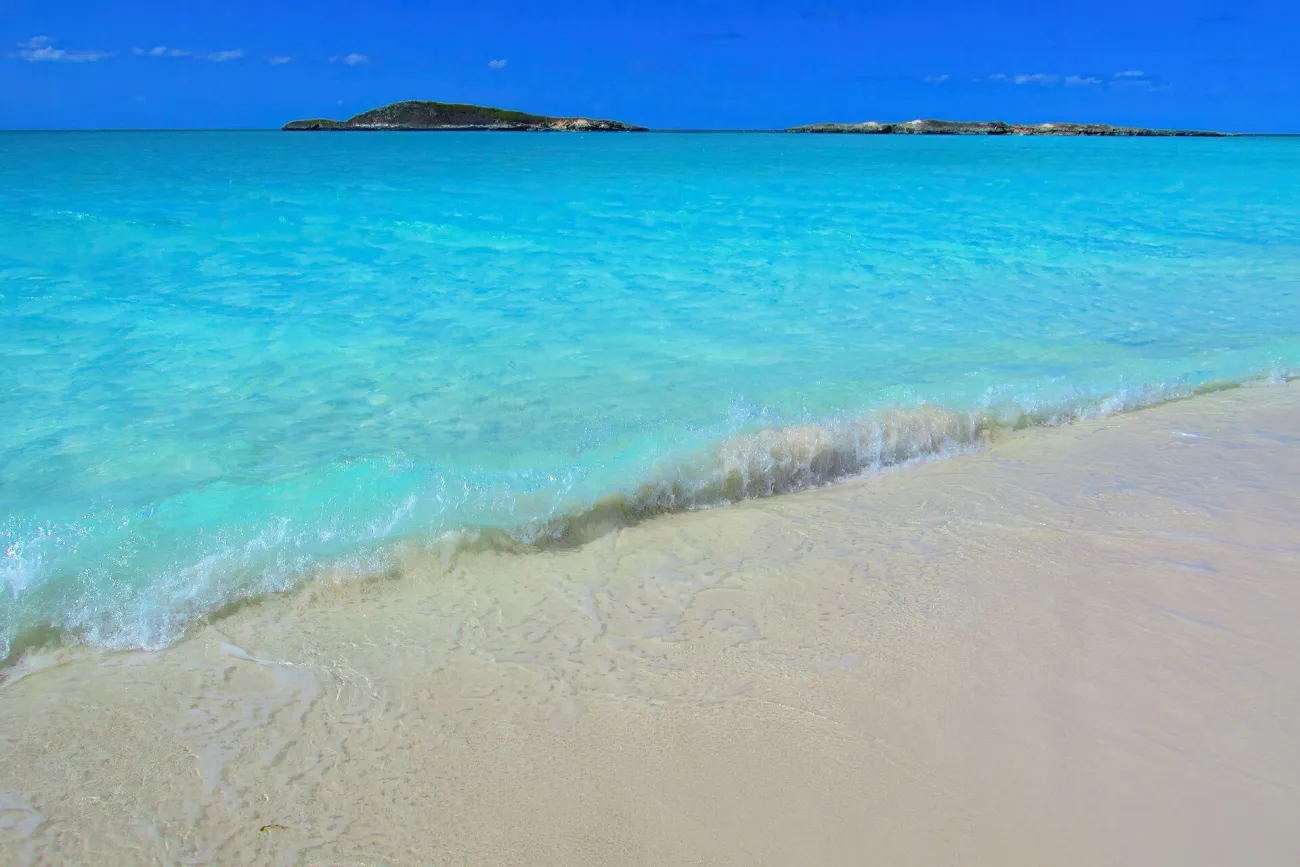

Start at the covered-pavilion beach approach reached by the signed unpaved turn off Queen's Highway on Little Exuma. A 2023 firsthand route guide shows the turn, parking and pavilion; check the track's present condition before driving it. From the beach side of the pavilion, face the sea and look left along the longer sweep of sand. Begin on dry ground, letting the shoreline curve through the frame instead of aiming straight at an empty horizon.
The official location entry identifies this as Tropic of Cancer, or Pelican Beach, on Little Exuma. It is a road-based outing from Great Exuma, not a beach beside the northern-cays pig stop. Confirm the approach and your vehicle's suitability before leaving. Bring water and arrange enough time to return without rushing after the light changes.
For a clear-water study, try a period when the sun illuminates the shallows without putting your own shadow across the foreground. A calmer evening scene may instead favour sand texture and a quieter sky. Never move into deeper water simply to remove footprints, and leave vegetation and natural material undisturbed.
Plan roadside photographs around a safe stopping place
The subject is the contrast between the Atlantic and the Bight of Eleuthera. The official description specifically distinguishes the bight from the Caribbean Sea. Caption the location accordingly. A ground-level frame may show one side more clearly than the other; reproducing an aerial view should not become the goal of a roadside visit.
Before stopping, establish whether there is a lawful place completely clear of moving traffic and any work or closure restrictions. If you cannot stop and stand safely, continue and choose another subject. This guide does not identify an unverified lookout, shoulder or rock ledge as an approved visitor platform. Follow the instructions in place on the day.
From a permitted position, simplify the frame around the water and land shape you can actually see. Brighter daylight may reveal the water contrast, but heavy swell, spray or gusts are reasons to leave rather than invitations to make a dramatic close-up. Do not walk into the carriageway, climb exposed rocks or enter nearby pools to improve the angle. No photograph here requires those risks.
Gold Rock Beach: work with tide and park hours together
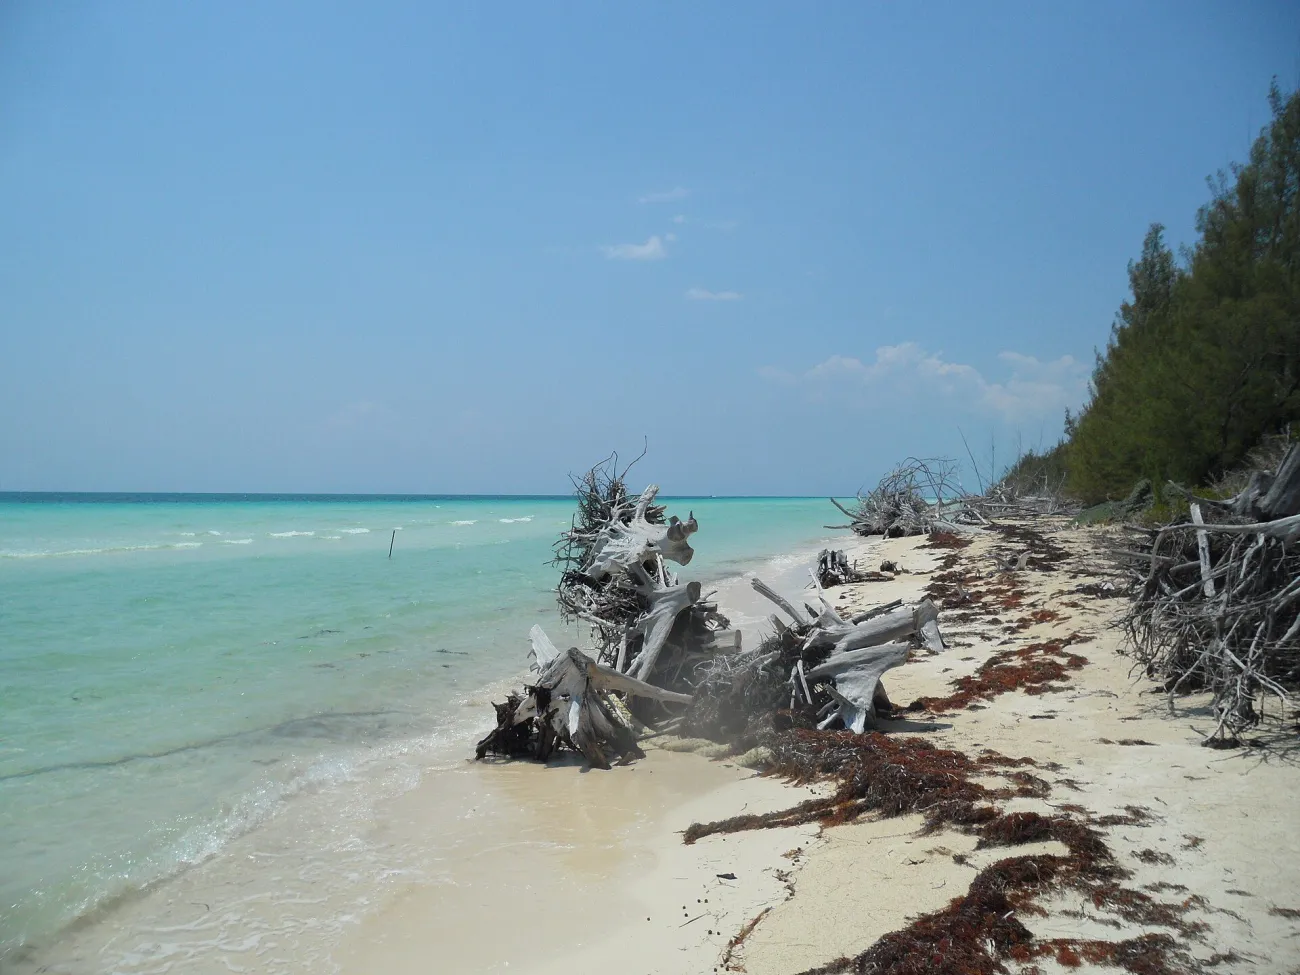

Begin at the end of the managed beach approach and pause to read the shoreline before walking farther. Look along the beach for ripples, shallow reflections or a narrow channel that can lead the eye through the frame. The tourism office describes the broad sands exposed at low tide; the scene changes as the water returns.
Plan around the current Lucayan National Park opening, Saturday and Sunday, 09:00–16:00. A sunrise recommendation would not fit those published visitor hours. Match a usable tide within the opening window, then accept the weather you receive. The parks guide explains the broader visit and footwear considerations.
Keep an obvious return route and watch the water rather than only the screen. A small reflective patch close to shore can make a stronger photograph than a long walk out onto the flats. Carry your waste away and keep the boardwalk clear when changing lenses or organising a bag.
Hope Town: frame Elbow Reef Lighthouse across the harbour
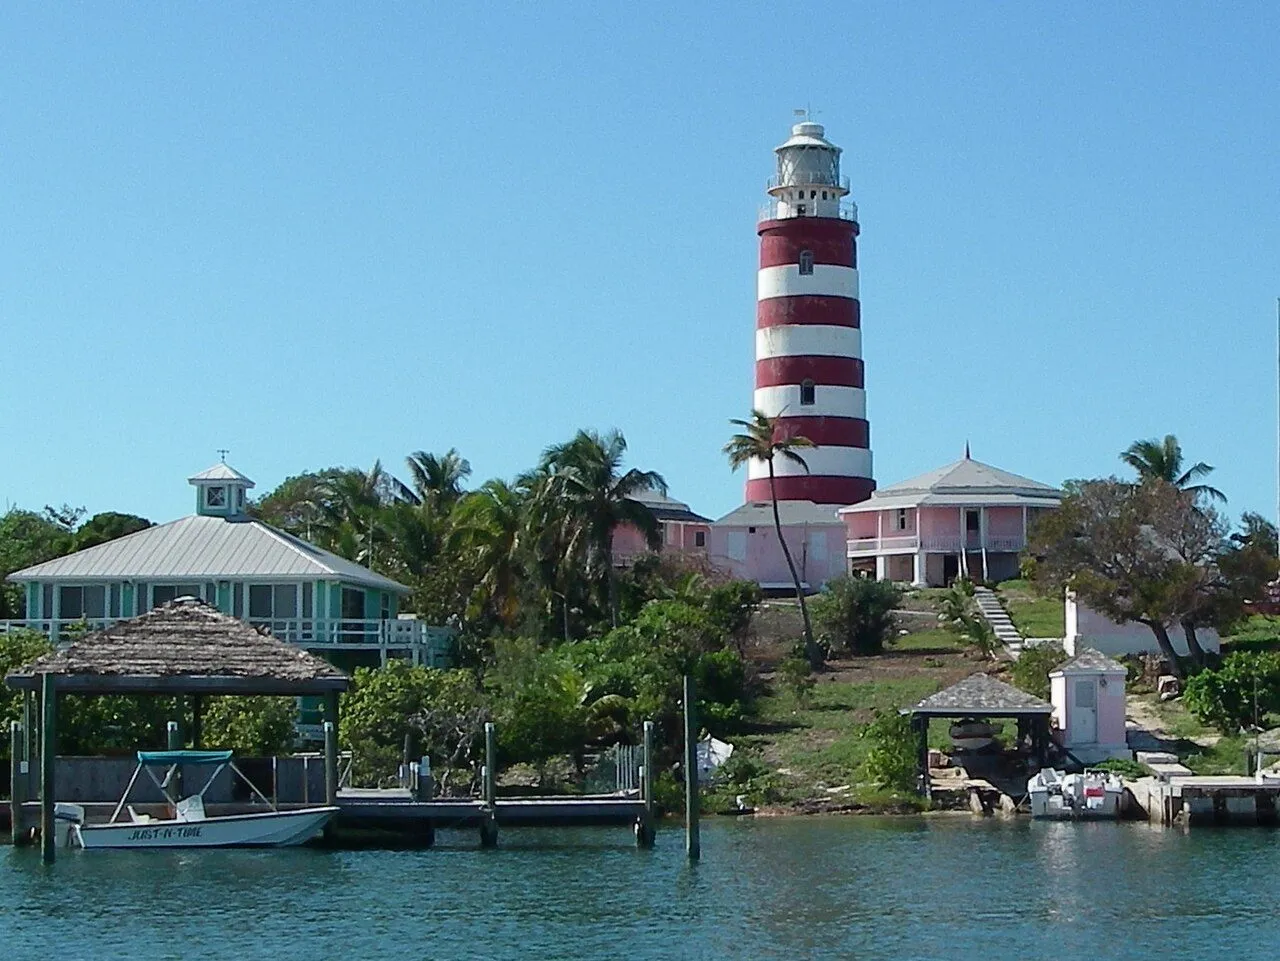

Start on the town-side waterfront near Front Street and look across the harbour towards the striped lighthouse. From a public or otherwise permitted position, try leaving a boat or a strip of waterfront in the foreground to explain the working harbour. Shift a short distance along the accessible waterfront if a mast cuts through the tower, without entering a private dock.
Light and boat positions change the scene, so make a straightforward record first, then wait only if your return arrangements allow. Do not promise yourself a dawn tower visit: the Elbow Reef Lighthouse Society currently lists the lightstation Monday–Saturday, 09:00–17:00, closed on Sunday. Access to the lightstation and photography from the town waterfront are separate plans.
If you want to visit the lighthouse, confirm the appropriate crossing and visitor arrangements rather than assuming your arrival ferry lands beside it. The last return boat should set your departure from the photographic spot. Travellers staying on Elbow Cay have more flexibility to revisit than those making a day trip from Marsh Harbour.
Keep the plan light enough to enjoy
A phone and a small camera can both make useful photographs here. Carry a cloth for salt spray, a dry bag and enough battery for transport calls as well as pictures. On a boat, secure equipment before boarding and ask before moving around. When photographing people, make the exchange respectful and accept a refusal without argument.
For wildlife or underwater images, let distance and the animal's behaviour set the composition. Do not chase, handle or stand on coral for a clearer view. Aerial photography requires a separate check of the relevant permissions, location restrictions and operator arrangements; a published drone photograph does not authorise another flight.
Travel Tip: Choose one subject for the best light and keep a second nearby option for the rest of the day. Revisiting a place usually teaches you more than adding another flight for a single frame.
Bahamas photography questions
When is the best light for Bahamas photographs?
It depends on the subject. Gentle light helps with people and subtle sand colour; stronger daylight can make shallow-water patterns more visible. Start with access, weather and safety, then choose a photographic approach that suits the conditions.
Can I photograph the lighthouse from its tower at sunrise?
The current published lightstation opening begins at 09:00 and excludes Sundays. Do not plan dawn entry without a separately confirmed arrangement. Town-side harbour photographs are a different activity with their own access and transport constraints.
Do I need a drone for the famous water views?
No. Shorelines, boardwalk approaches and harbour scenes provide strong ground-level subjects. An aerial image shows a different viewpoint; any proposed flight needs its own permission and restriction checks.
Where should I begin if I only have a Nassau port day?
Choose the Queen's Staircase and nearby city subjects rather than attempting another island. Leave a realistic return allowance to your ship and avoid making a distant sunset the fixed objective.
Can I visit all six locations in a short stay?
They lie in several island groups. Pick locations near your existing bases and use the other ideas for a longer trip. Transfers should serve the holiday as well as the photographs.
Last updated: